I’m so sorry for disappearing for so long. Life seemed to take over and the bead blog got neglected. 😛 But on to better things!
This spring Kelsey made some new necklaces that are fun pieces for warmer weather. I really like each of the pieces. She managed to put something unconventional in each necklace which makes them unique and interesting.
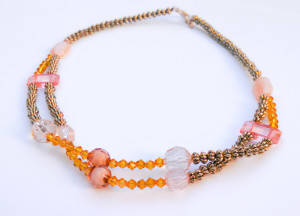 I loved this necklace for several reasons. It is a choker length piece which is my personal favorite style to wear. She used beads with a variety of textures and materials–glass, metal and plastic. The colors are all warmer toned and put together, the pinks, orange and brown remind me of a sunset. She also incorporated beads with a double holes which separated the two strands nicely. The two strands combine into a single strand toward the back of the necklace and are finished with a gold toggle clasp.
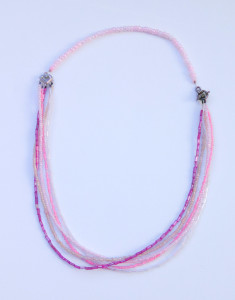
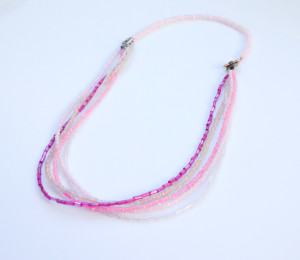
This is another super pretty necklace that looks much more complicated to complete than it really is. It did take some time for Kelsey to string the multiple strands of seed beads and bugle beads, she make her bead selections quickly as she simply used various shades of pink and magenta. Again, she used a lovely combination of textures, such as shimmer, opaque, and faceted beads for extra shine. While one side of the necklace does utilize a multi-strand metal finding, the other sides incorporates a silver toggle clasp as a design element. This necklace falls to just below the collar bone which allows each of the beaded strands to drape together nicely.
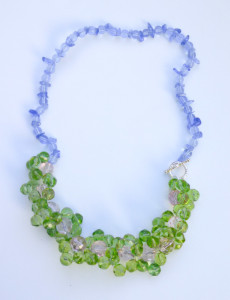
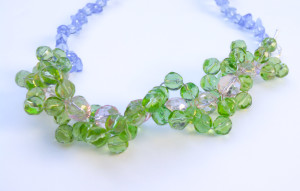
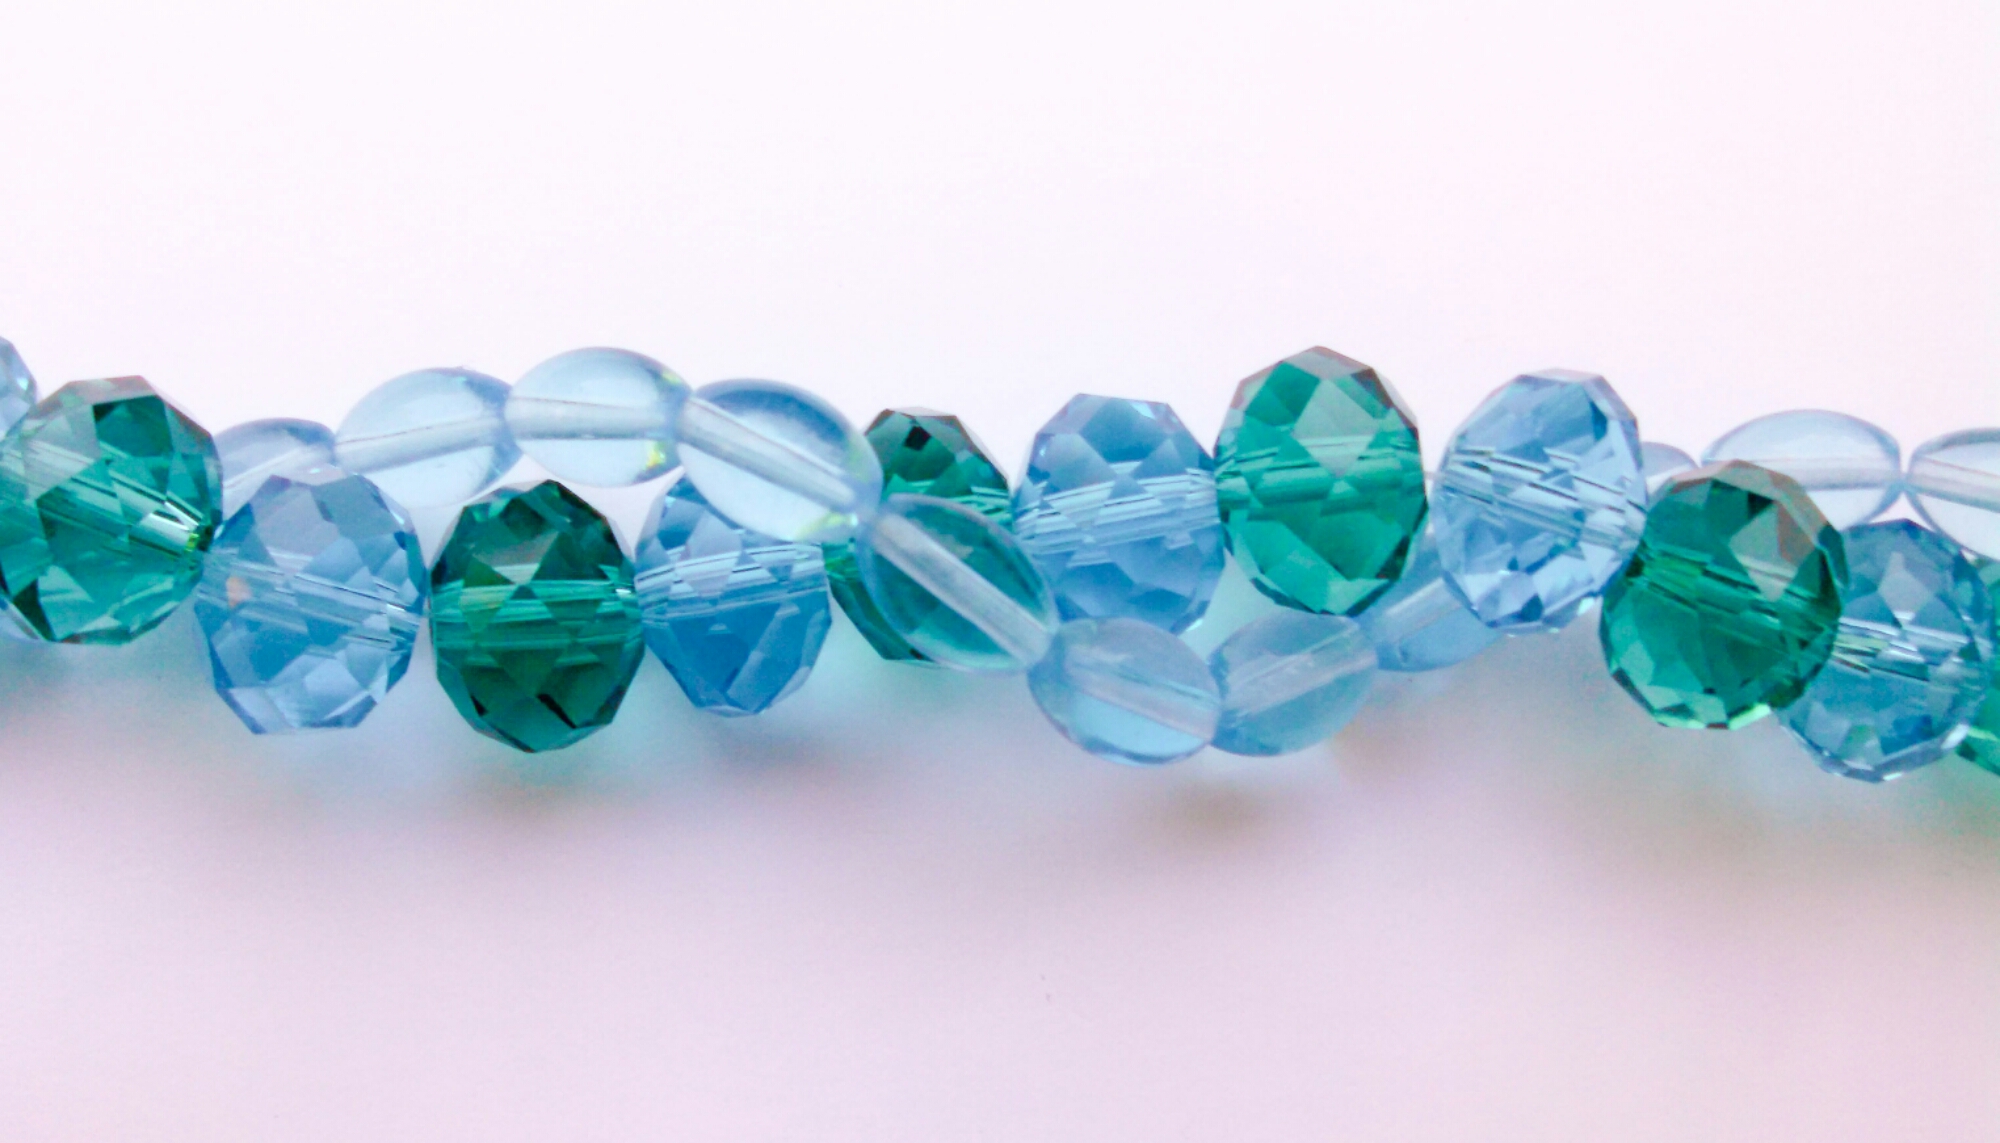
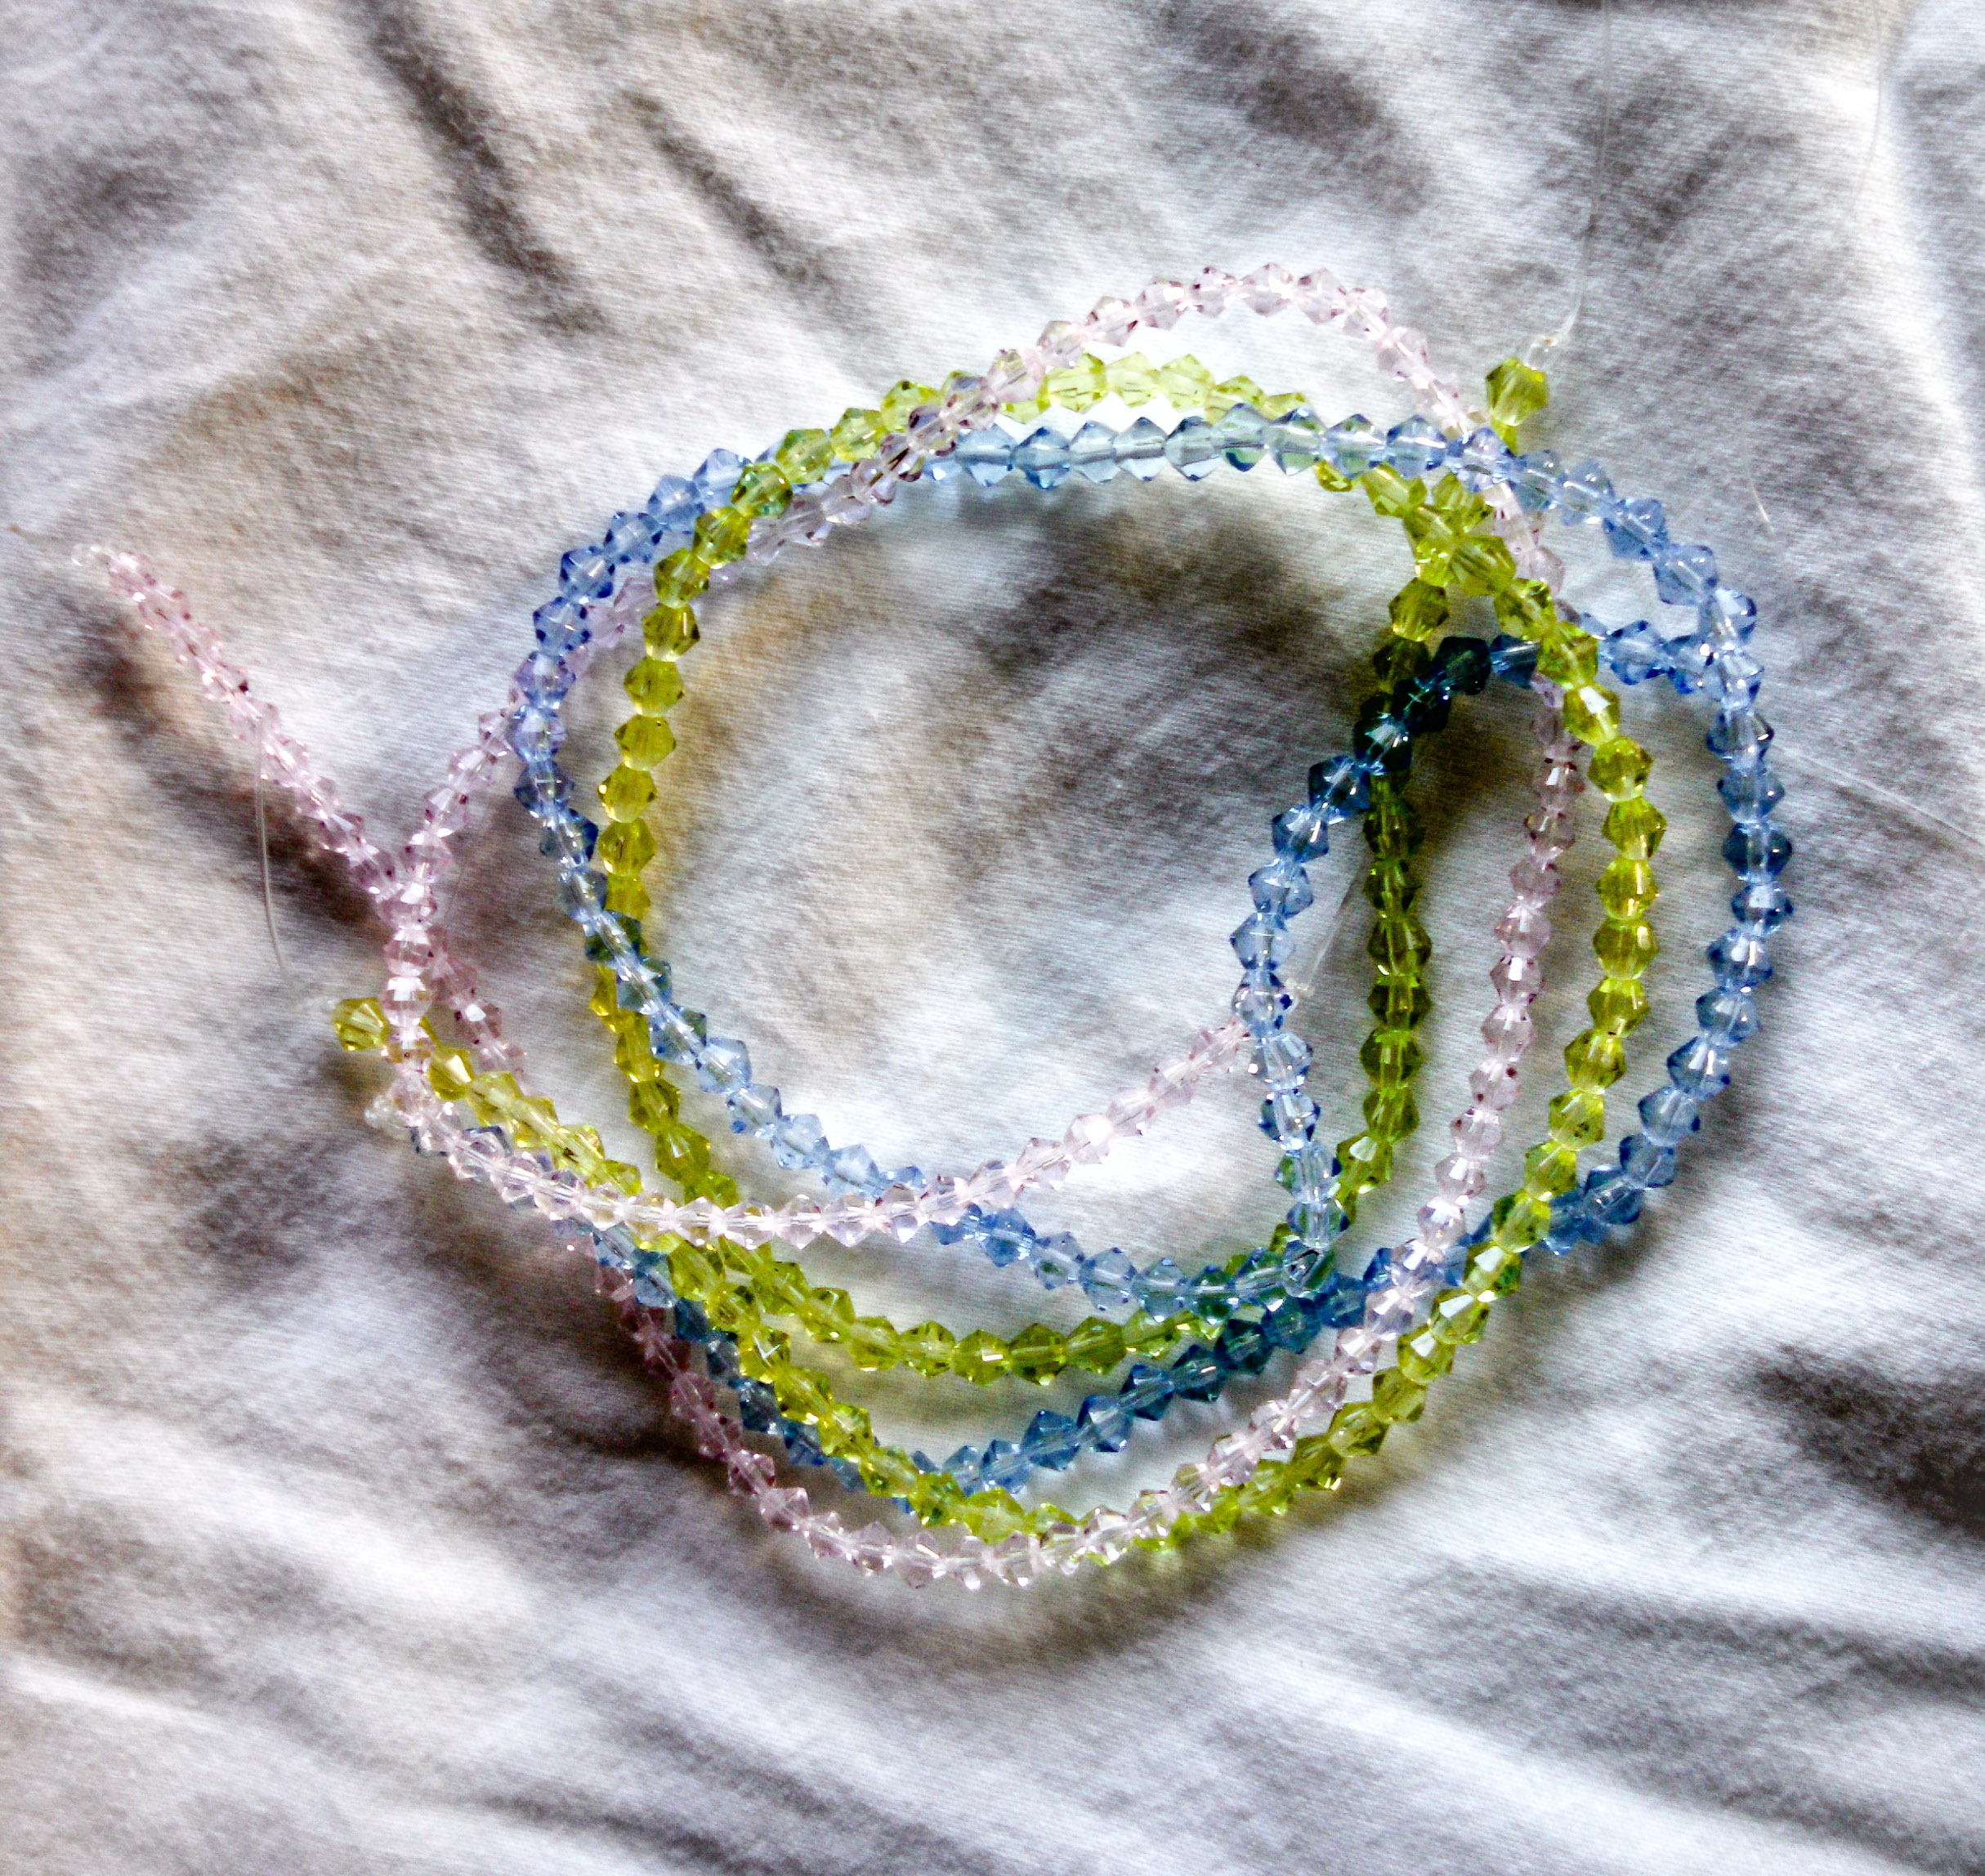
The sheer pastel colors in the necklace make it a perfect choice to wear in the spring or summer months. Kelsey used glass beads that came in both chips and faceted rounds. The chunkier section of the choker was made using a daisy chain technique. Because the faceted round beads are so big, rather than making separate daisies that lay flat, they become a chunky focal point for the piece. The “daisies” look almost like a helix pattern. This might be my favorite of her most recent creations! I love the way this necklace turned out. Let me know if you might like to see a tutorial on how to make a beaded daisy chain.
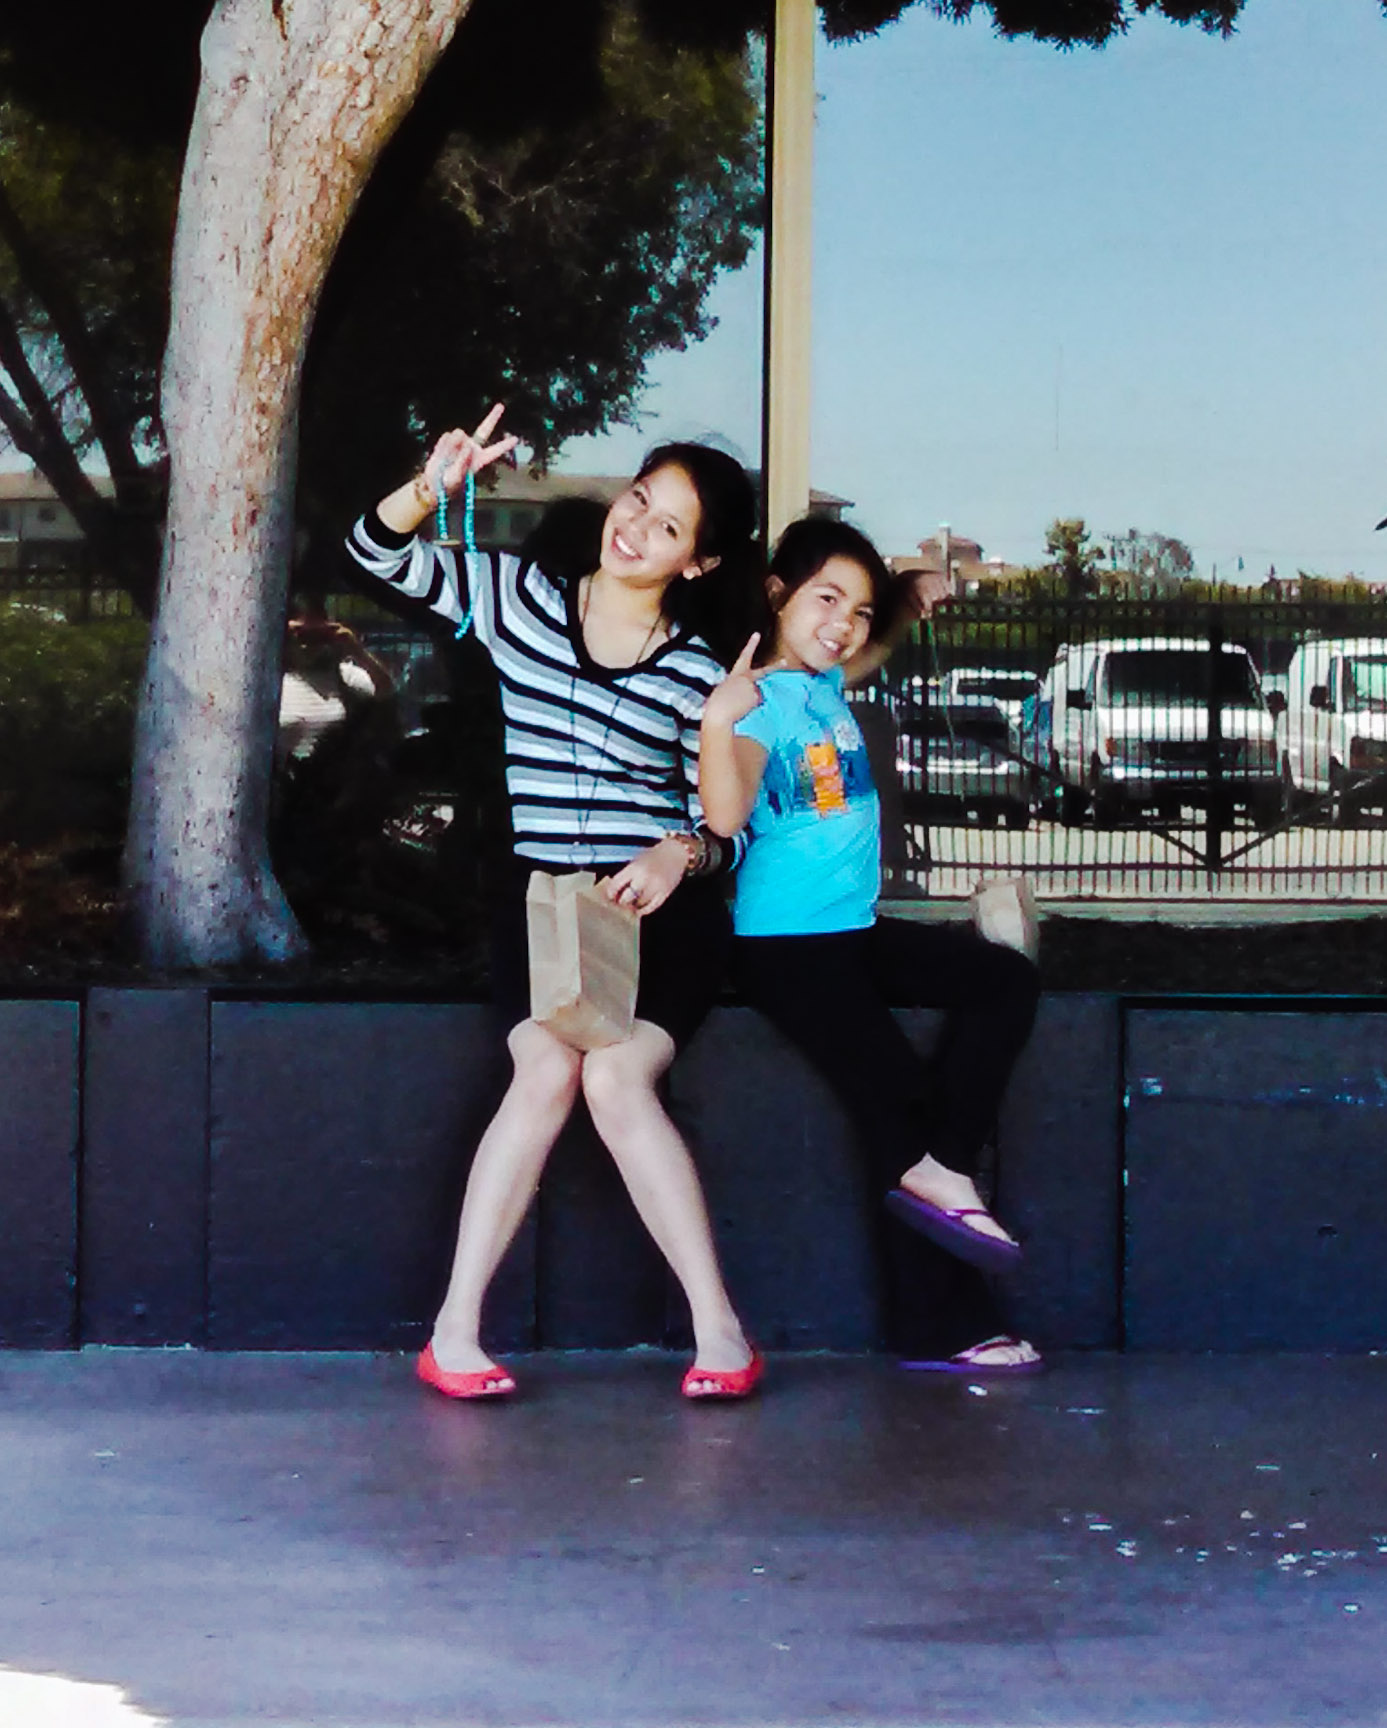
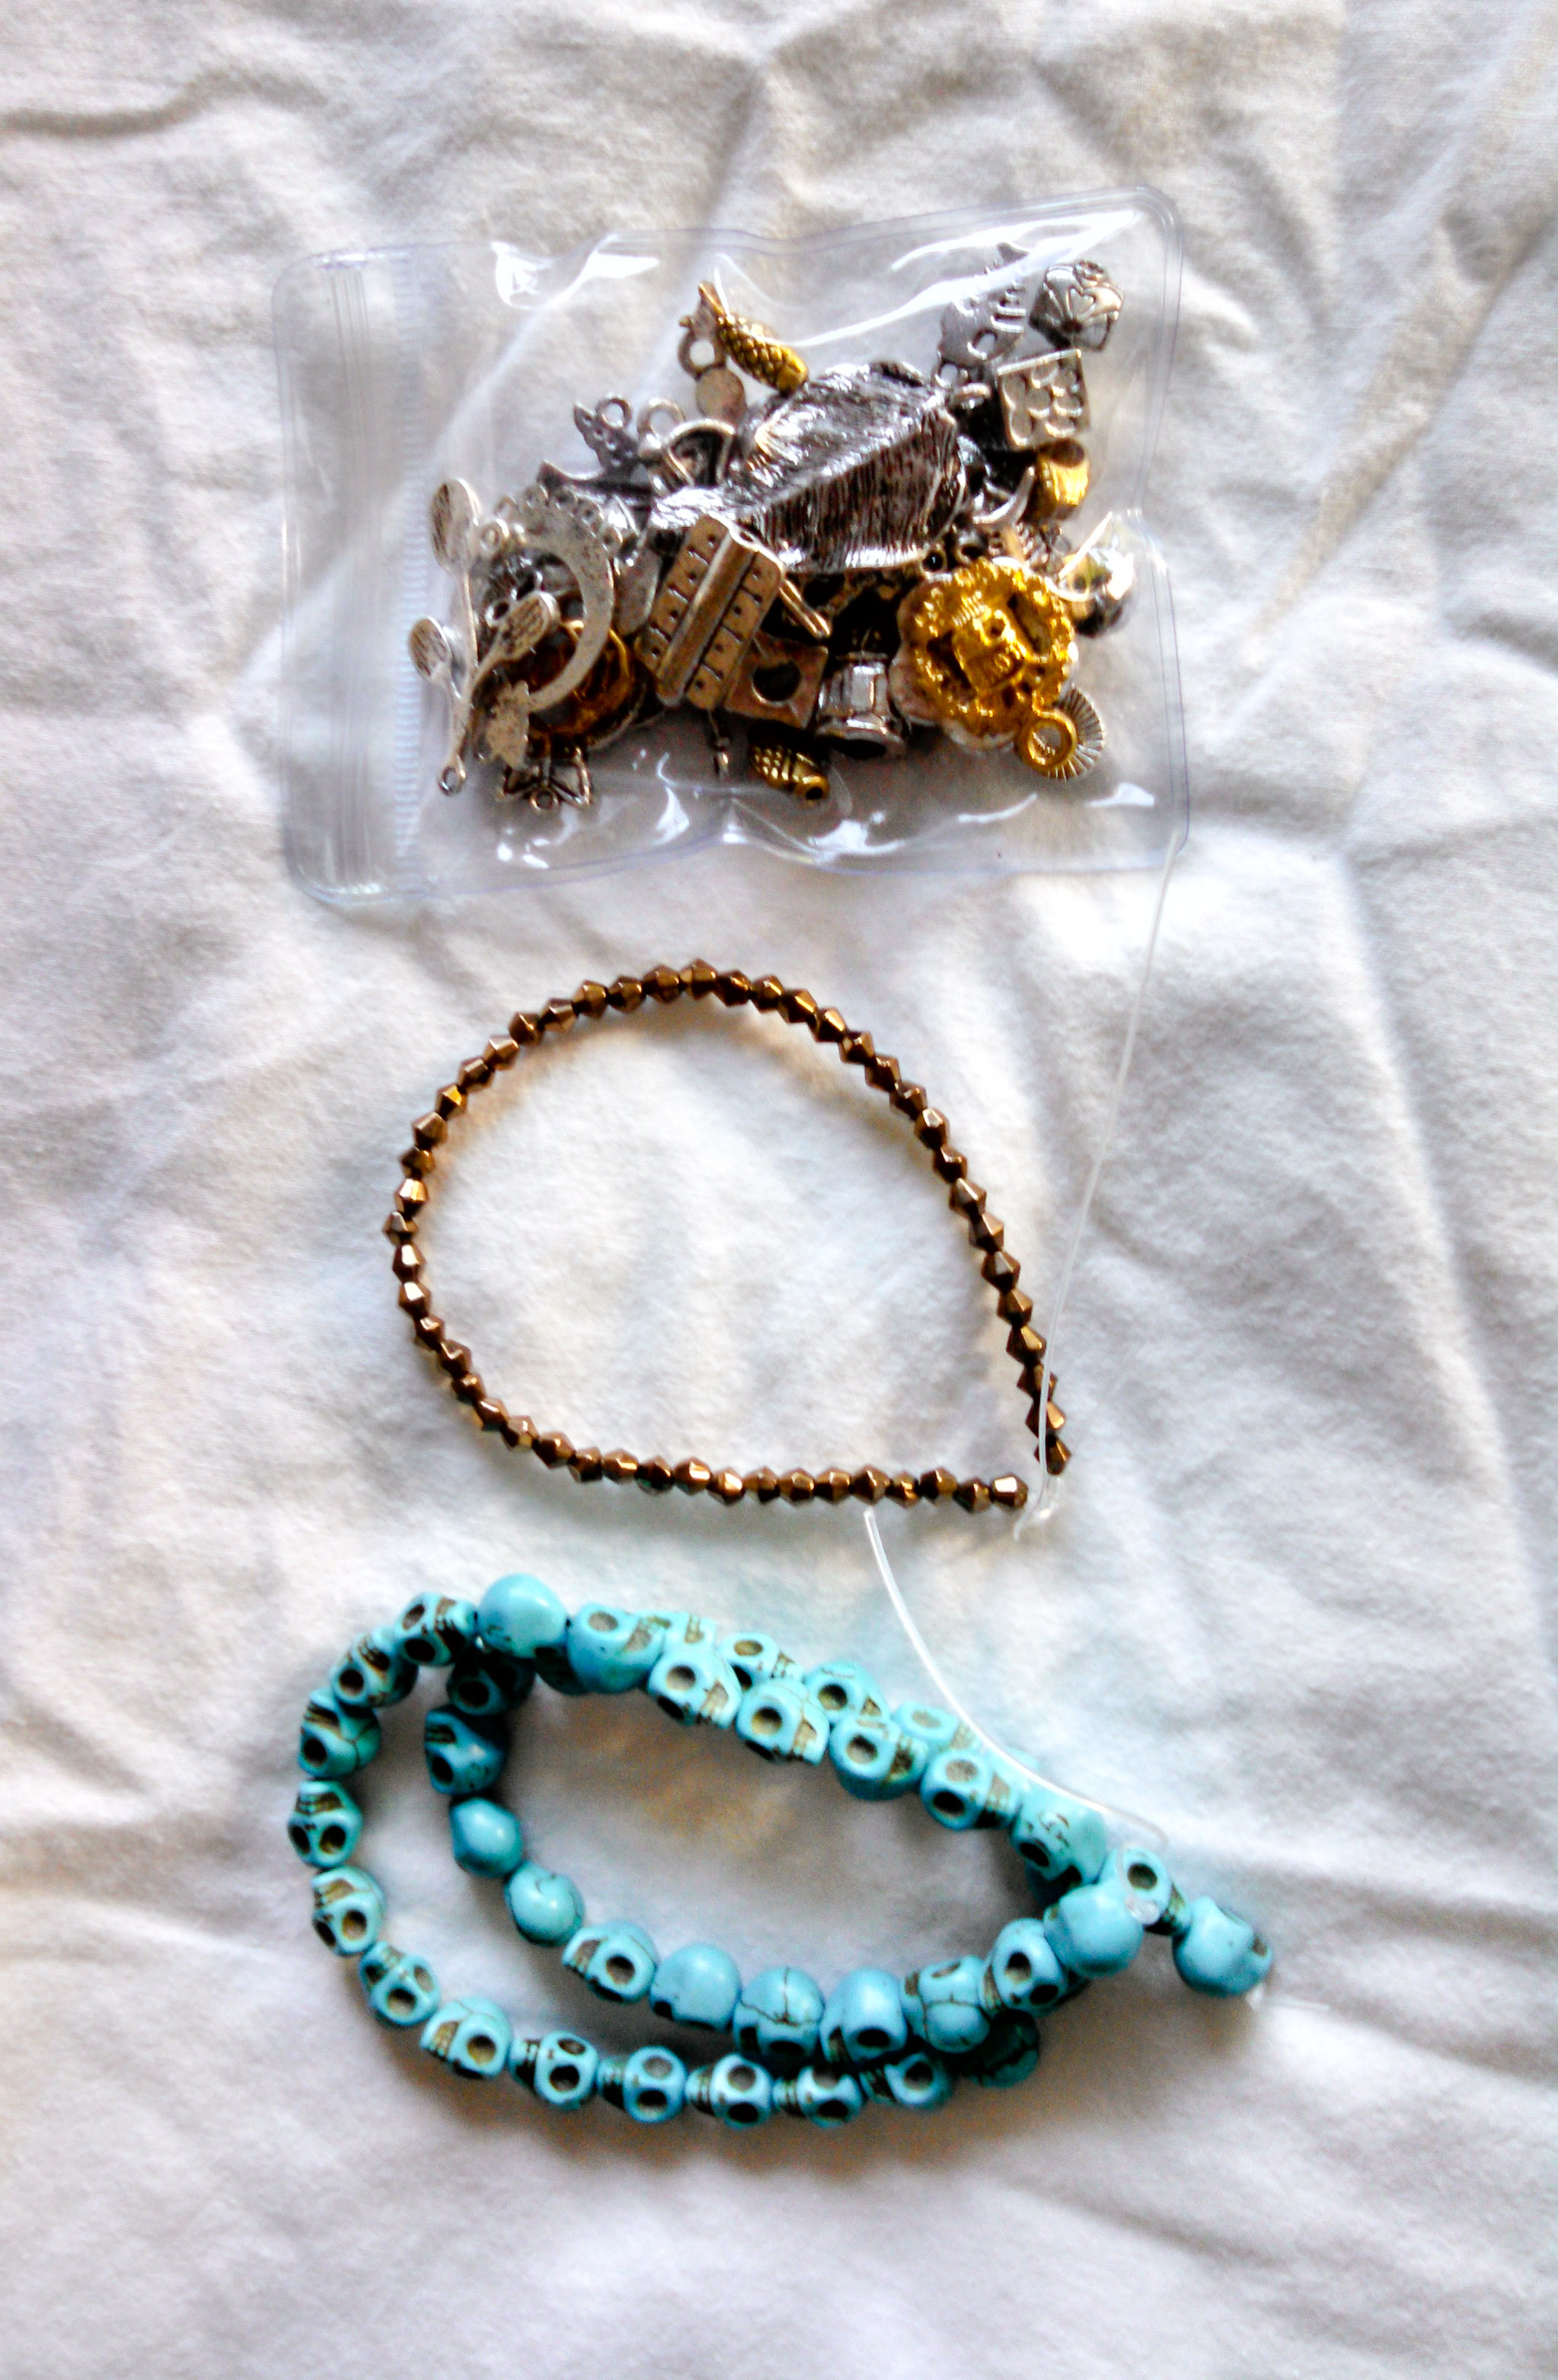
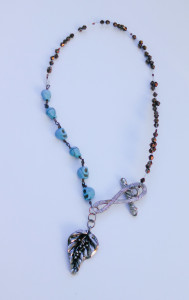 The last necklace that Kelsey made reflects her own personal style. It is a boho piece that really casual. It is just edgy enough for a teen to enjoy wearing it with the blue skull beads and large metal pendant. Again, she mixed a variety of materials in the necklace which gives it additional contrast and interest. I like the bronze metallic beads and the use of a large silver toggle as part of her design.
Each of these pieces is unique and different. Some of the pieces are casual and some are more dressy. Either way, Kelsey has added to her jewelry stash nicely. Which is your favorite necklace?




 Facebook
 Twitter
 Pinterest