I finally had the opportunity to sit down and make something with the beads that Kelsey and Maddie helped me choose from the Bead Show several weeks ago. With my mother-in-law’s birthday coming up quickly, I needed to put together her necklace. So today we have a tutorial for a pearl knotted necklace.

For this necklace you will need pearls (or some other preferred beads), cord (this cord has a thin wire needle already attached to one end), bead tips, a clasp, tweezers, and nail polish or liquid glue (like E6000). (Another note: other clasps will work. For this particular necklace, I chose to use a sterling silver filigree pearl clasp.)

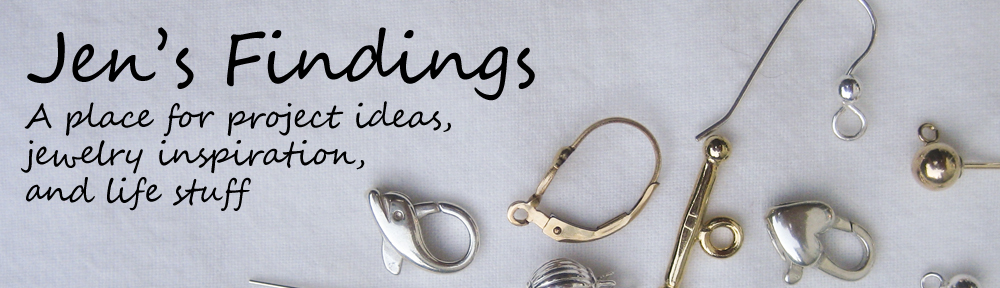
The bead tips up close….

The clasps….

Begin your necklace by tying an overhand knot at the end opposite the needle. Slide on a bead tip so that the knot is caught in the “clamshell.”

Slide the first bead onto the needle and all the way down the cord to the bead tip.

Begin tying a loose overhand knot.

Use the tweezers to reach through the knot and pinch the cord right next to the bead.


Slowly tighten the knot and remove the tweezers.


I realized that white cord on a white background is hard to see, so apologies for the presto-change background, but here is a better photo:

Continue until the necklace is as long as you want it. This particular necklace falls just below the collarbone. Slide one more bead tip on so that the clamshell faces away from the beads. Tie another overhand knot to hold the bead tip snugly against the beads. Secure the knots using clear nail polish or another liquid glue. Once the knots are dry, clip the excess cord.

Slide the clasp pieces onto the hooks of the bead tips and carefully close the bead tips using pliers.
That’s it–you’re done! Here is a photo of the final necklace (sorry for the inconsistent lighting–I took the photos in different parts of the house).


Just FYI, my mother-in-law loved her birthday gift! Since this was our first full tutorial, please feel free to leave feedback and comments. (Again, apologies for the crazy lighting.) Be sure to visit www.jensfindings.com for all the findings used in this tutorial or whatever else you might need for your jewelry projects.


 Facebook
 Twitter
 Pinterest