Summer Beading Ideas

I’m so sorry for disappearing for so long.  Life seemed to take over and the bead blog got neglected.  😛  But on to better things!

This spring Kelsey made some new necklaces that are fun pieces for warmer weather.  I really like each of the pieces.  She managed to put something unconventional in each necklace which makes them unique and interesting.
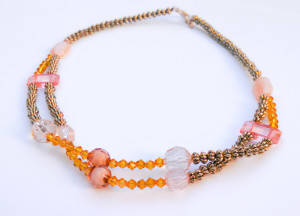
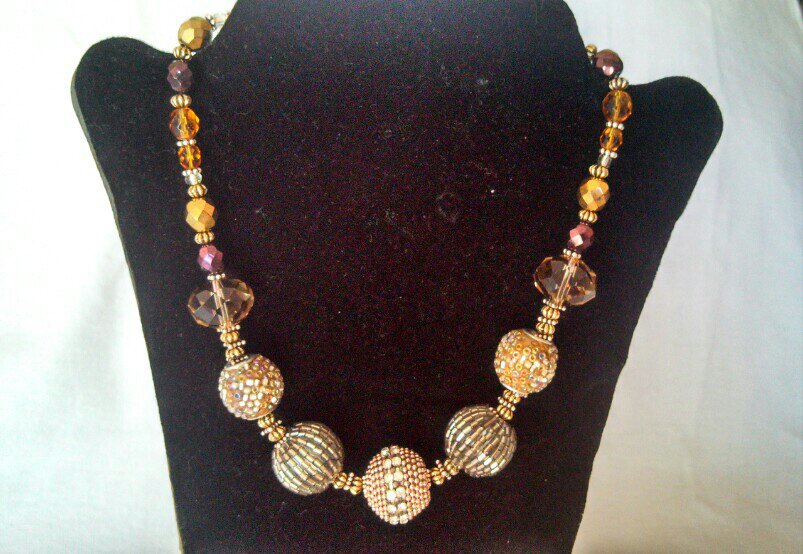
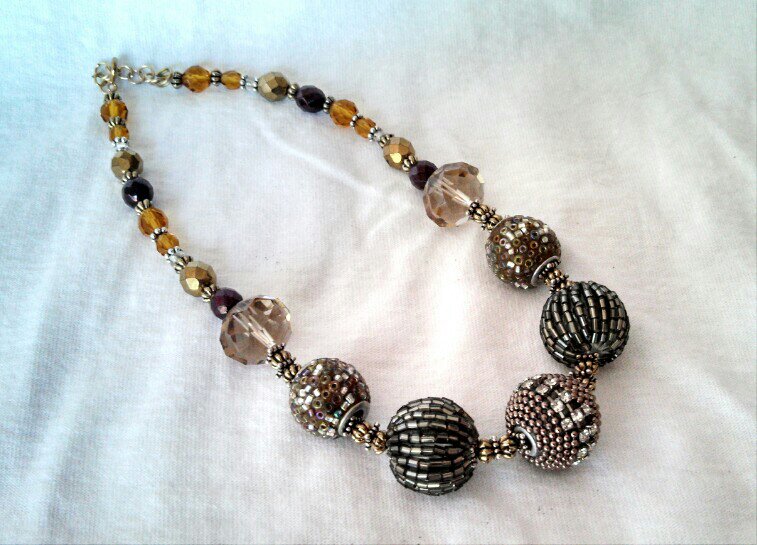
PSX_20150625_035339I loved this necklace for several reasons.  It is a choker length piece which is my personal favorite style to wear.  She used beads with a variety of textures and materials–glass, metal and plastic.  The colors are all warmer toned and put together, the pinks, orange and brown remind me of a sunset.  She also incorporated beads with a double holes which separated the two strands nicely.  The two strands combine into a single strand toward the back of the necklace and are finished with a gold toggle clasp.

PSX_20150625_032557 PSX_20150625_032935

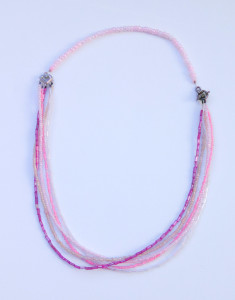
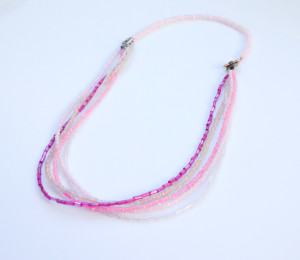
This is another super pretty necklace that looks much more complicated to complete than it really is.  It did take some time for Kelsey to string the multiple strands of seed beads and bugle beads, she make her bead selections quickly as she simply used various shades of pink and magenta.  Again, she used a lovely combination of textures, such as shimmer, opaque, and faceted beads for extra shine.  While one side of the necklace does utilize a multi-strand metal finding, the other sides incorporates a silver toggle clasp as a design element.  This necklace falls to just below the collar bone which allows each of the beaded strands to drape together nicely.

PSX_20150625_034716 PSX_20150625_035028

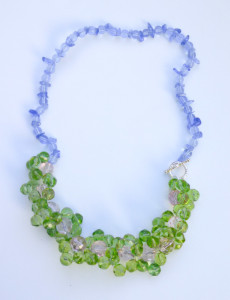
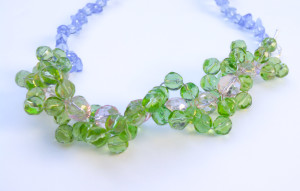
The sheer pastel colors in the necklace make it a perfect choice to wear in the spring or summer months.  Kelsey used glass beads that came in both chips and faceted rounds.  The chunkier section of the choker was made using a daisy chain technique.  Because the faceted round beads are so big, rather than making separate daisies that lay flat, they become a chunky focal point for the piece.  The “daisies” look almost like a helix pattern.  This might be my favorite of her most recent creations!  I love the way this necklace turned out.  Let me know if you might like to see a tutorial on how to make a beaded daisy chain.
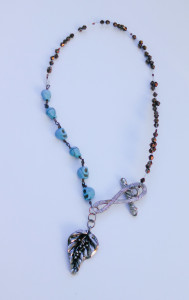


PSX_20150625_035615The last necklace that Kelsey made reflects her own personal style.  It is a boho piece that really casual.  It is just edgy enough for a teen to enjoy wearing it with the blue skull beads and large metal pendant.  Again, she mixed a variety of materials in the necklace which gives it additional contrast and interest.  I like the bronze metallic beads and the use of a large silver toggle as part of her design.

Each of these pieces is unique and different.  Some of the pieces are casual and some are more dressy.  Either way, Kelsey has added to her jewelry stash nicely.  Which is your favorite necklace?


Facebooktwitterredditpinterestlinkedinmail

Black Agate Necklace

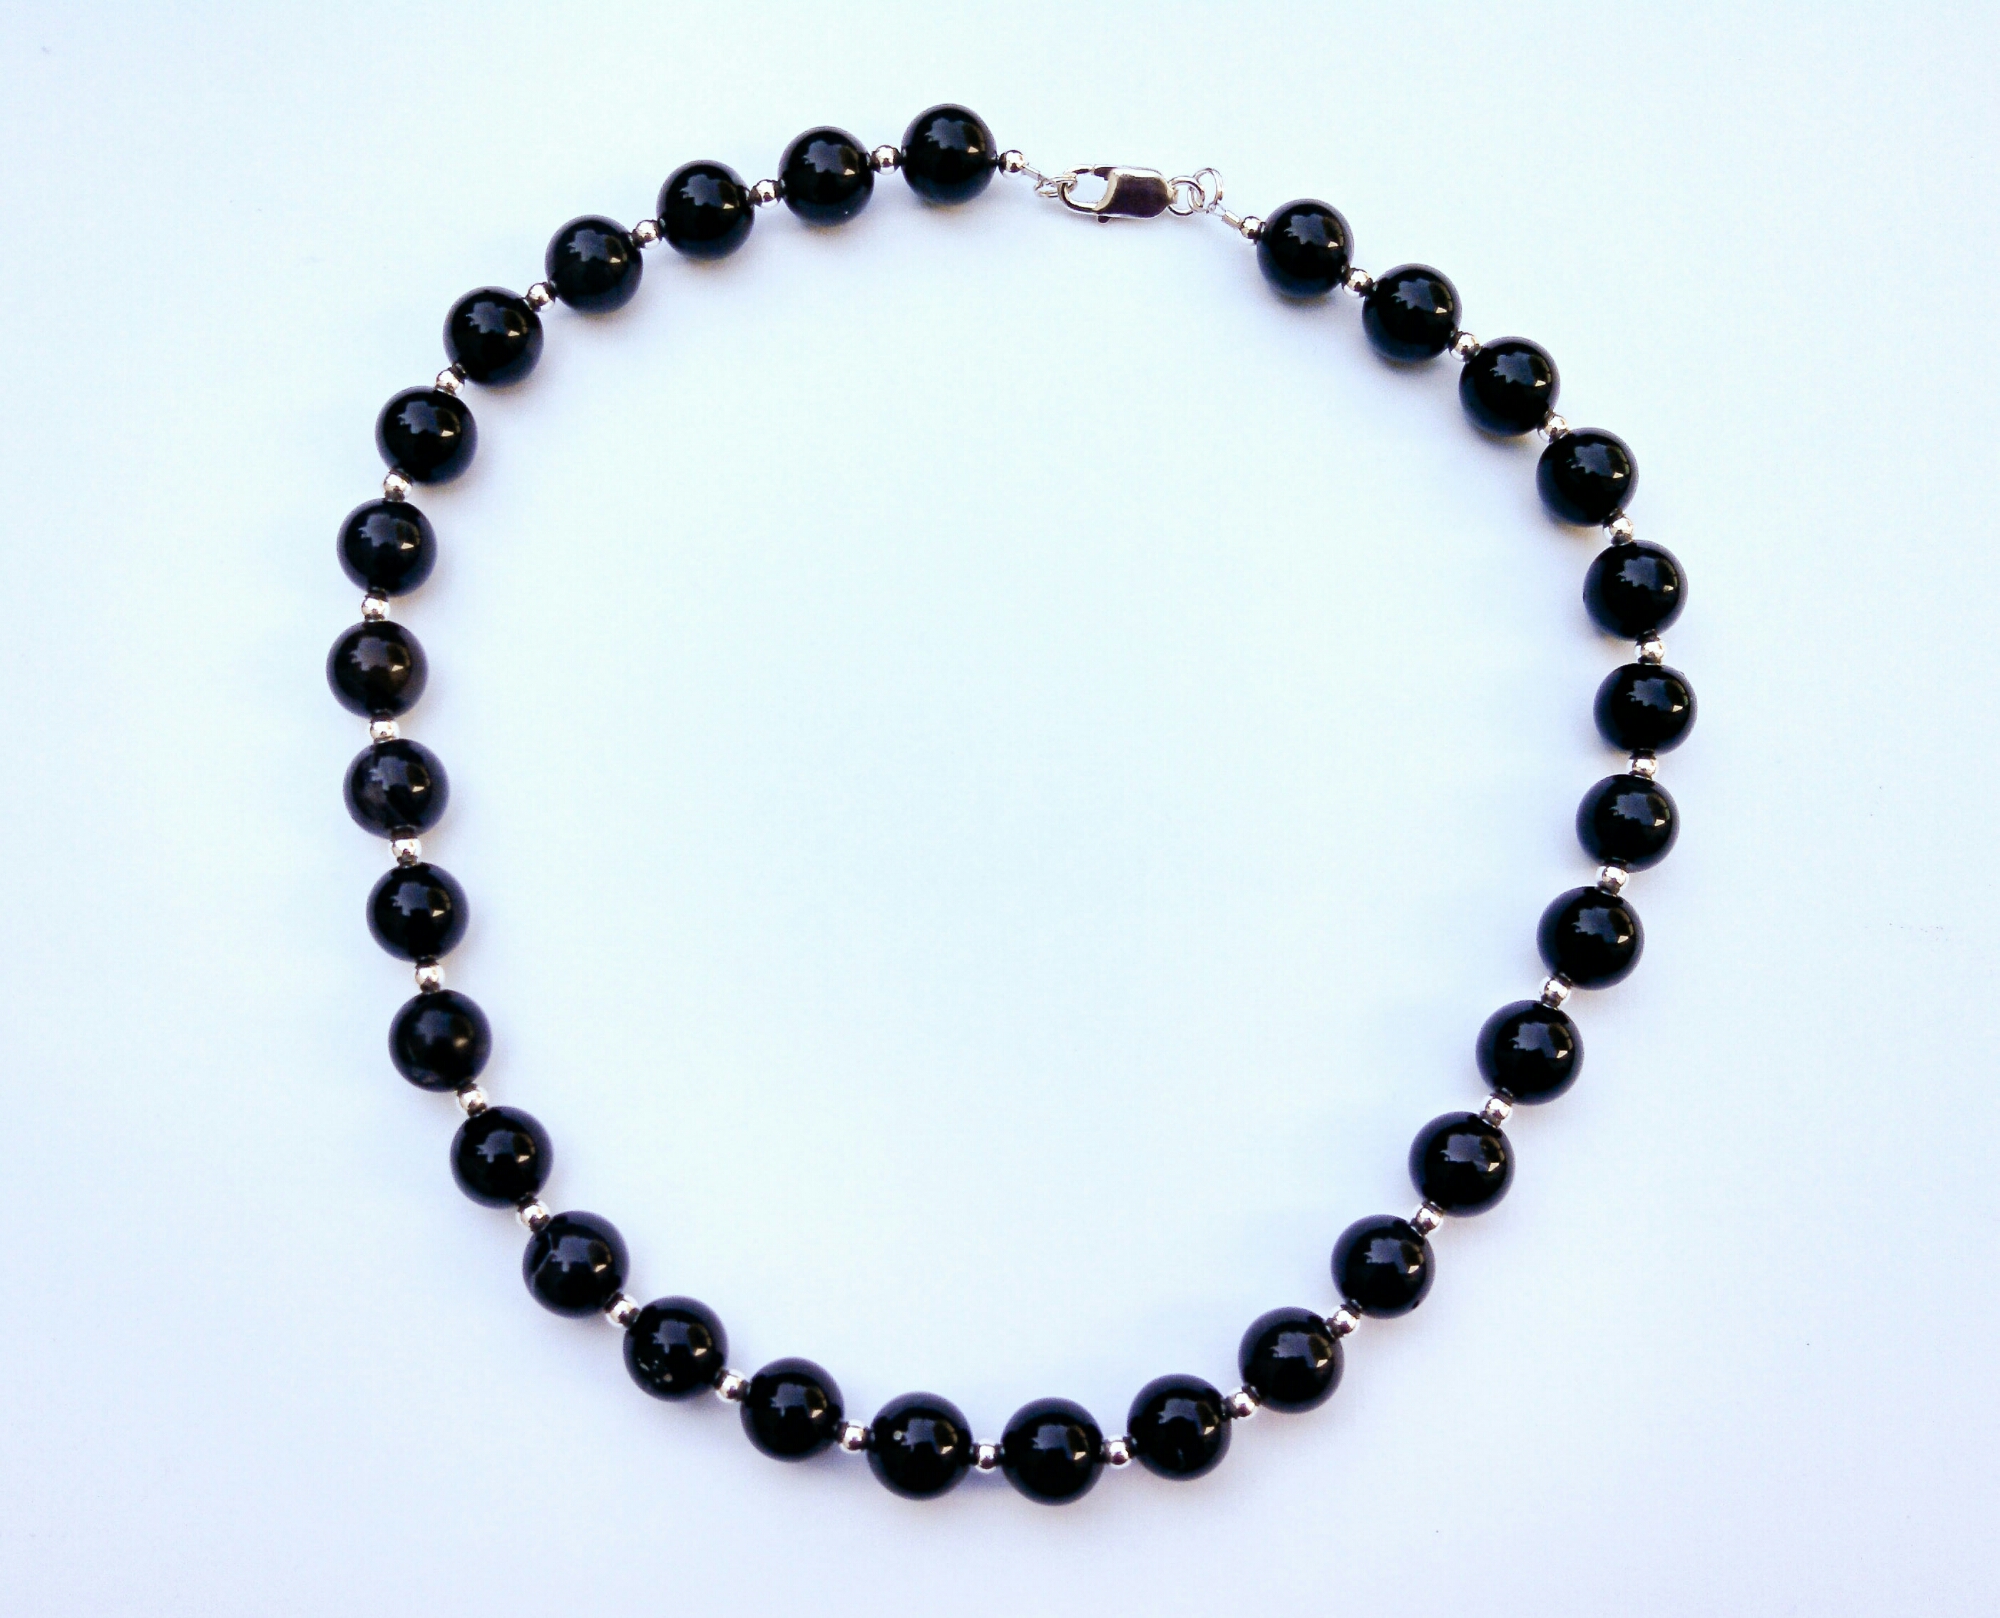
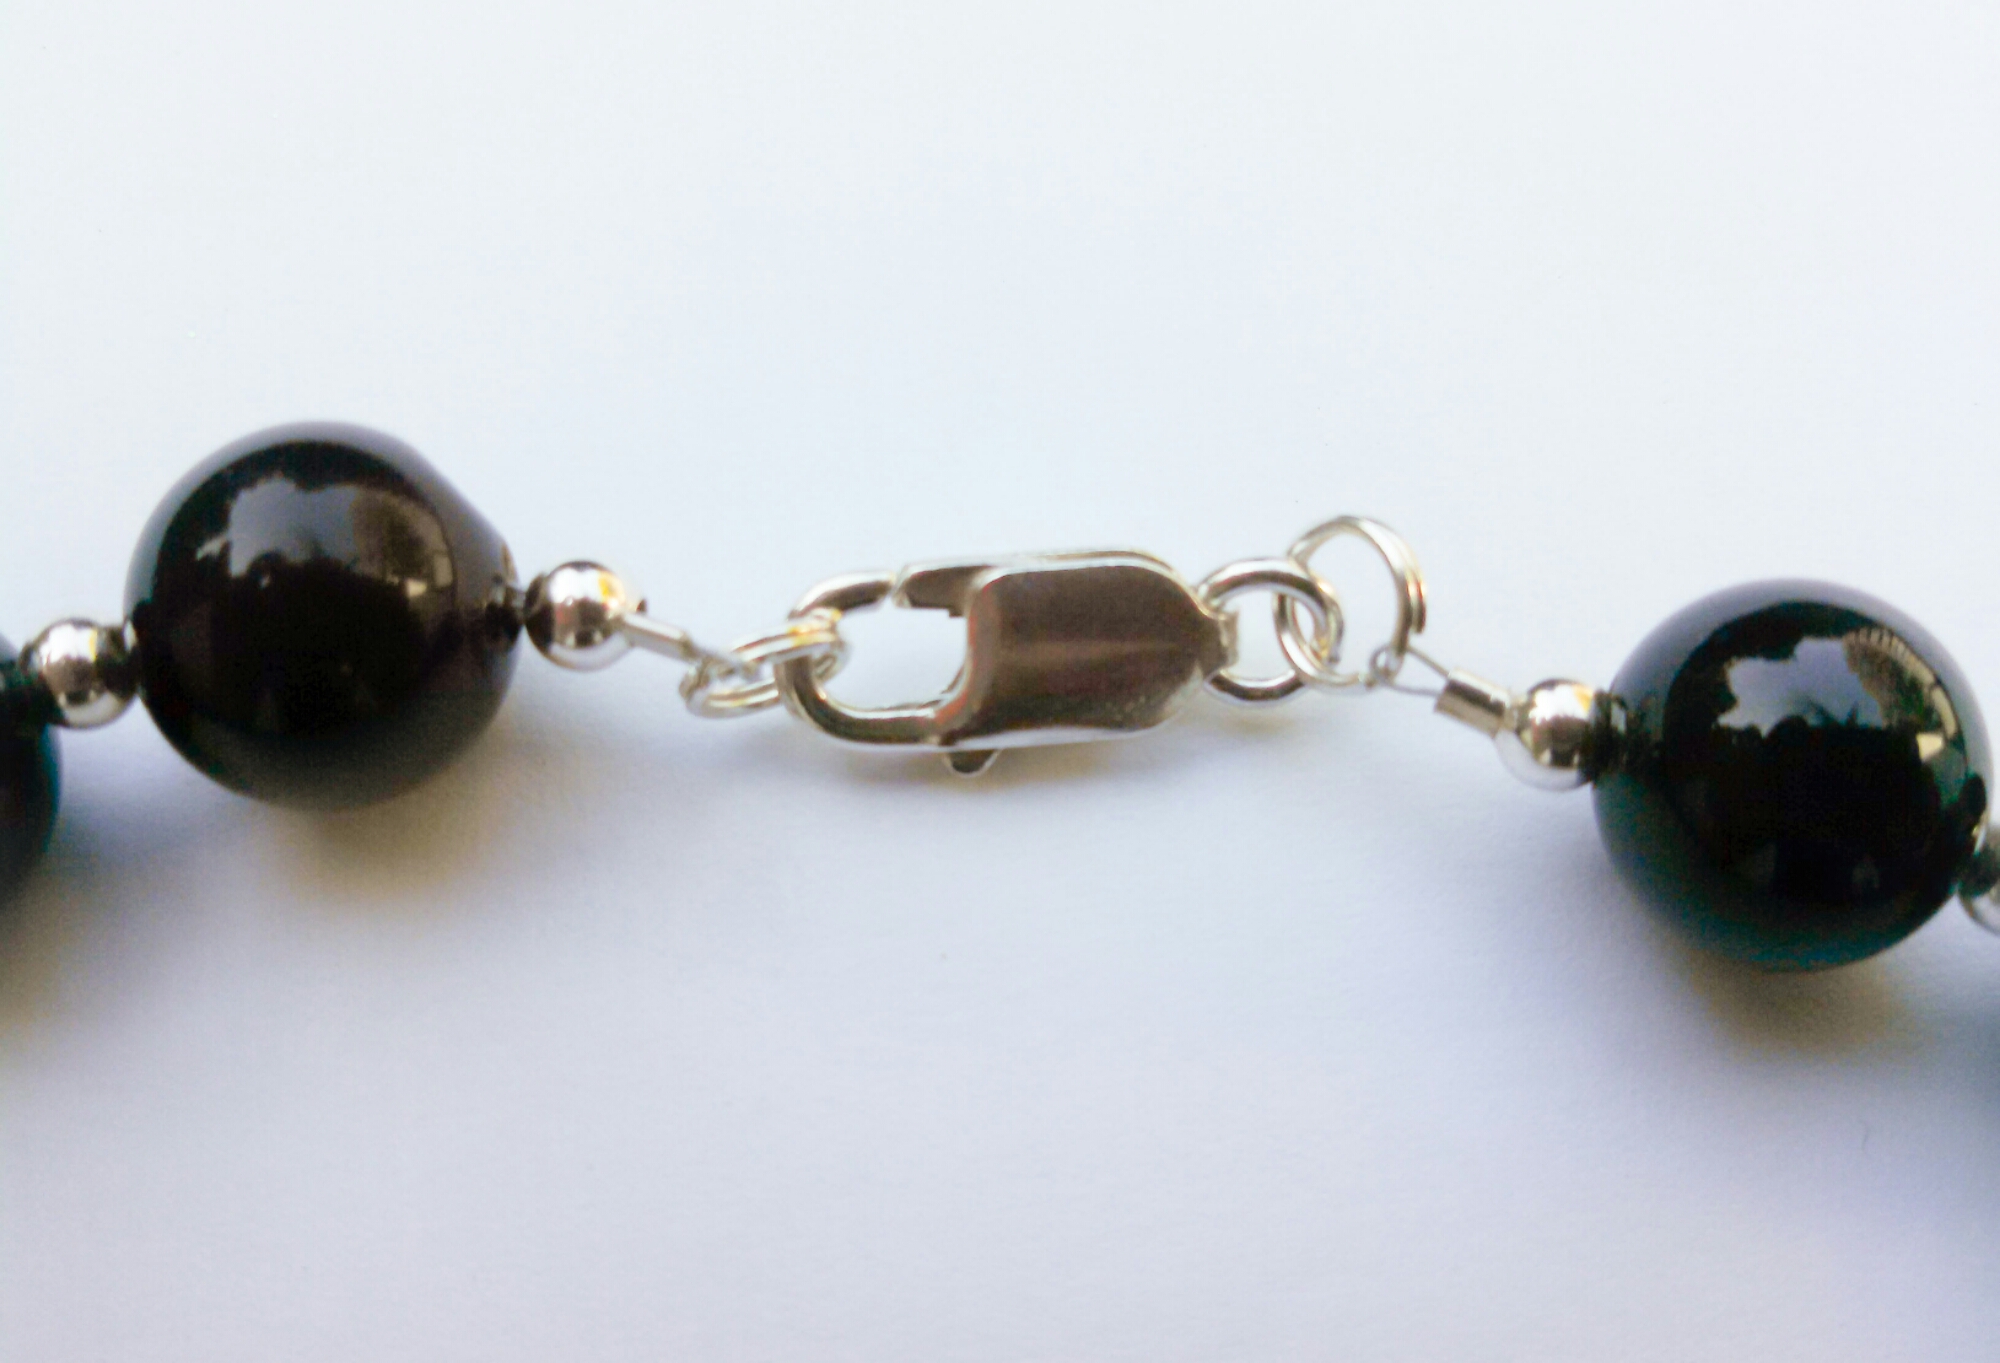
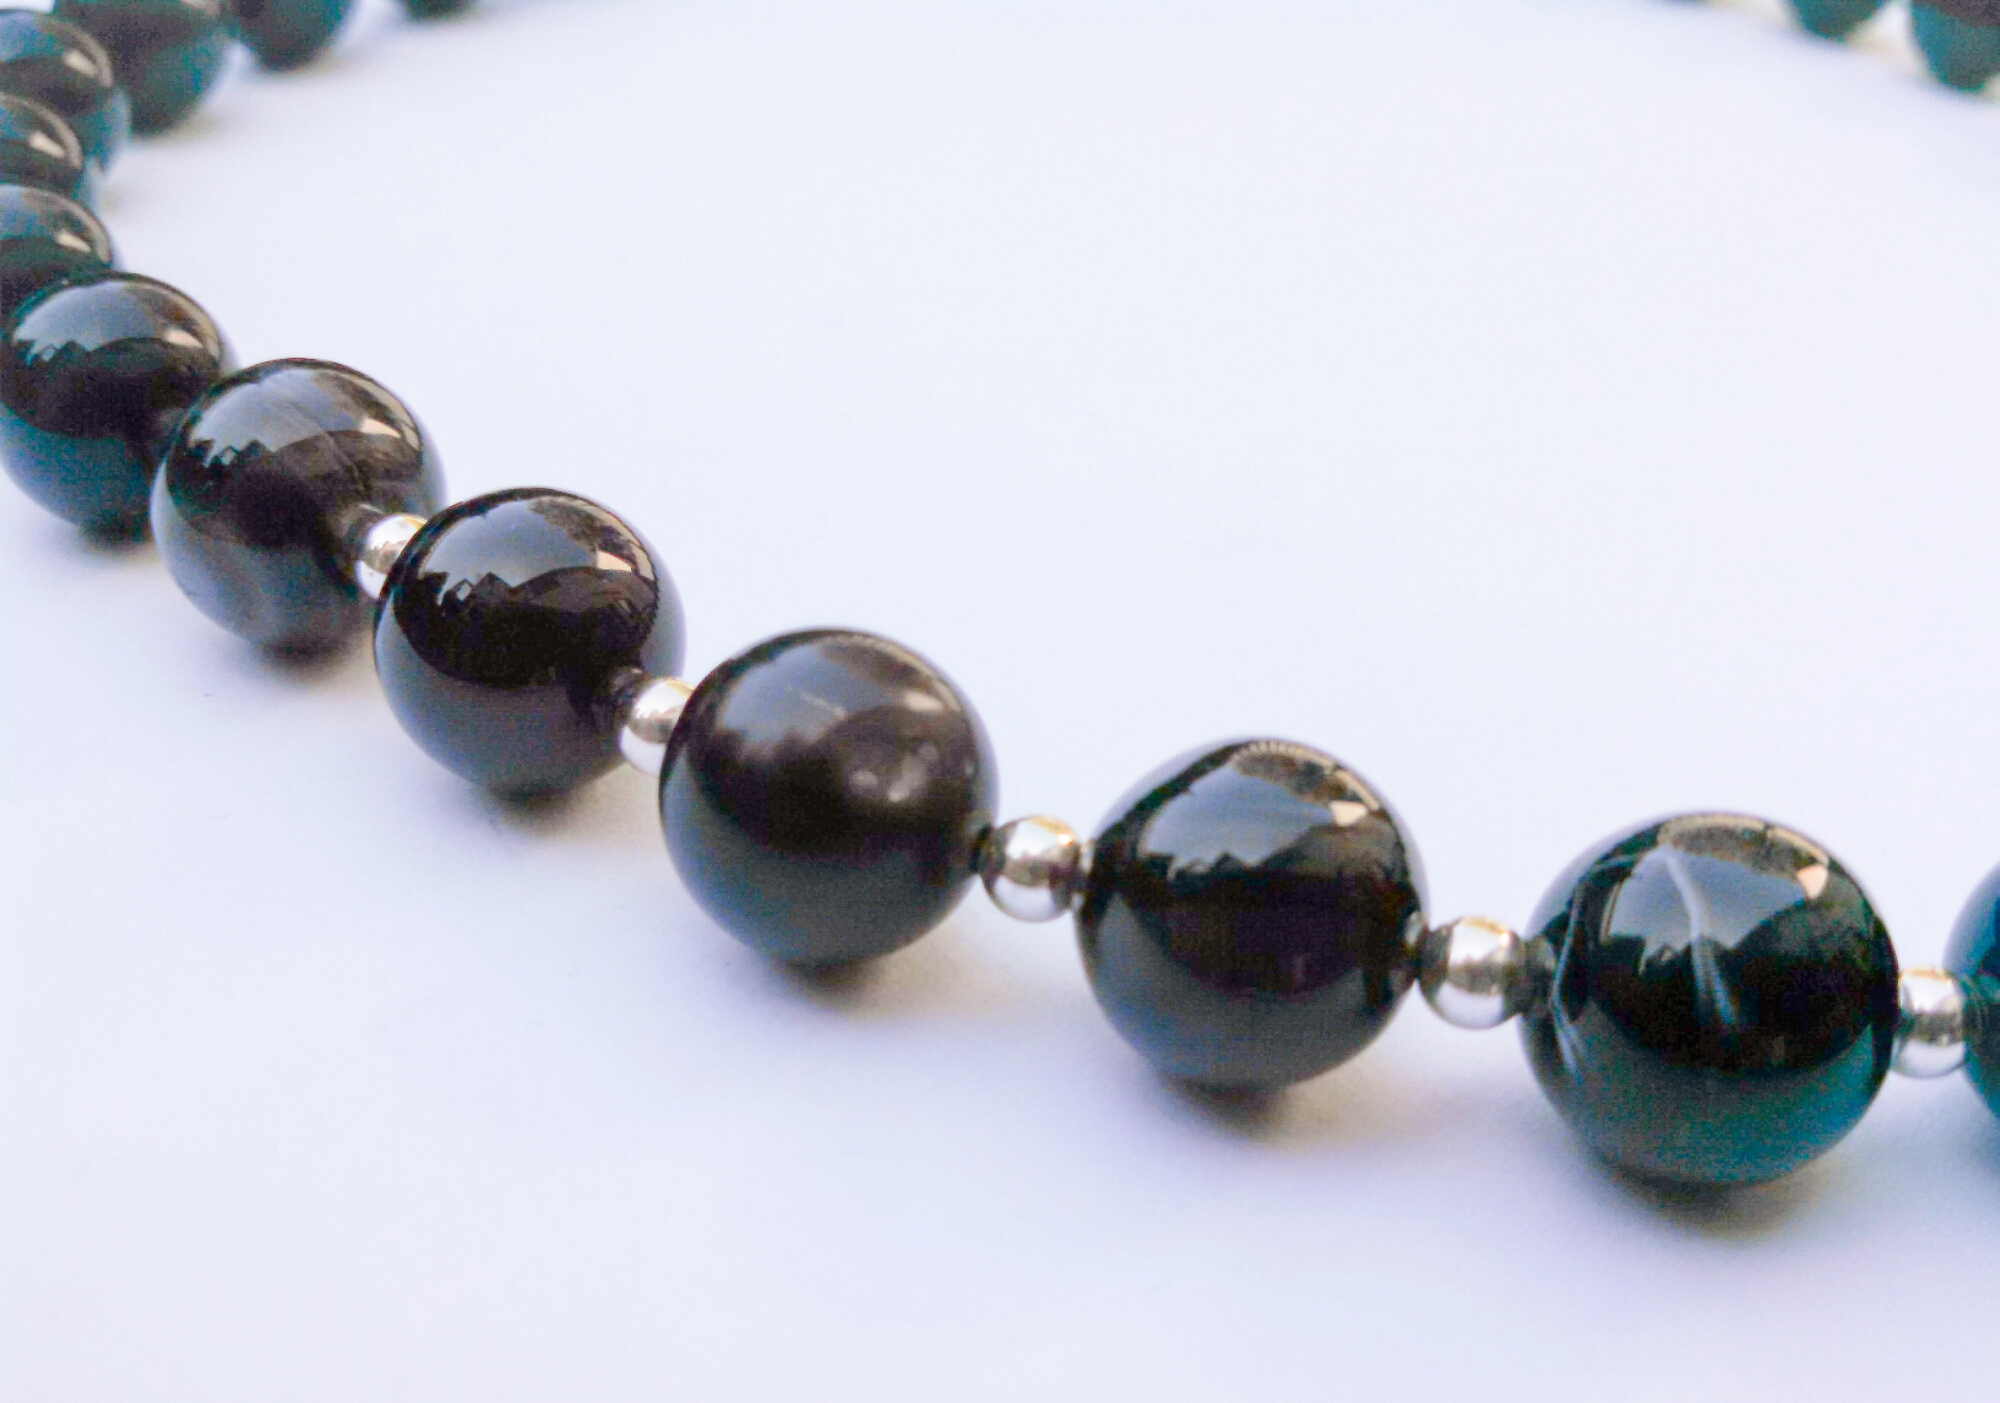
I recently offered to make a necklace to donate for a charity silent auction. Since individual tastes can vary so much, I decided to keep it simple and elegant. This strung bead in necklace just alternates 12mm black agate beads with 4mm sterling silver round beads. I finished off the piece using a large sterling silver lobster claw clasp.

image

The necklace measures 20 inches, so it is a little longer than choker length. The stones beads give it a nice weight. In the photos the beads just show up as black, but there are some subtle color variations and a few stripe striations. Hopefully, this piece of jewelry does well and raises a few dollars for a worthy cause!
image

image

Facebooktwitterredditpinterestlinkedinmail

Pearl Knotted Necklace Tutorial

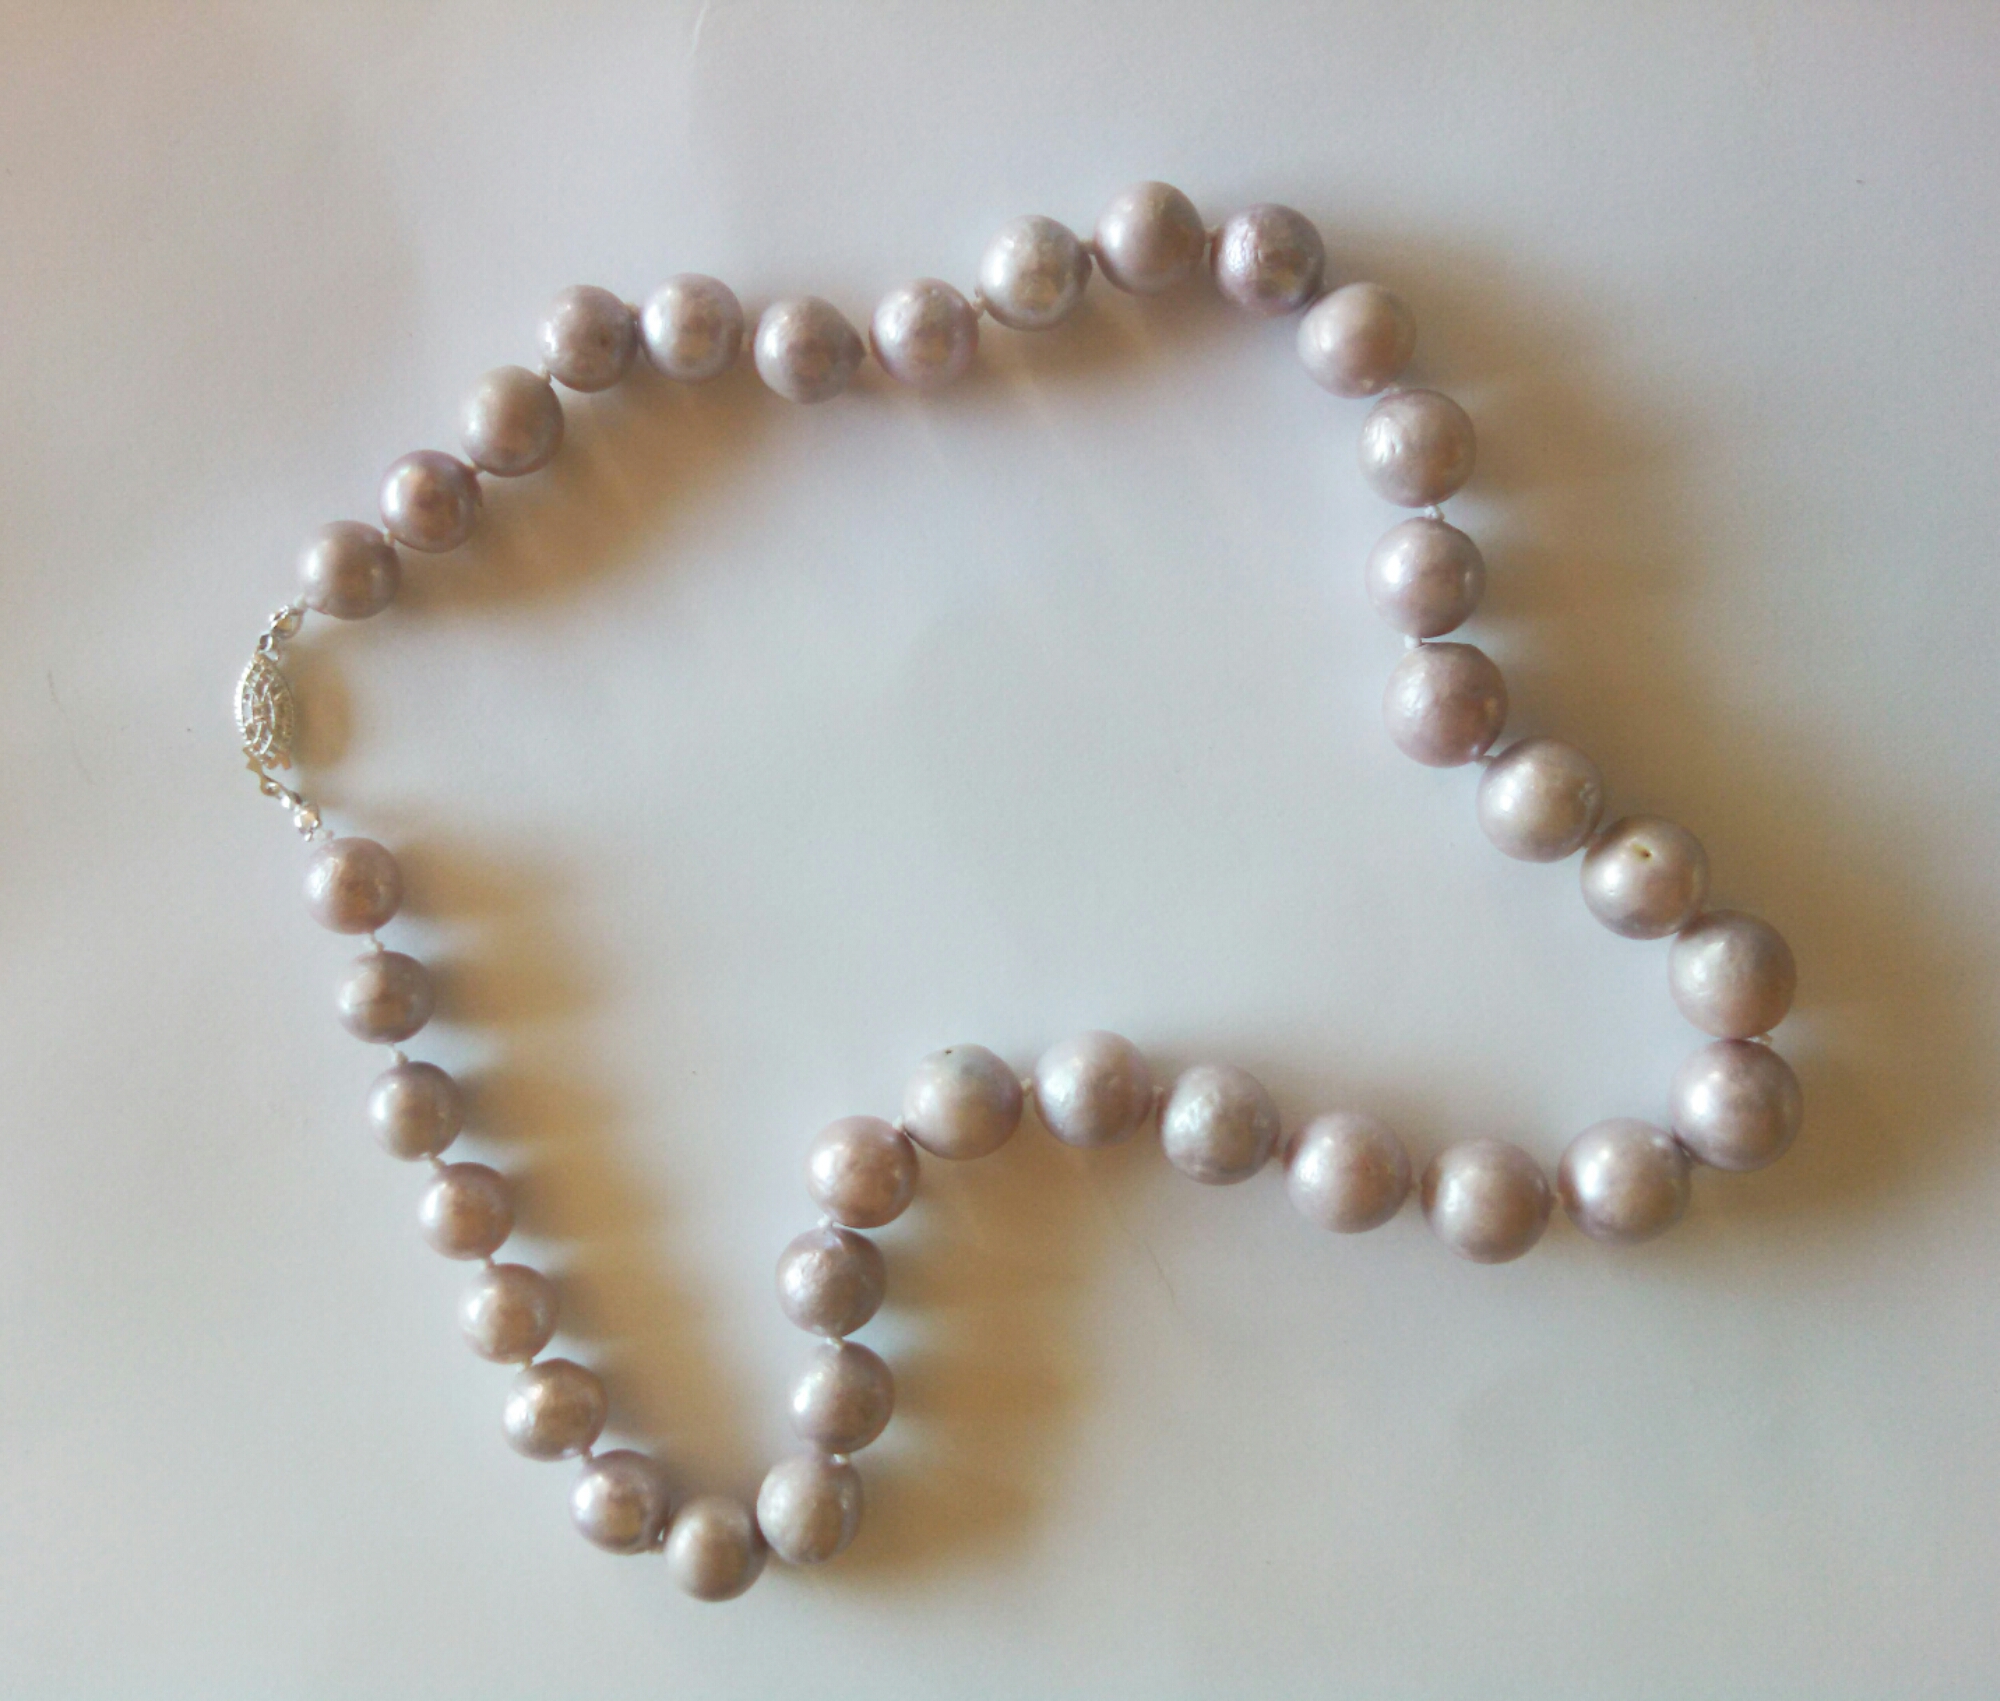
I finally had the opportunity to sit down and make something with the beads that Kelsey and Maddie helped me choose from the Bead Show several weeks ago. With my mother-in-law’s birthday coming up quickly, I needed to put together her necklace. So today we have a tutorial for a pearl knotted necklace.
image

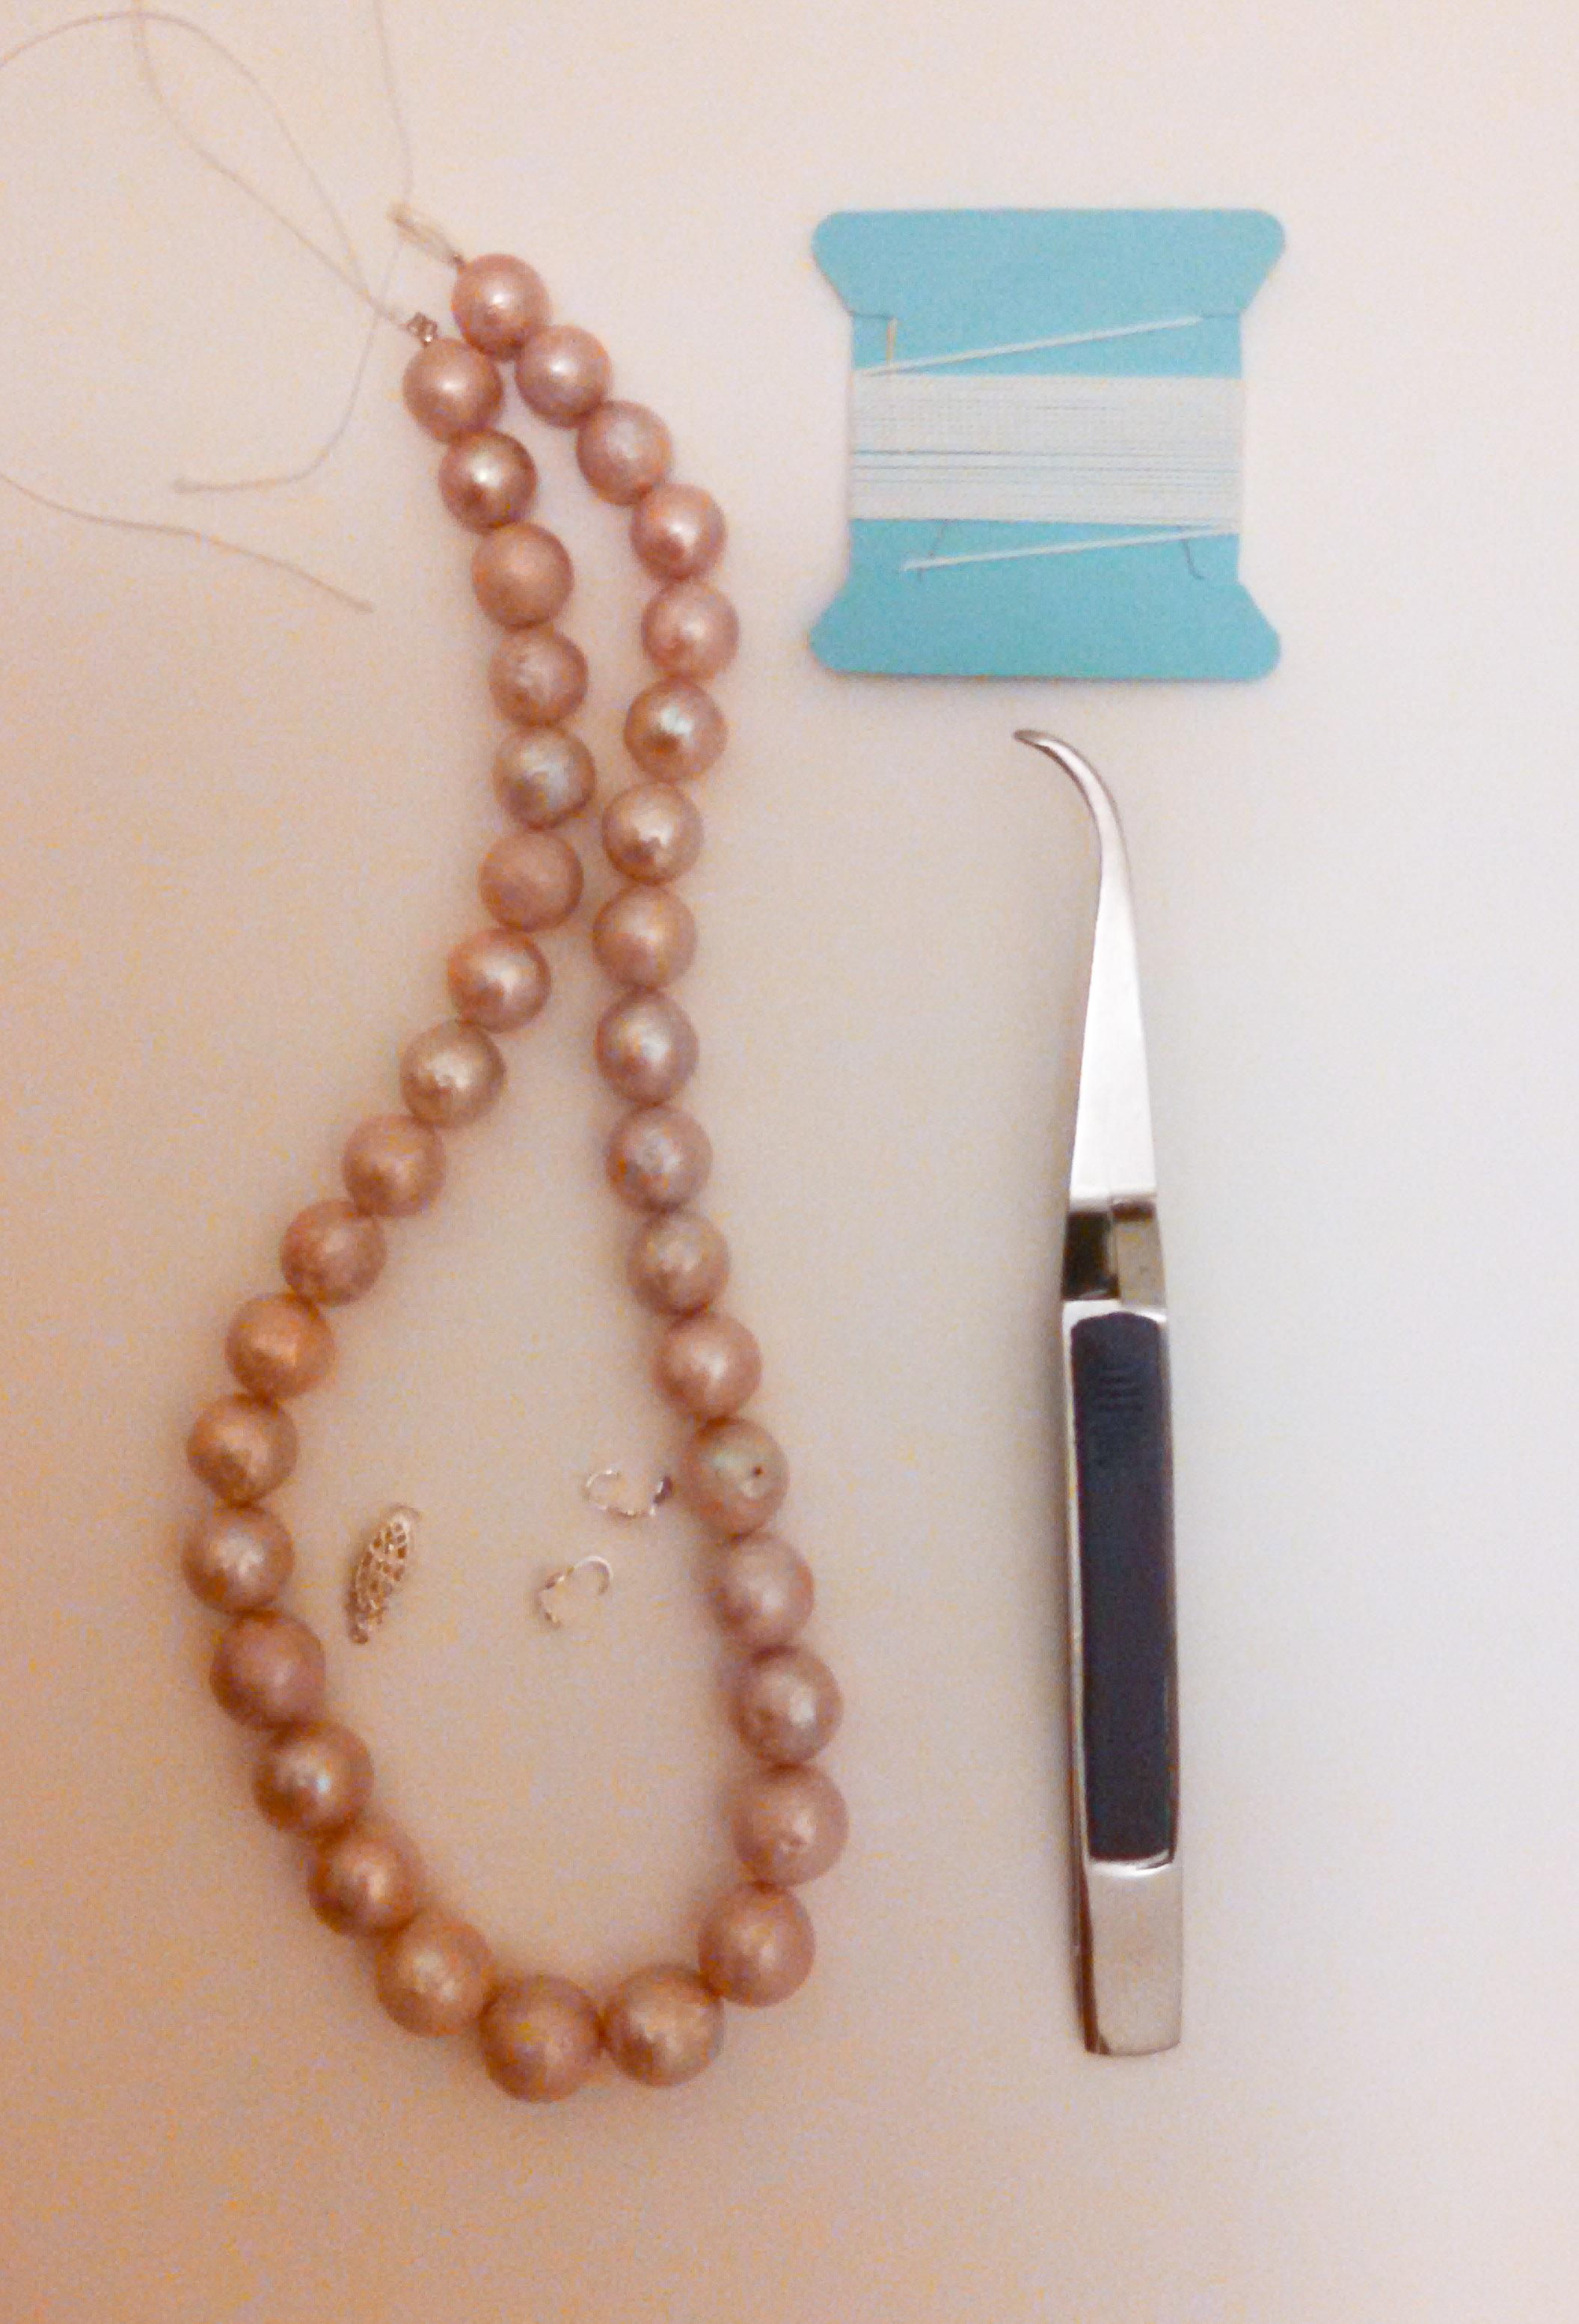
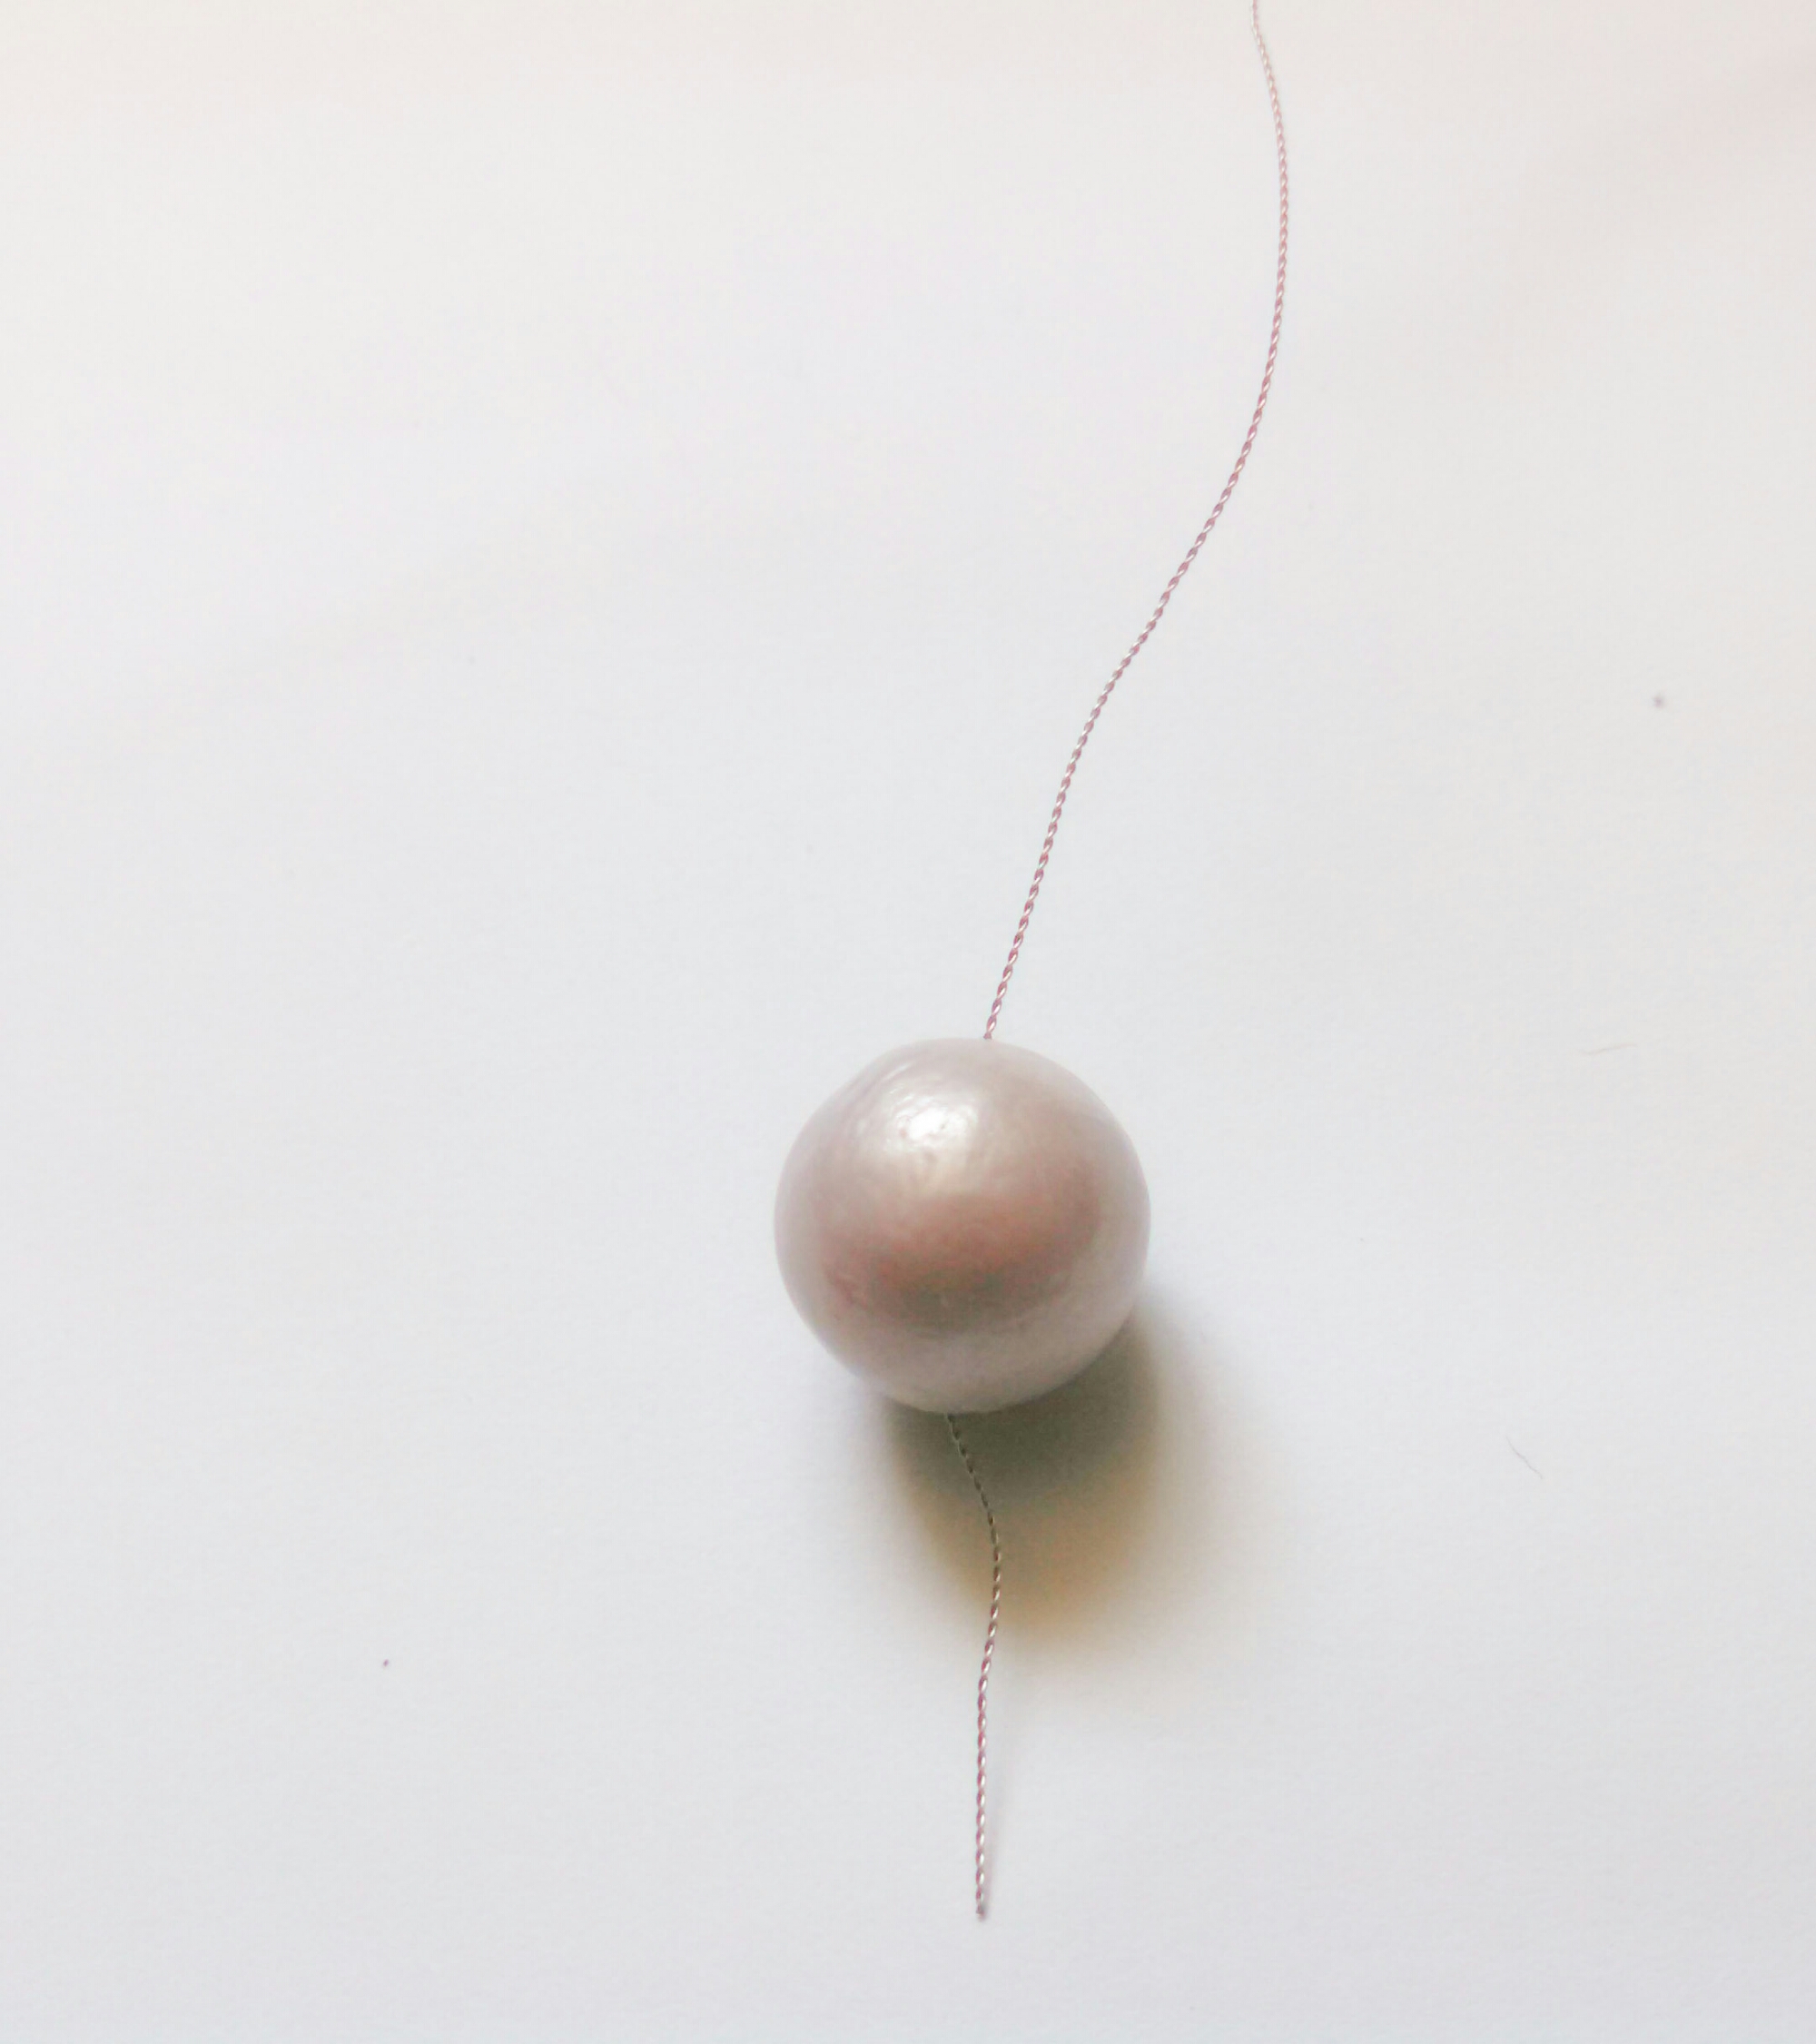
For this necklace you will need pearls (or some other preferred beads), cord (this cord has a thin wire needle already attached to one end), bead tips, a clasp, tweezers, and nail polish or liquid glue (like E6000). (Another note: other clasps will work. For this particular necklace, I chose to use a sterling silver filigree pearl clasp.)
image

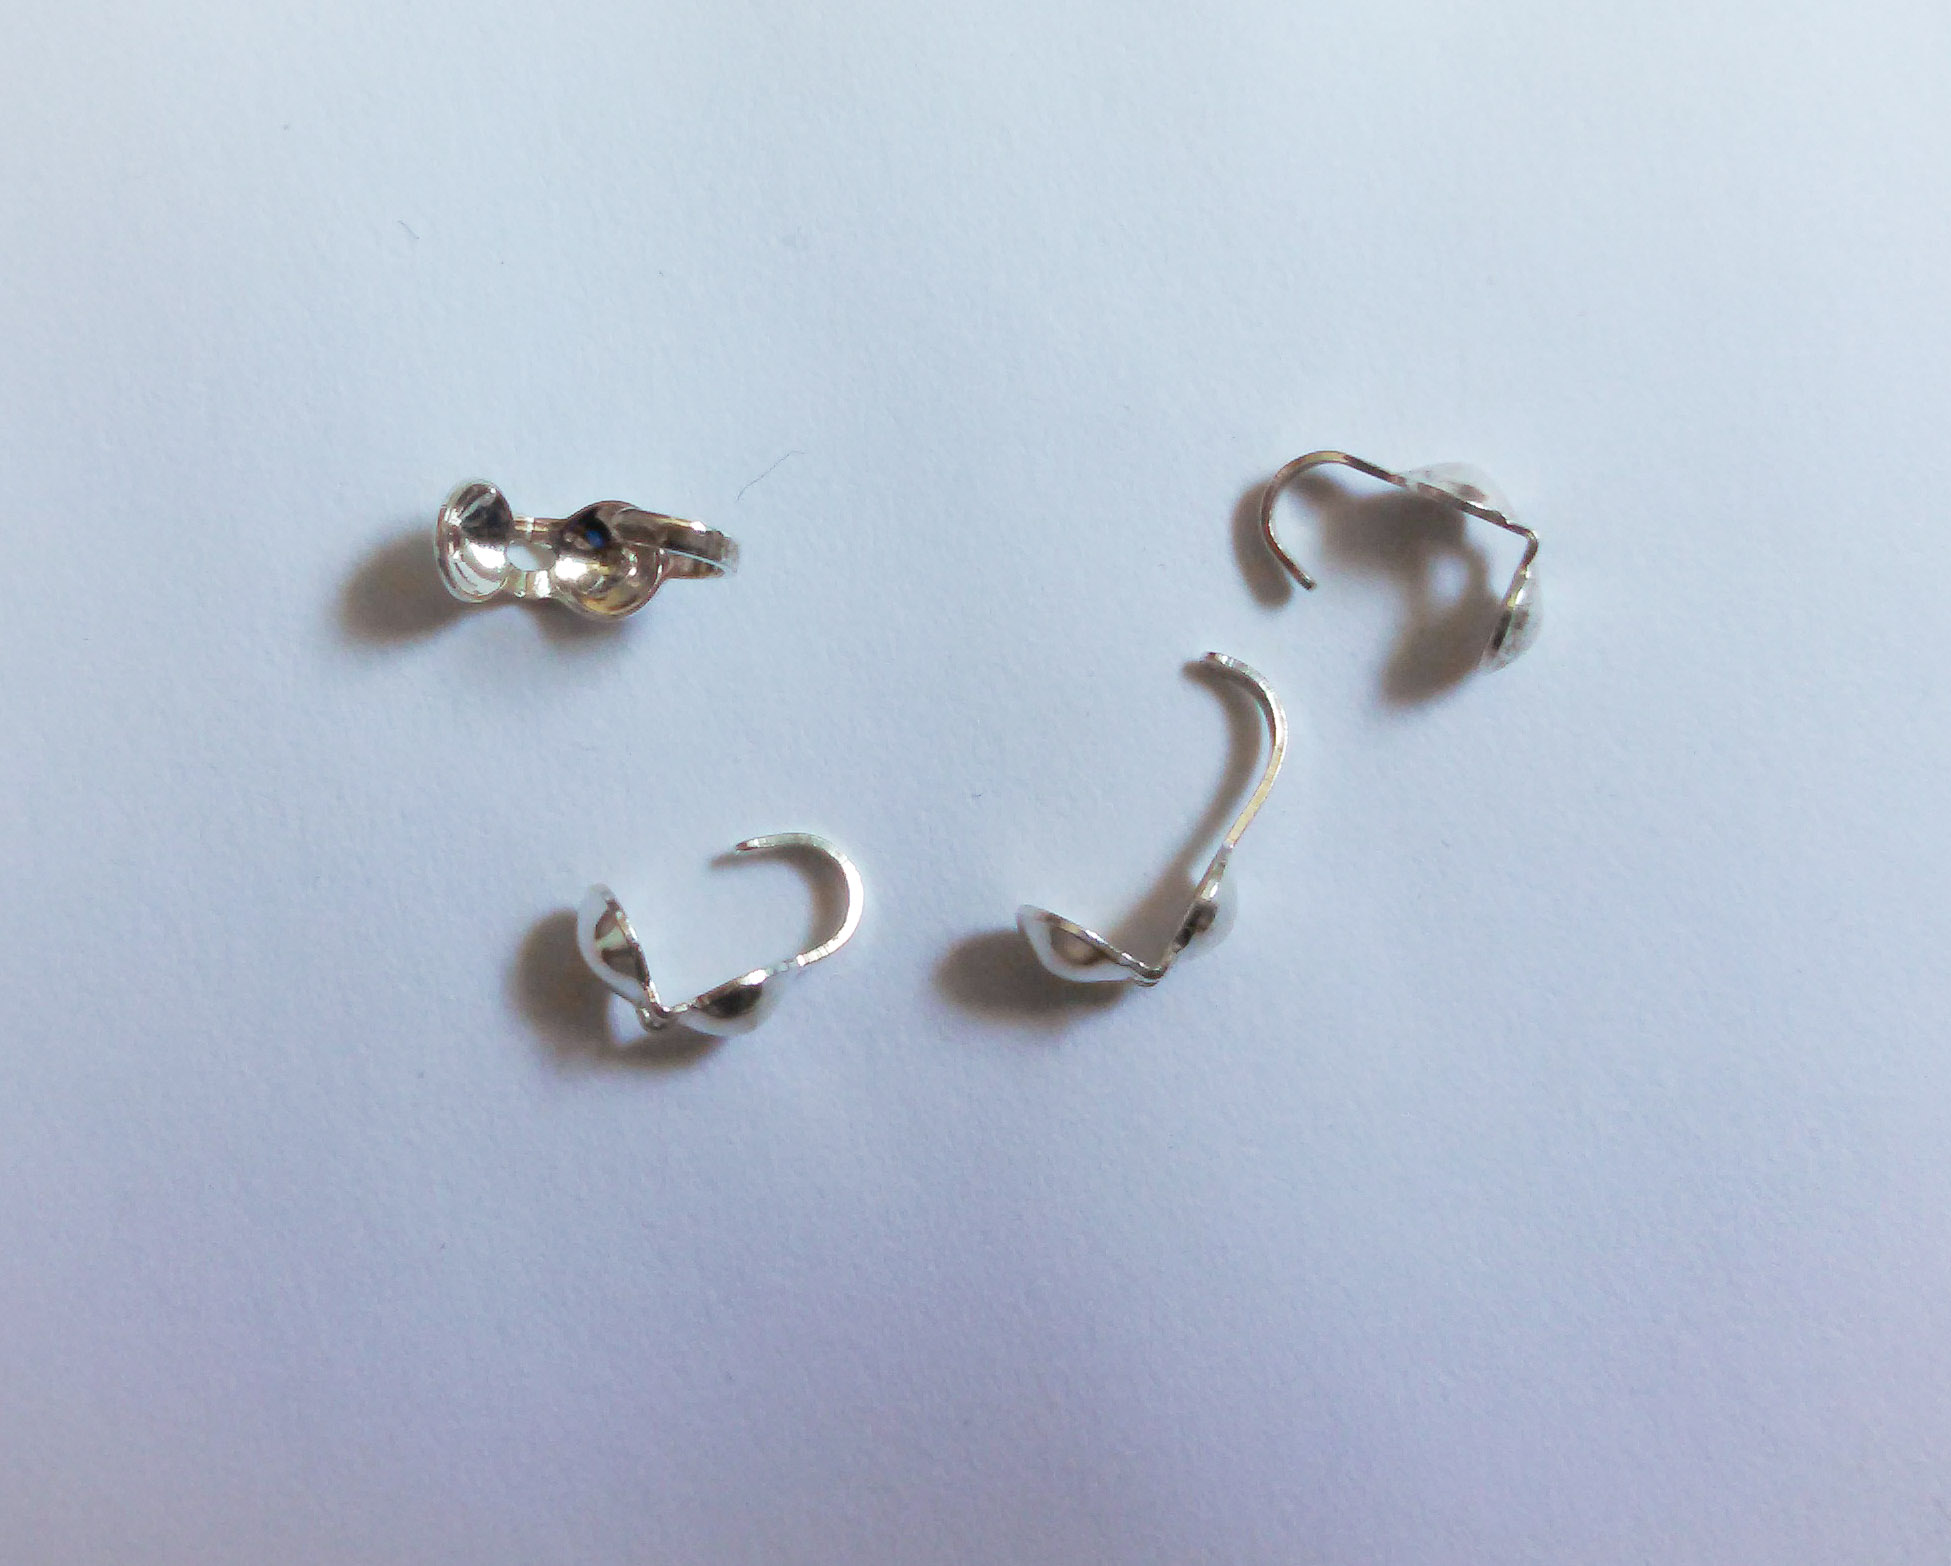
The bead tips up close….
image

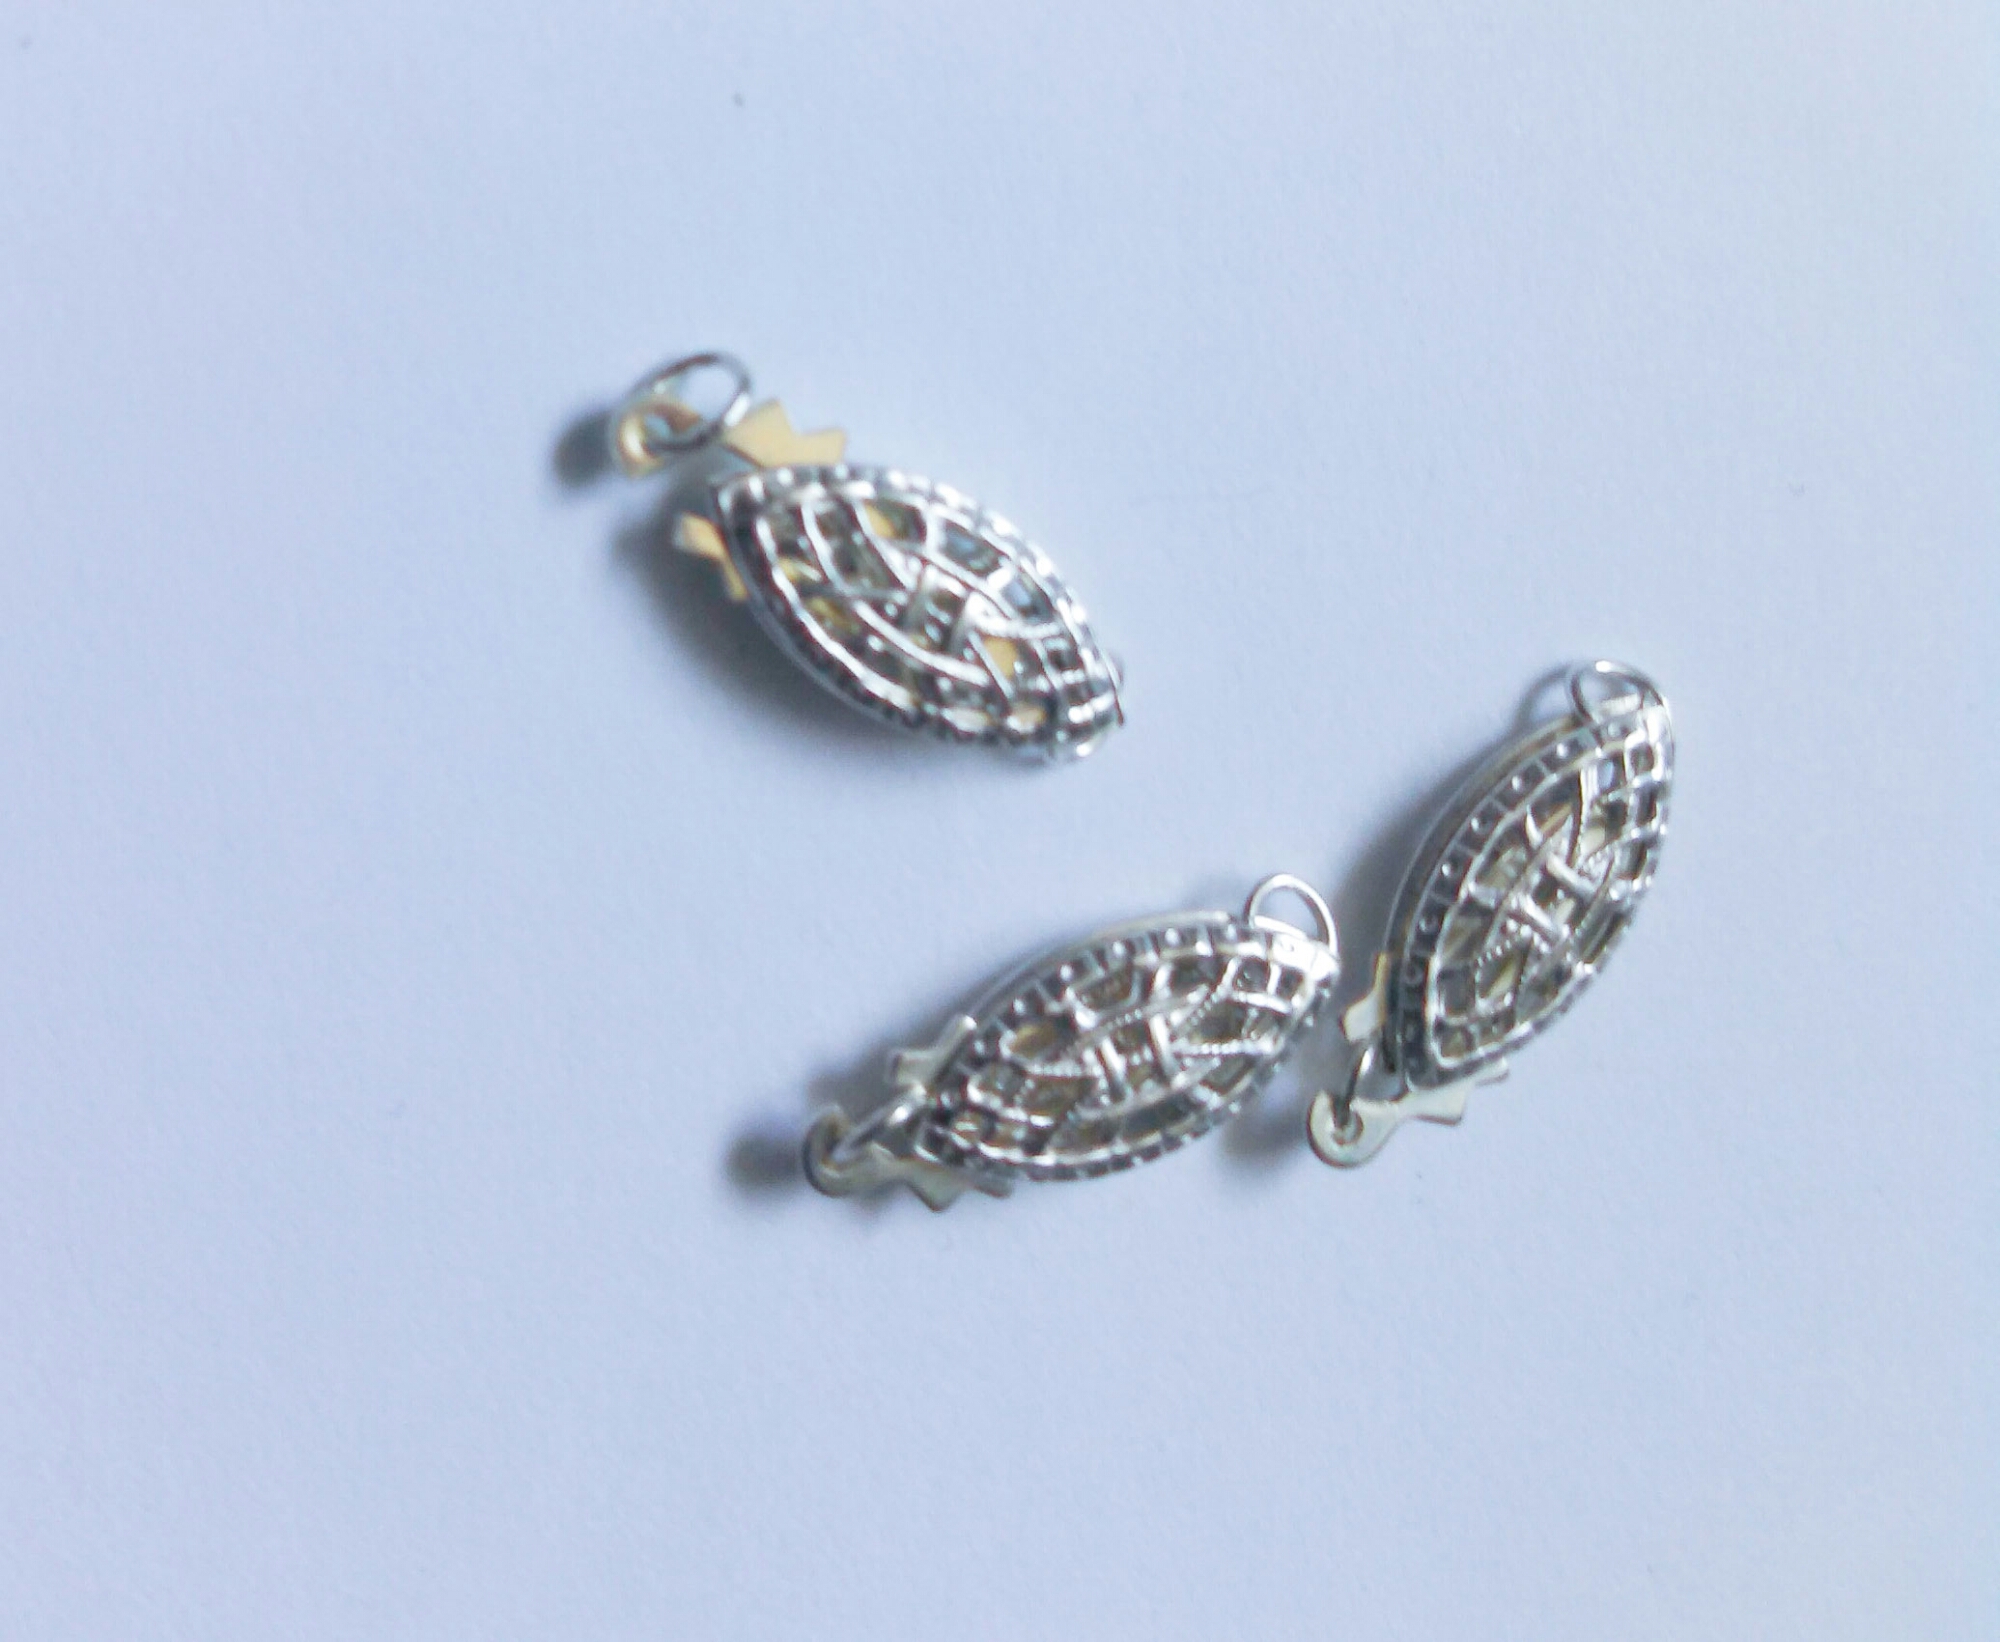
The clasps….
image

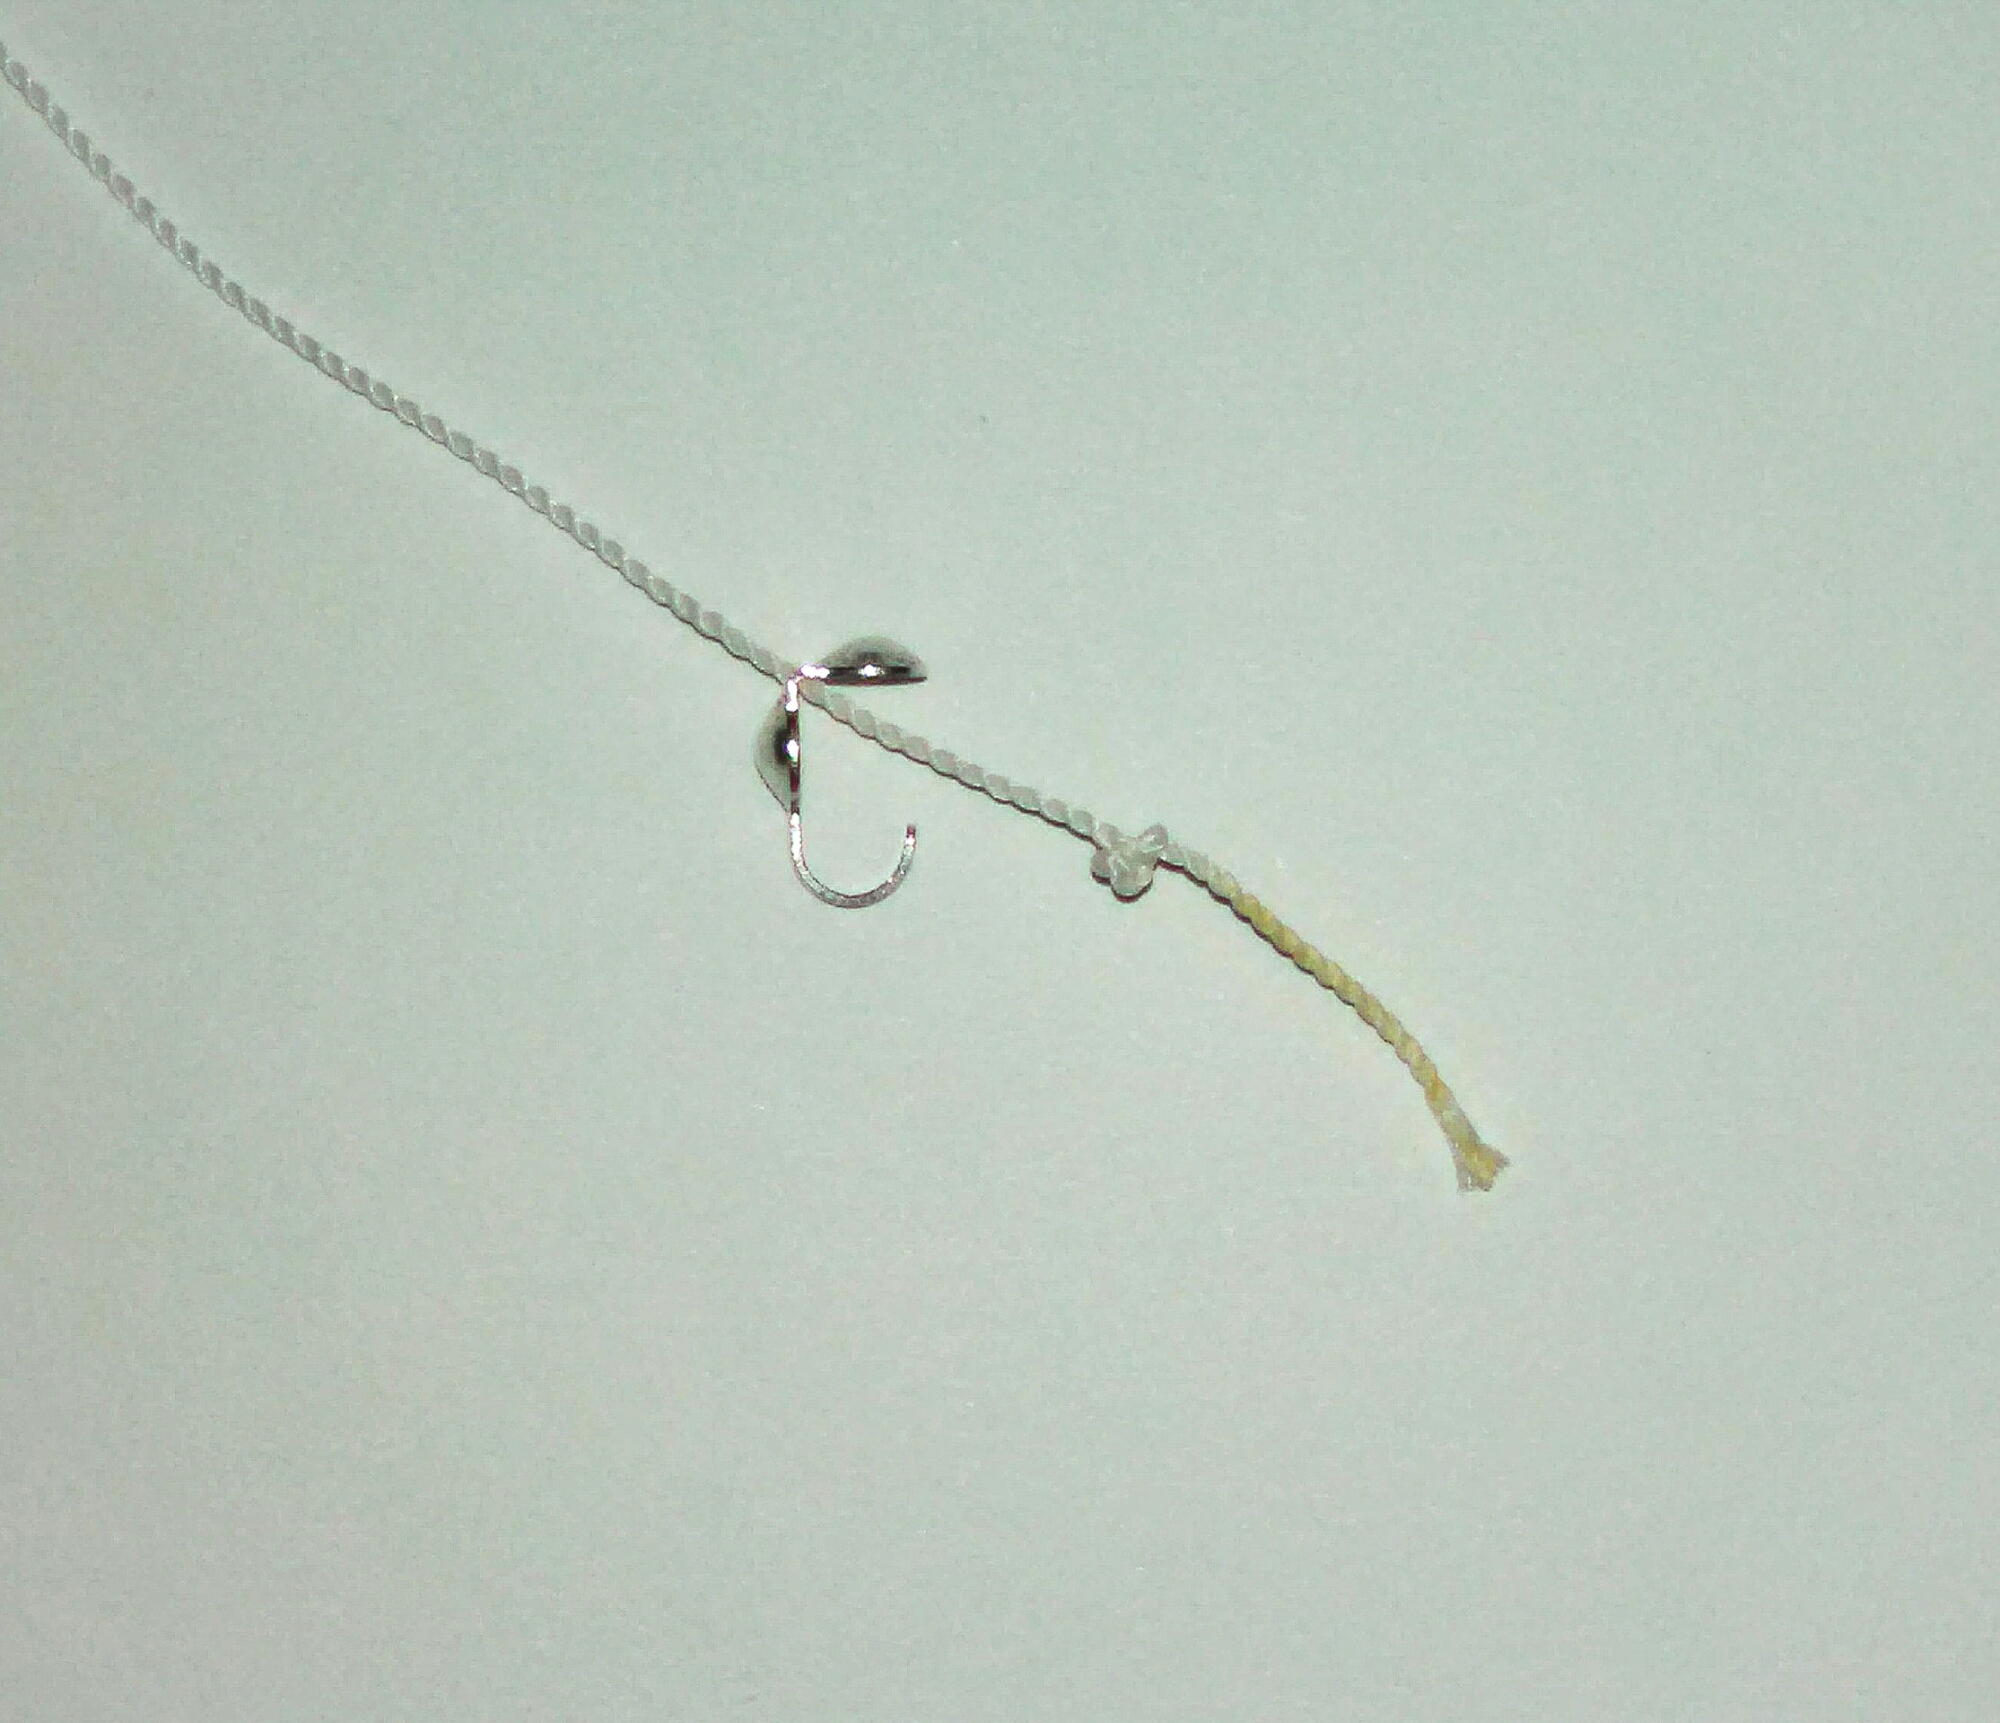
Begin your necklace by tying an overhand knot at the end opposite the needle. Slide on a bead tip so that the knot is caught in the “clamshell.”

image

Slide the first bead onto the needle and all the way down the cord to the bead tip.

image

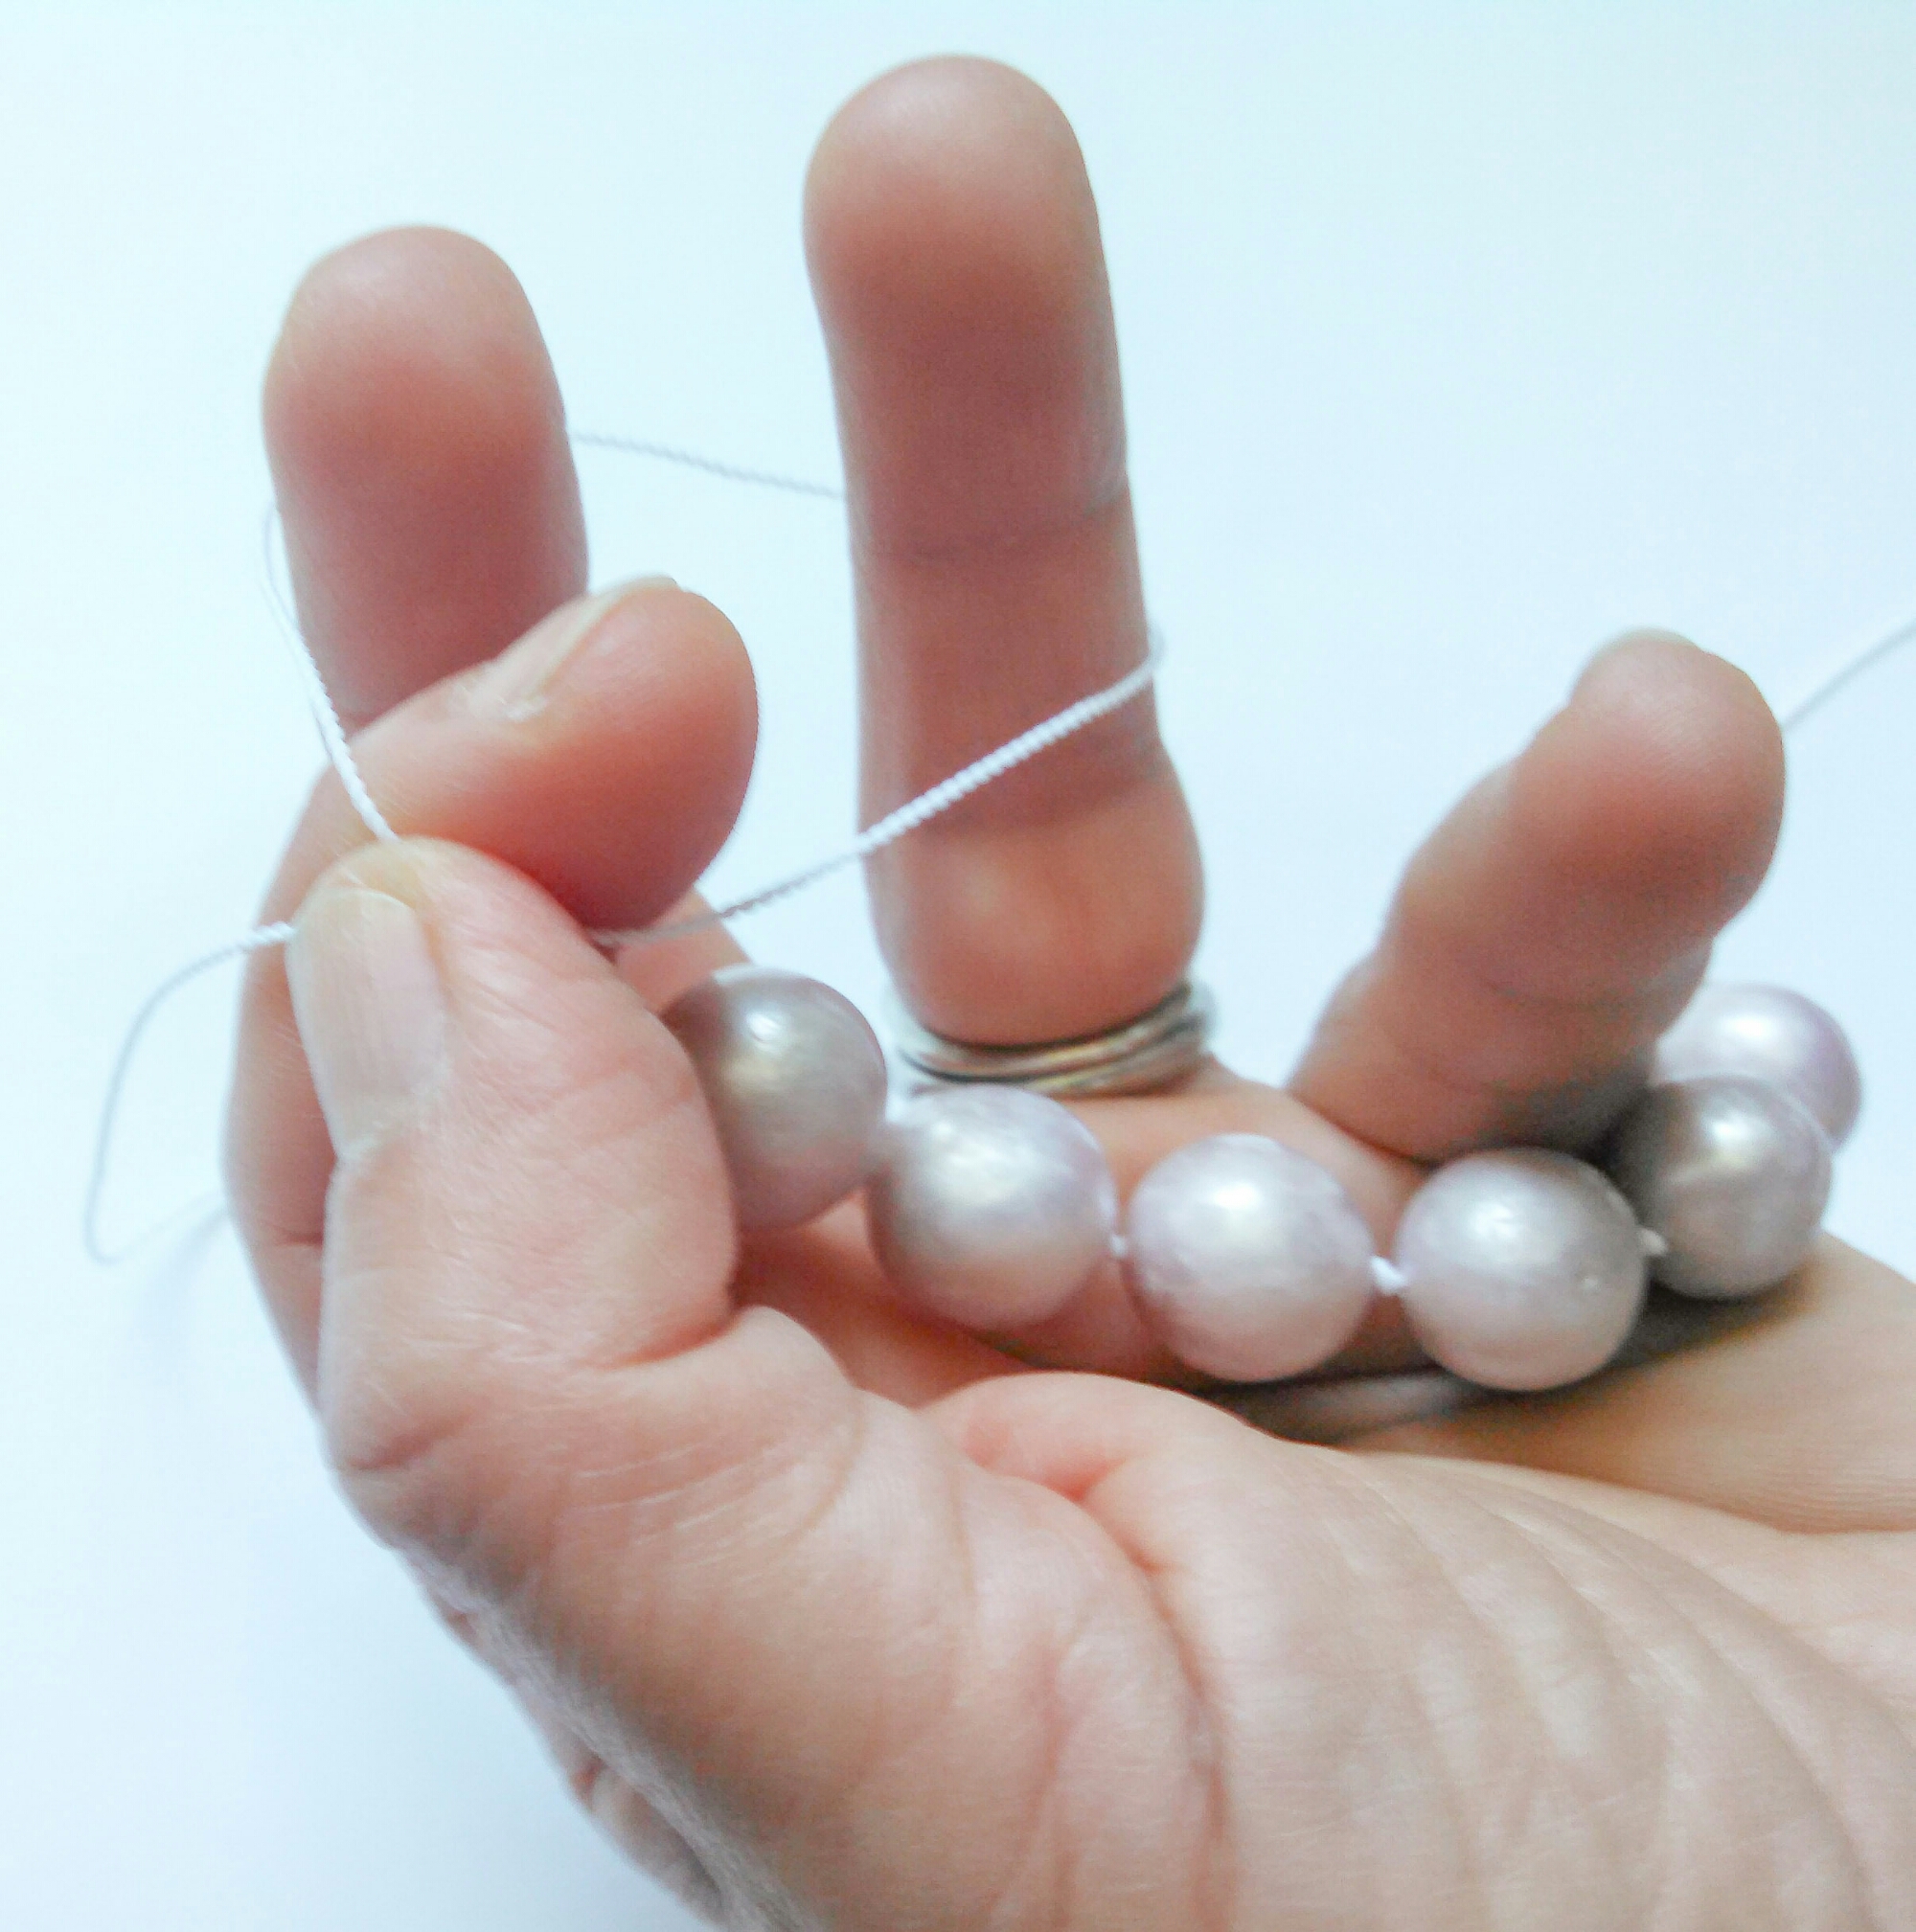
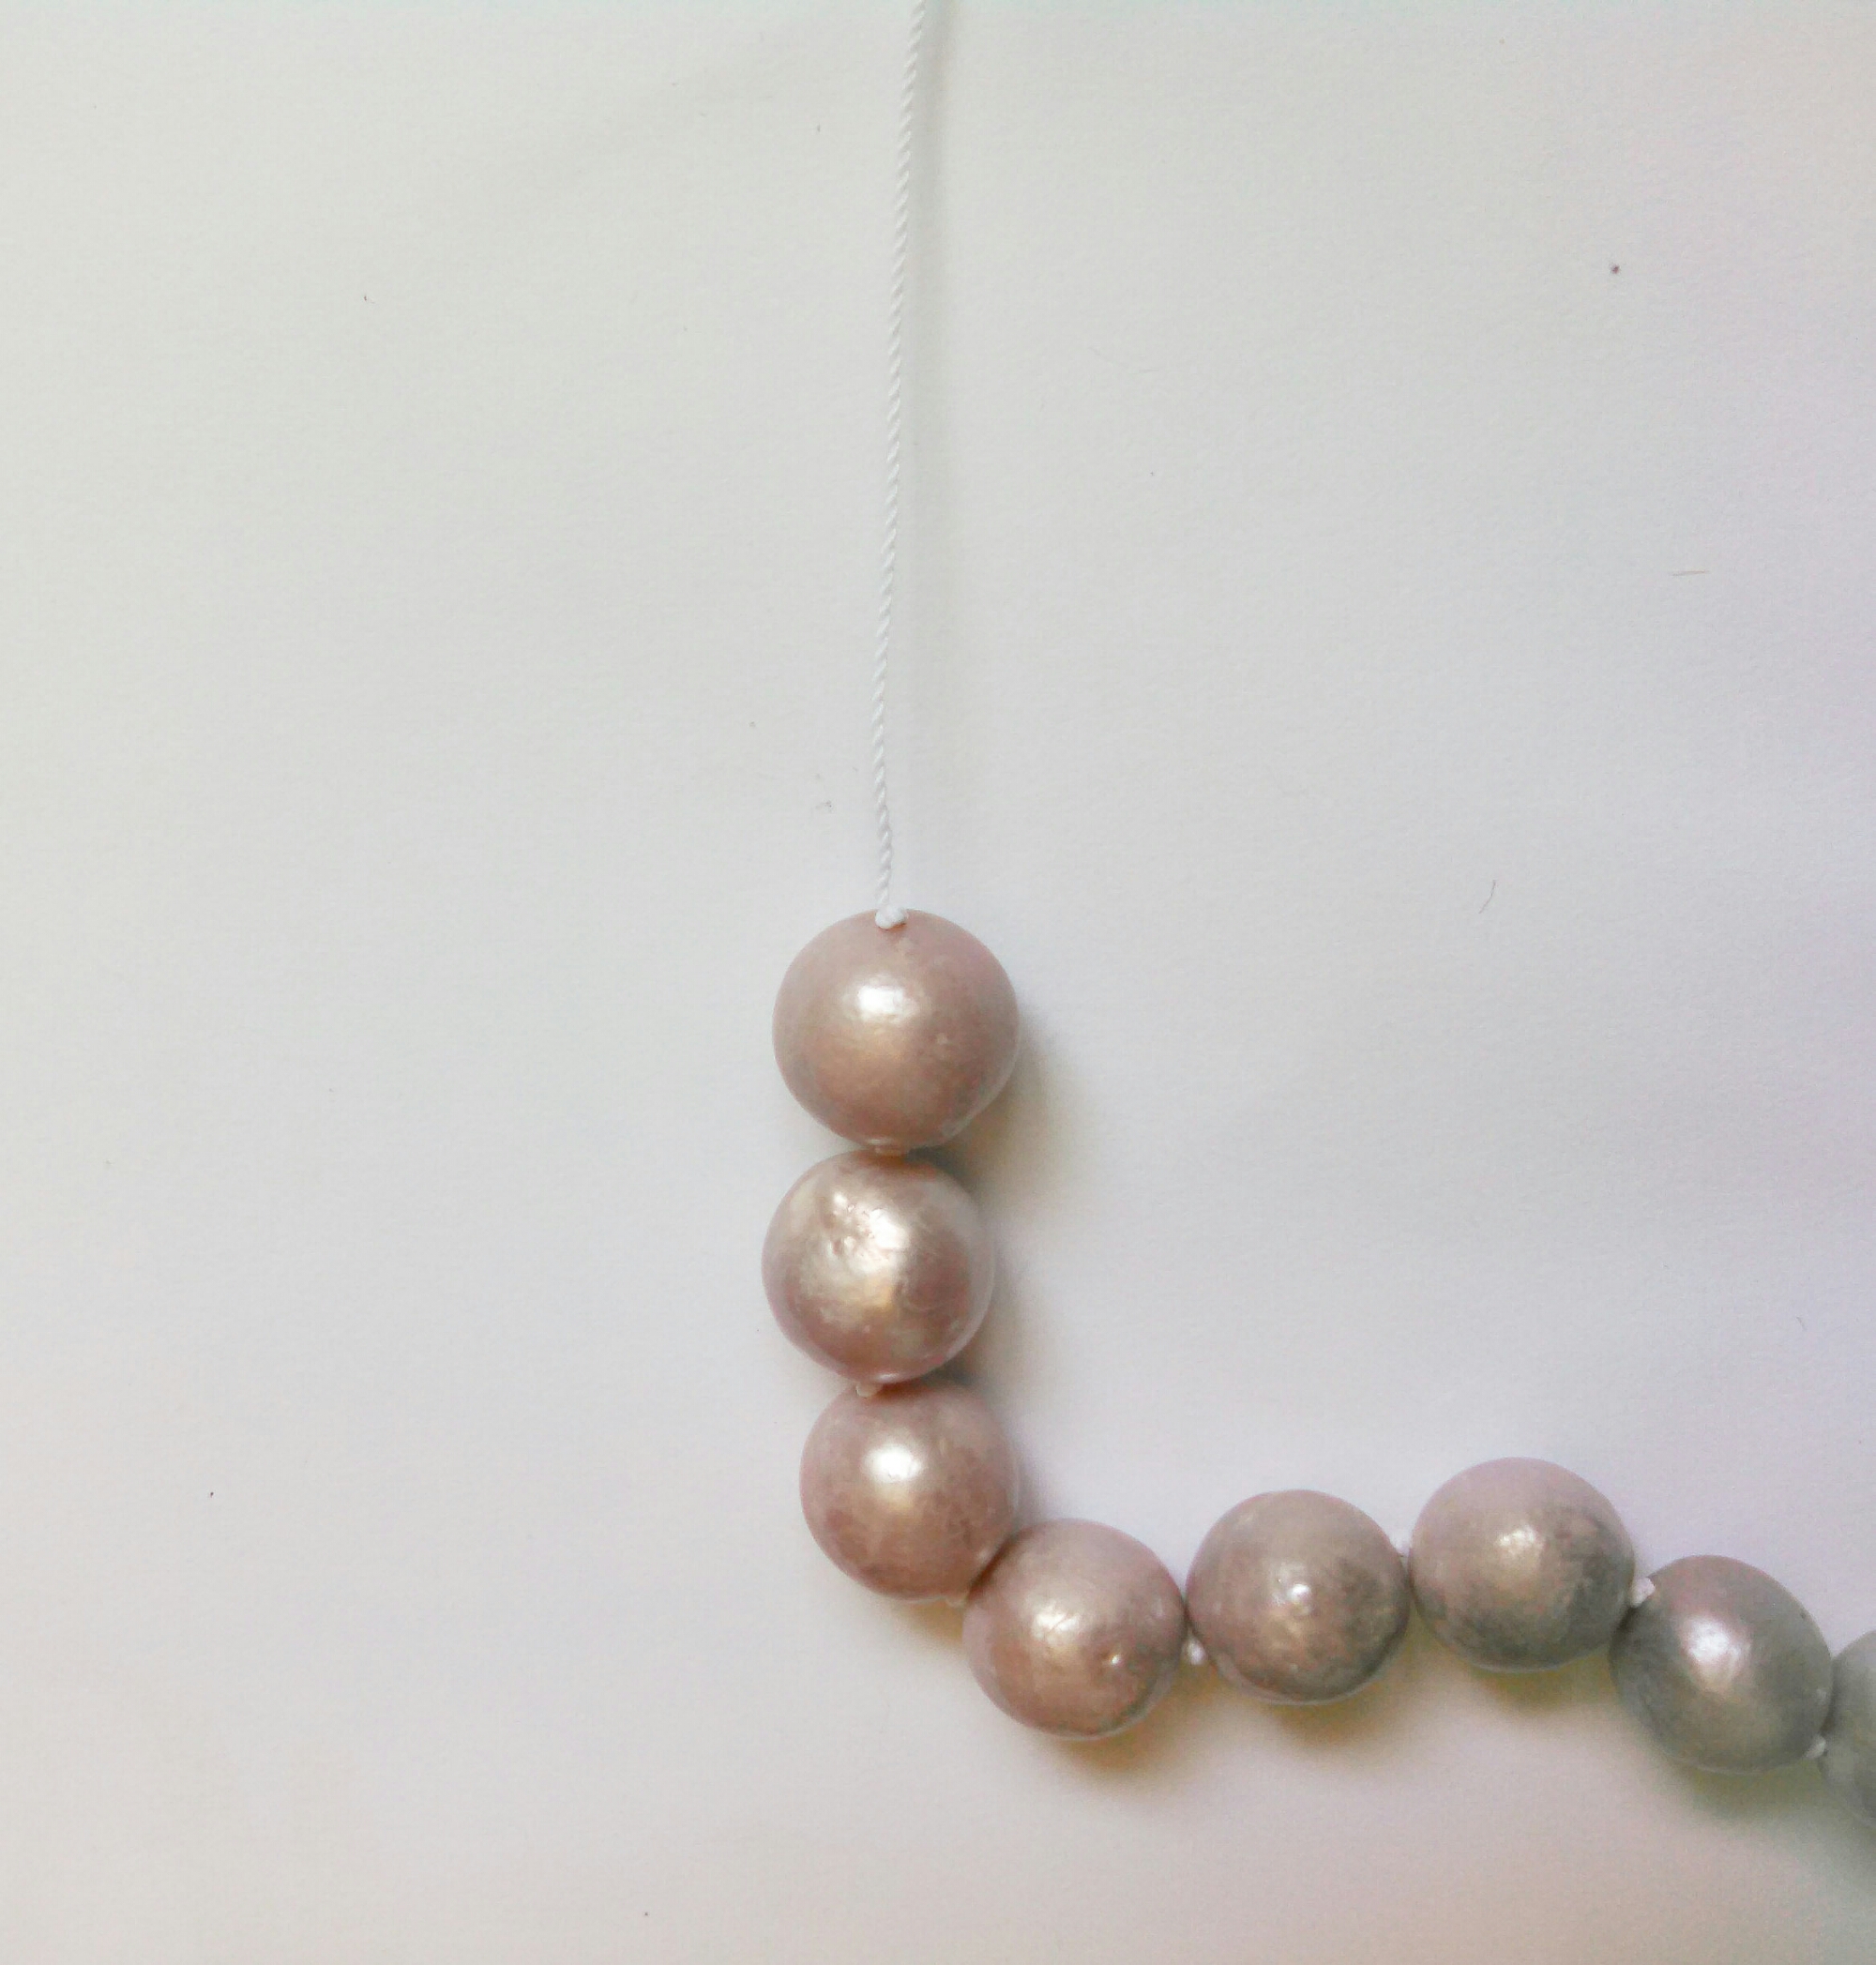
Begin tying a loose overhand knot.
image

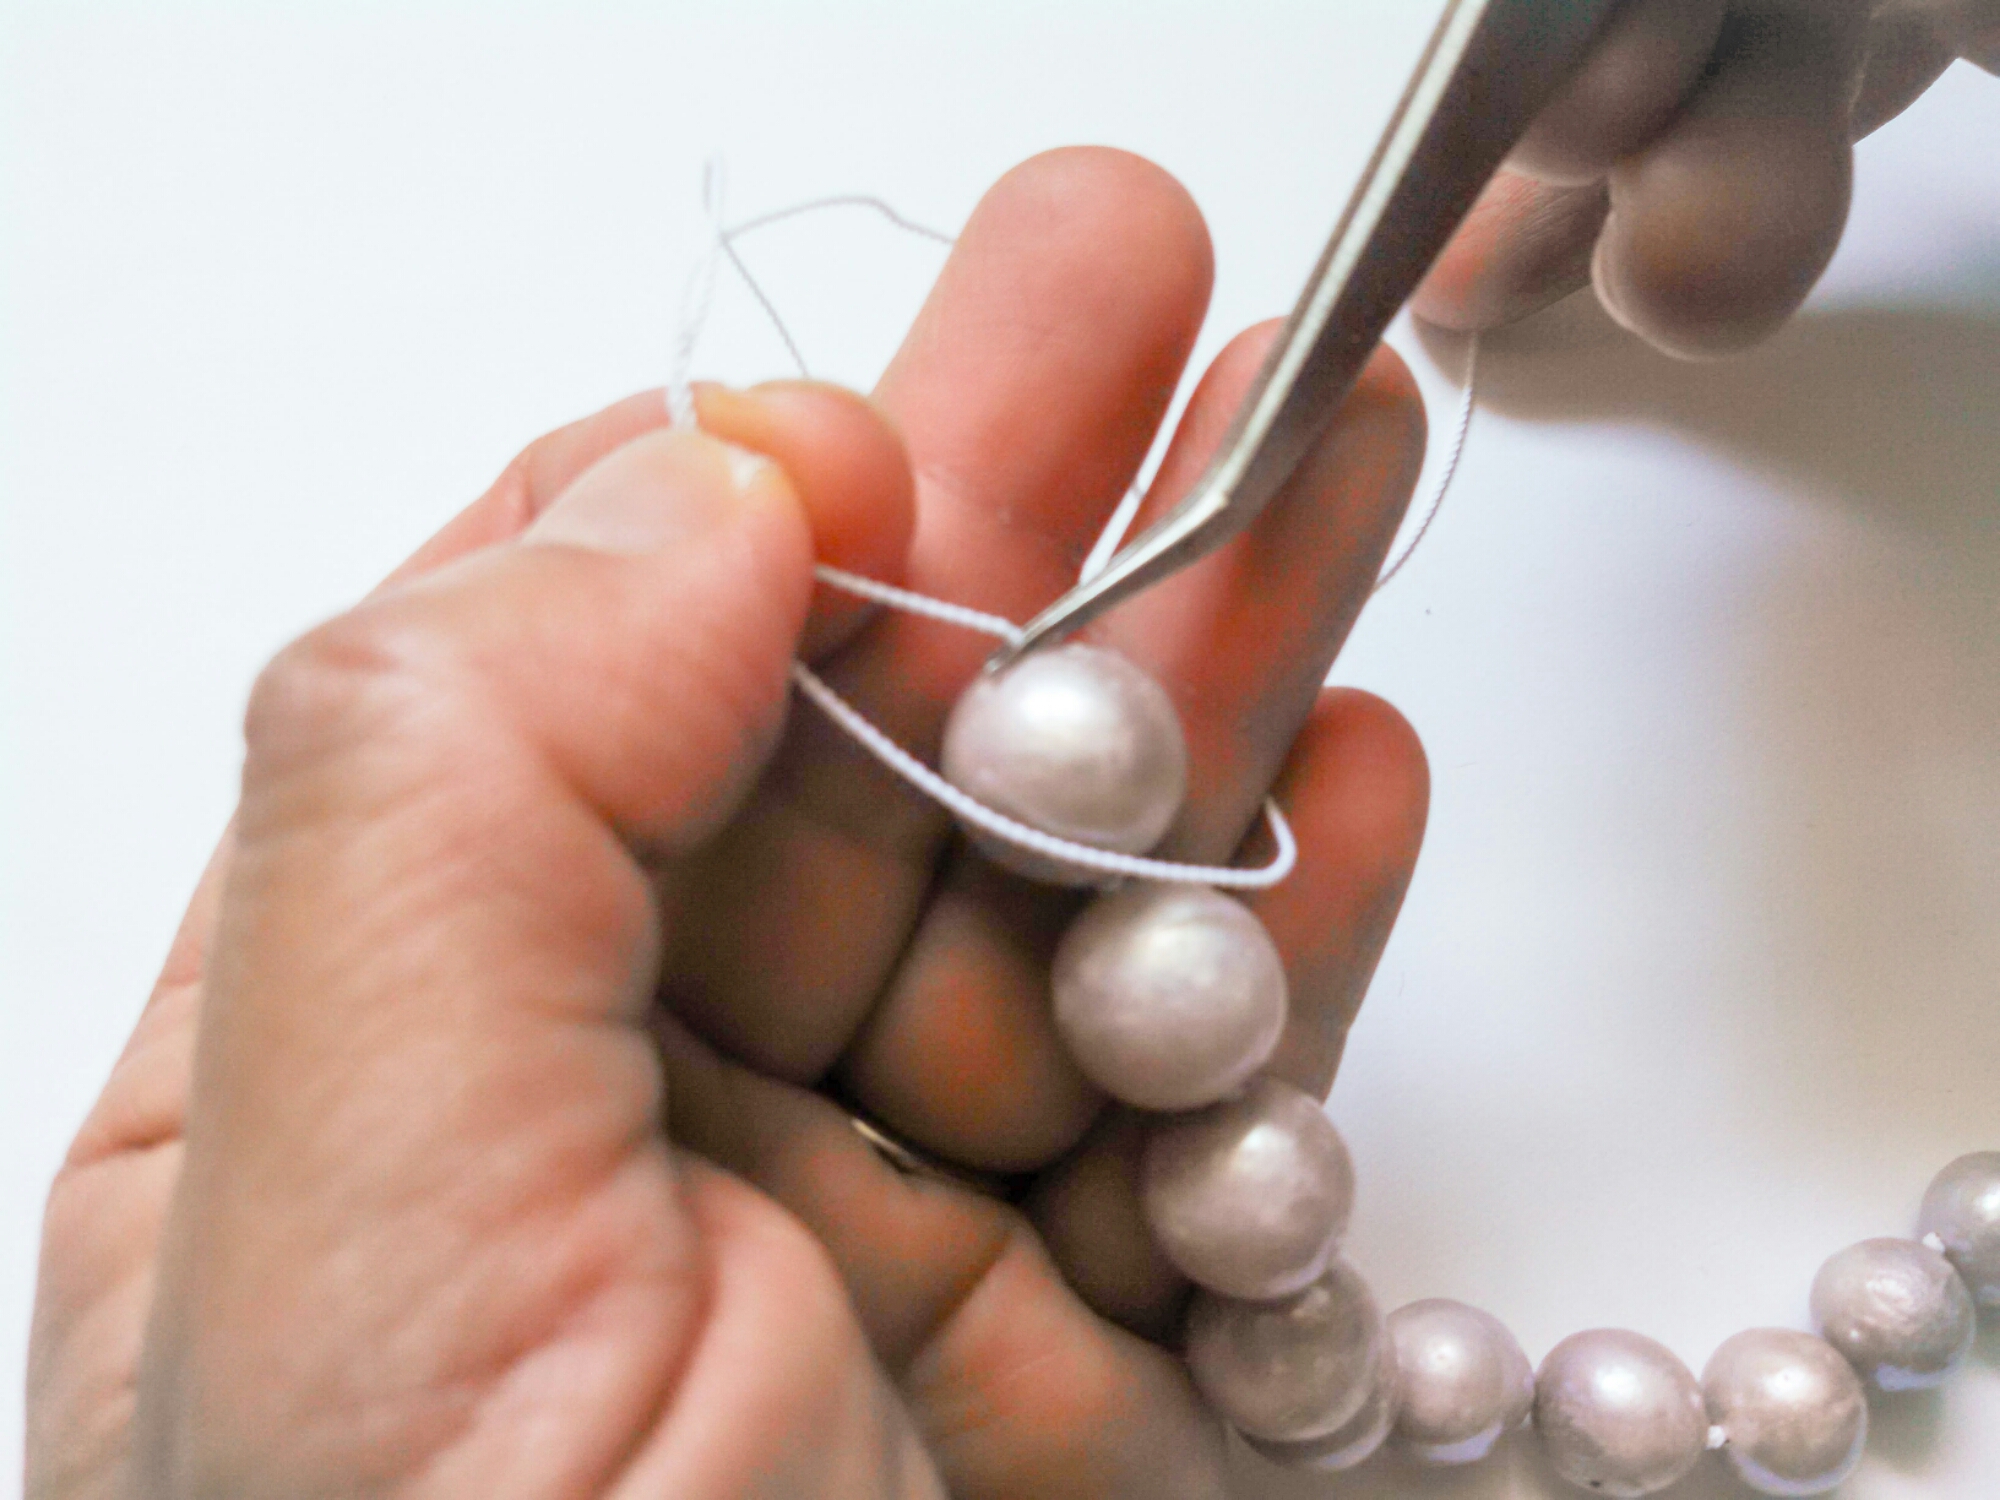
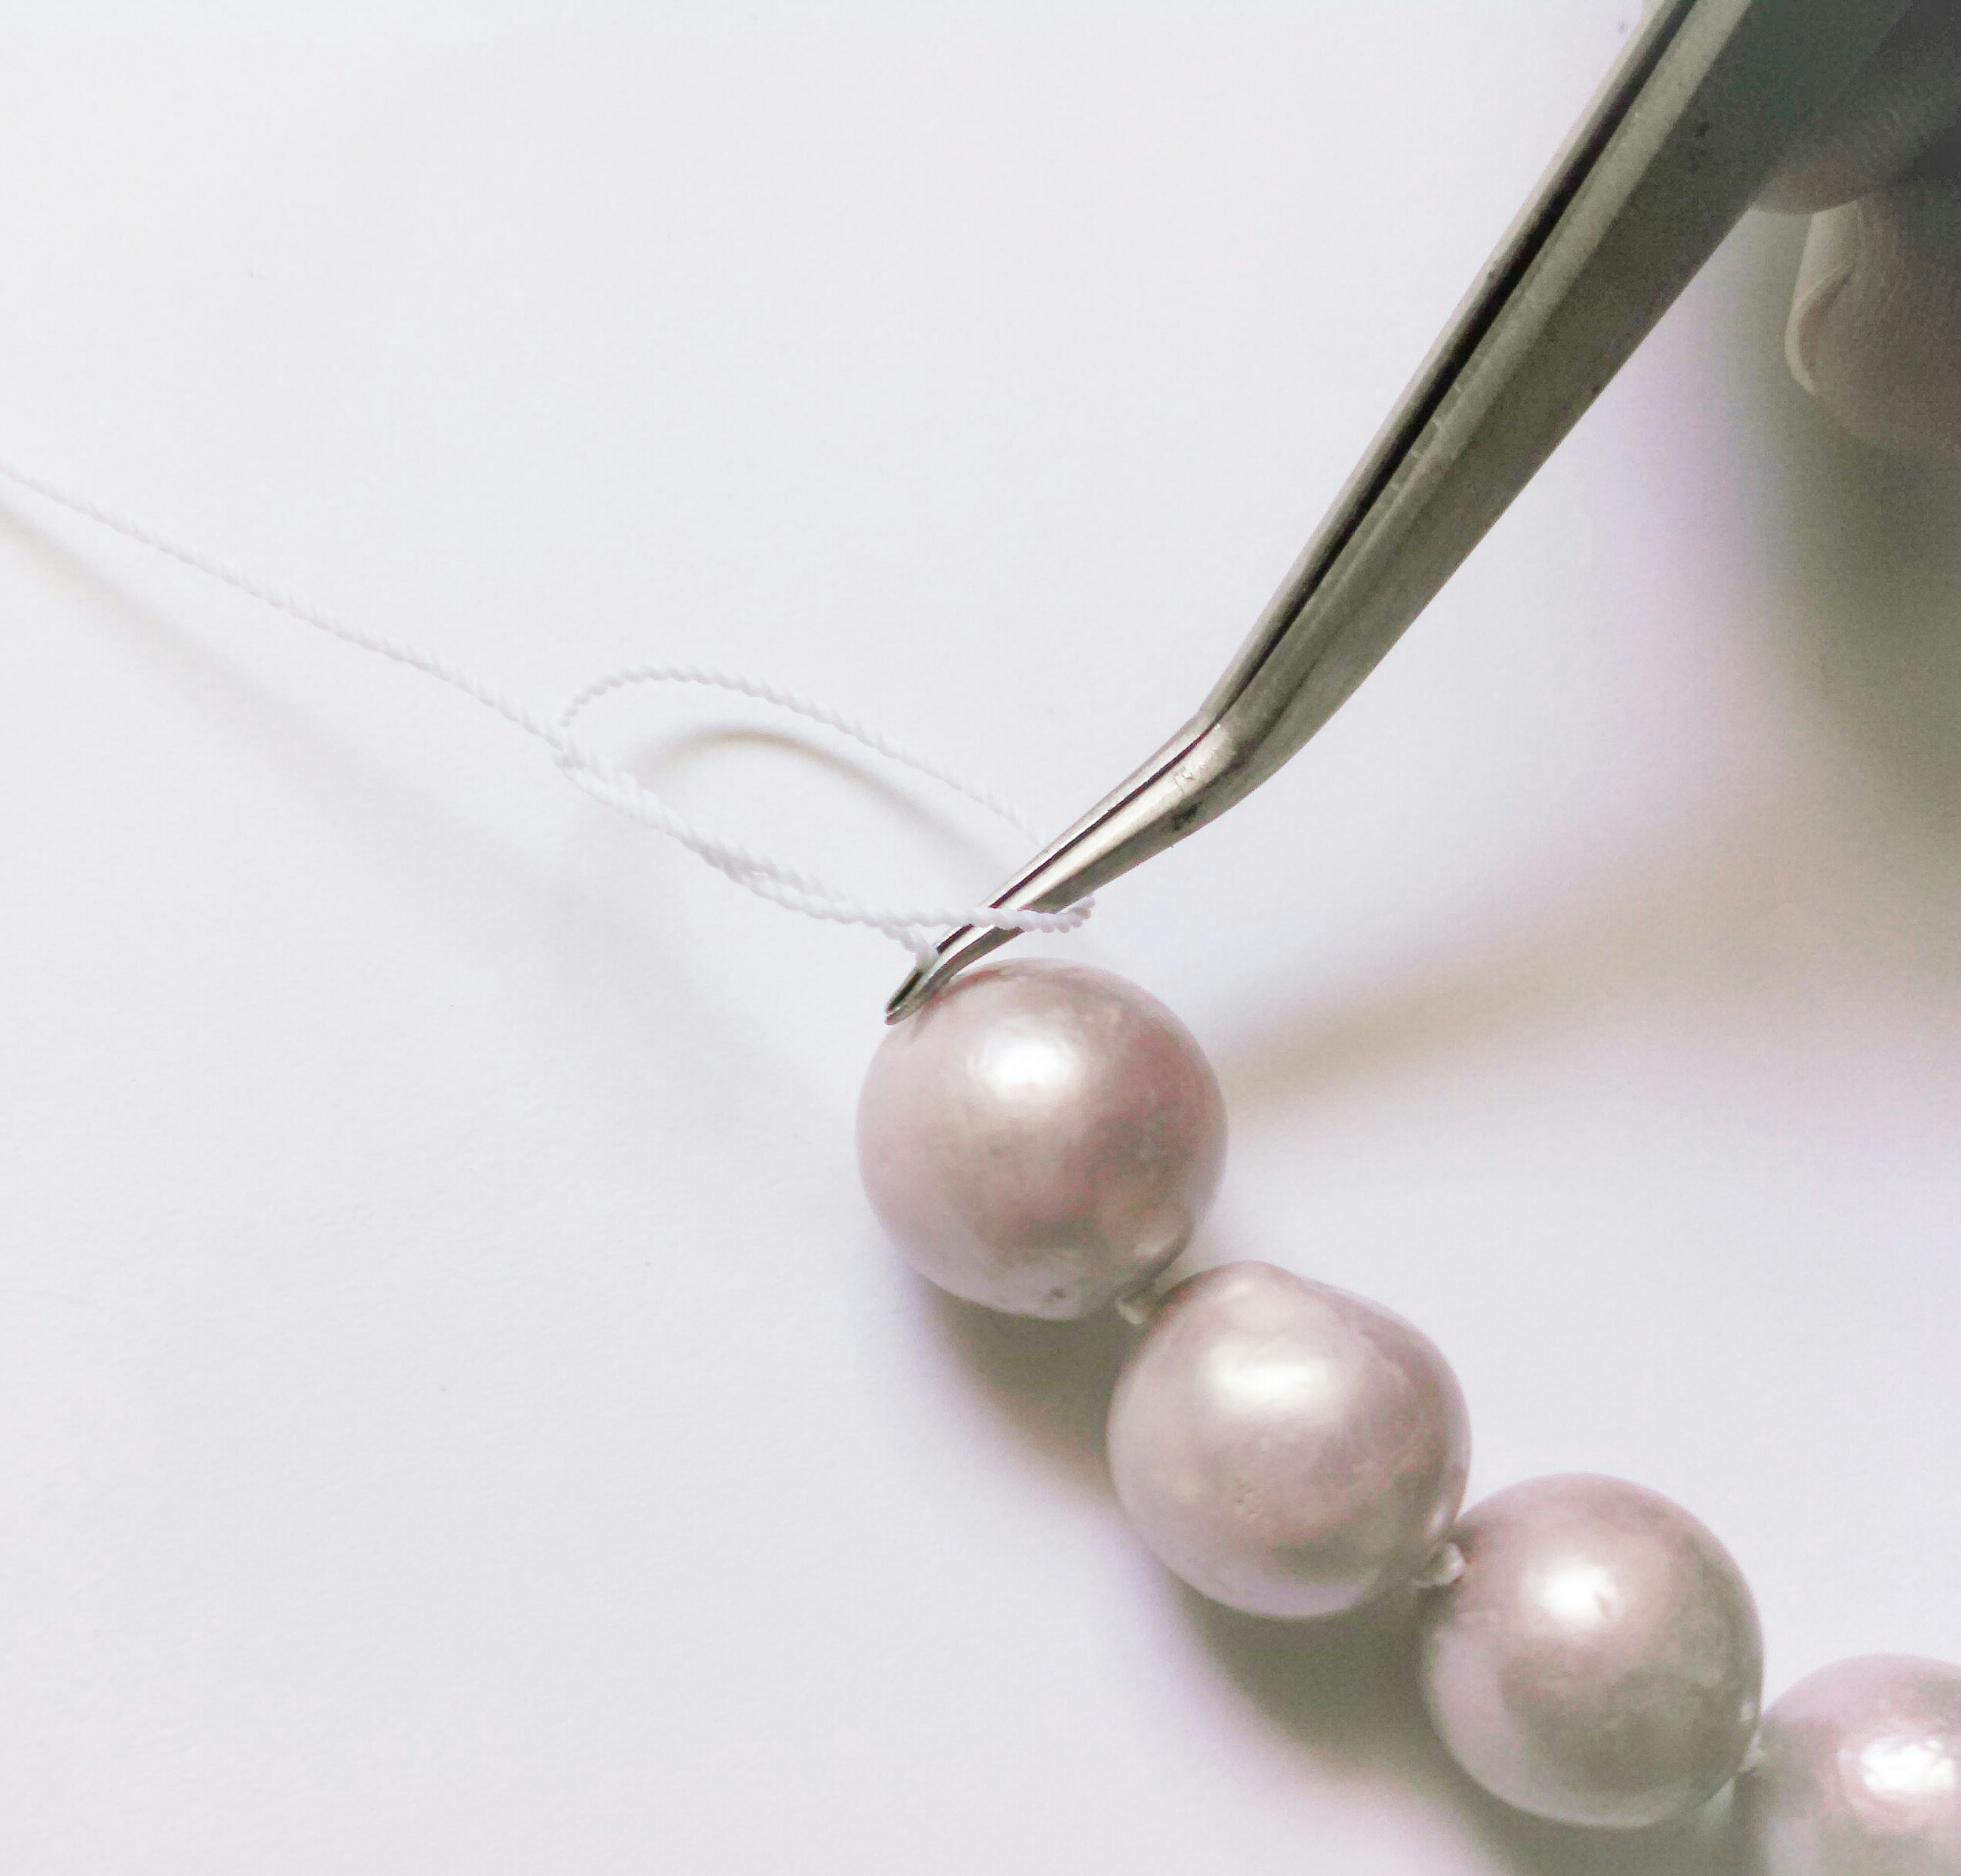
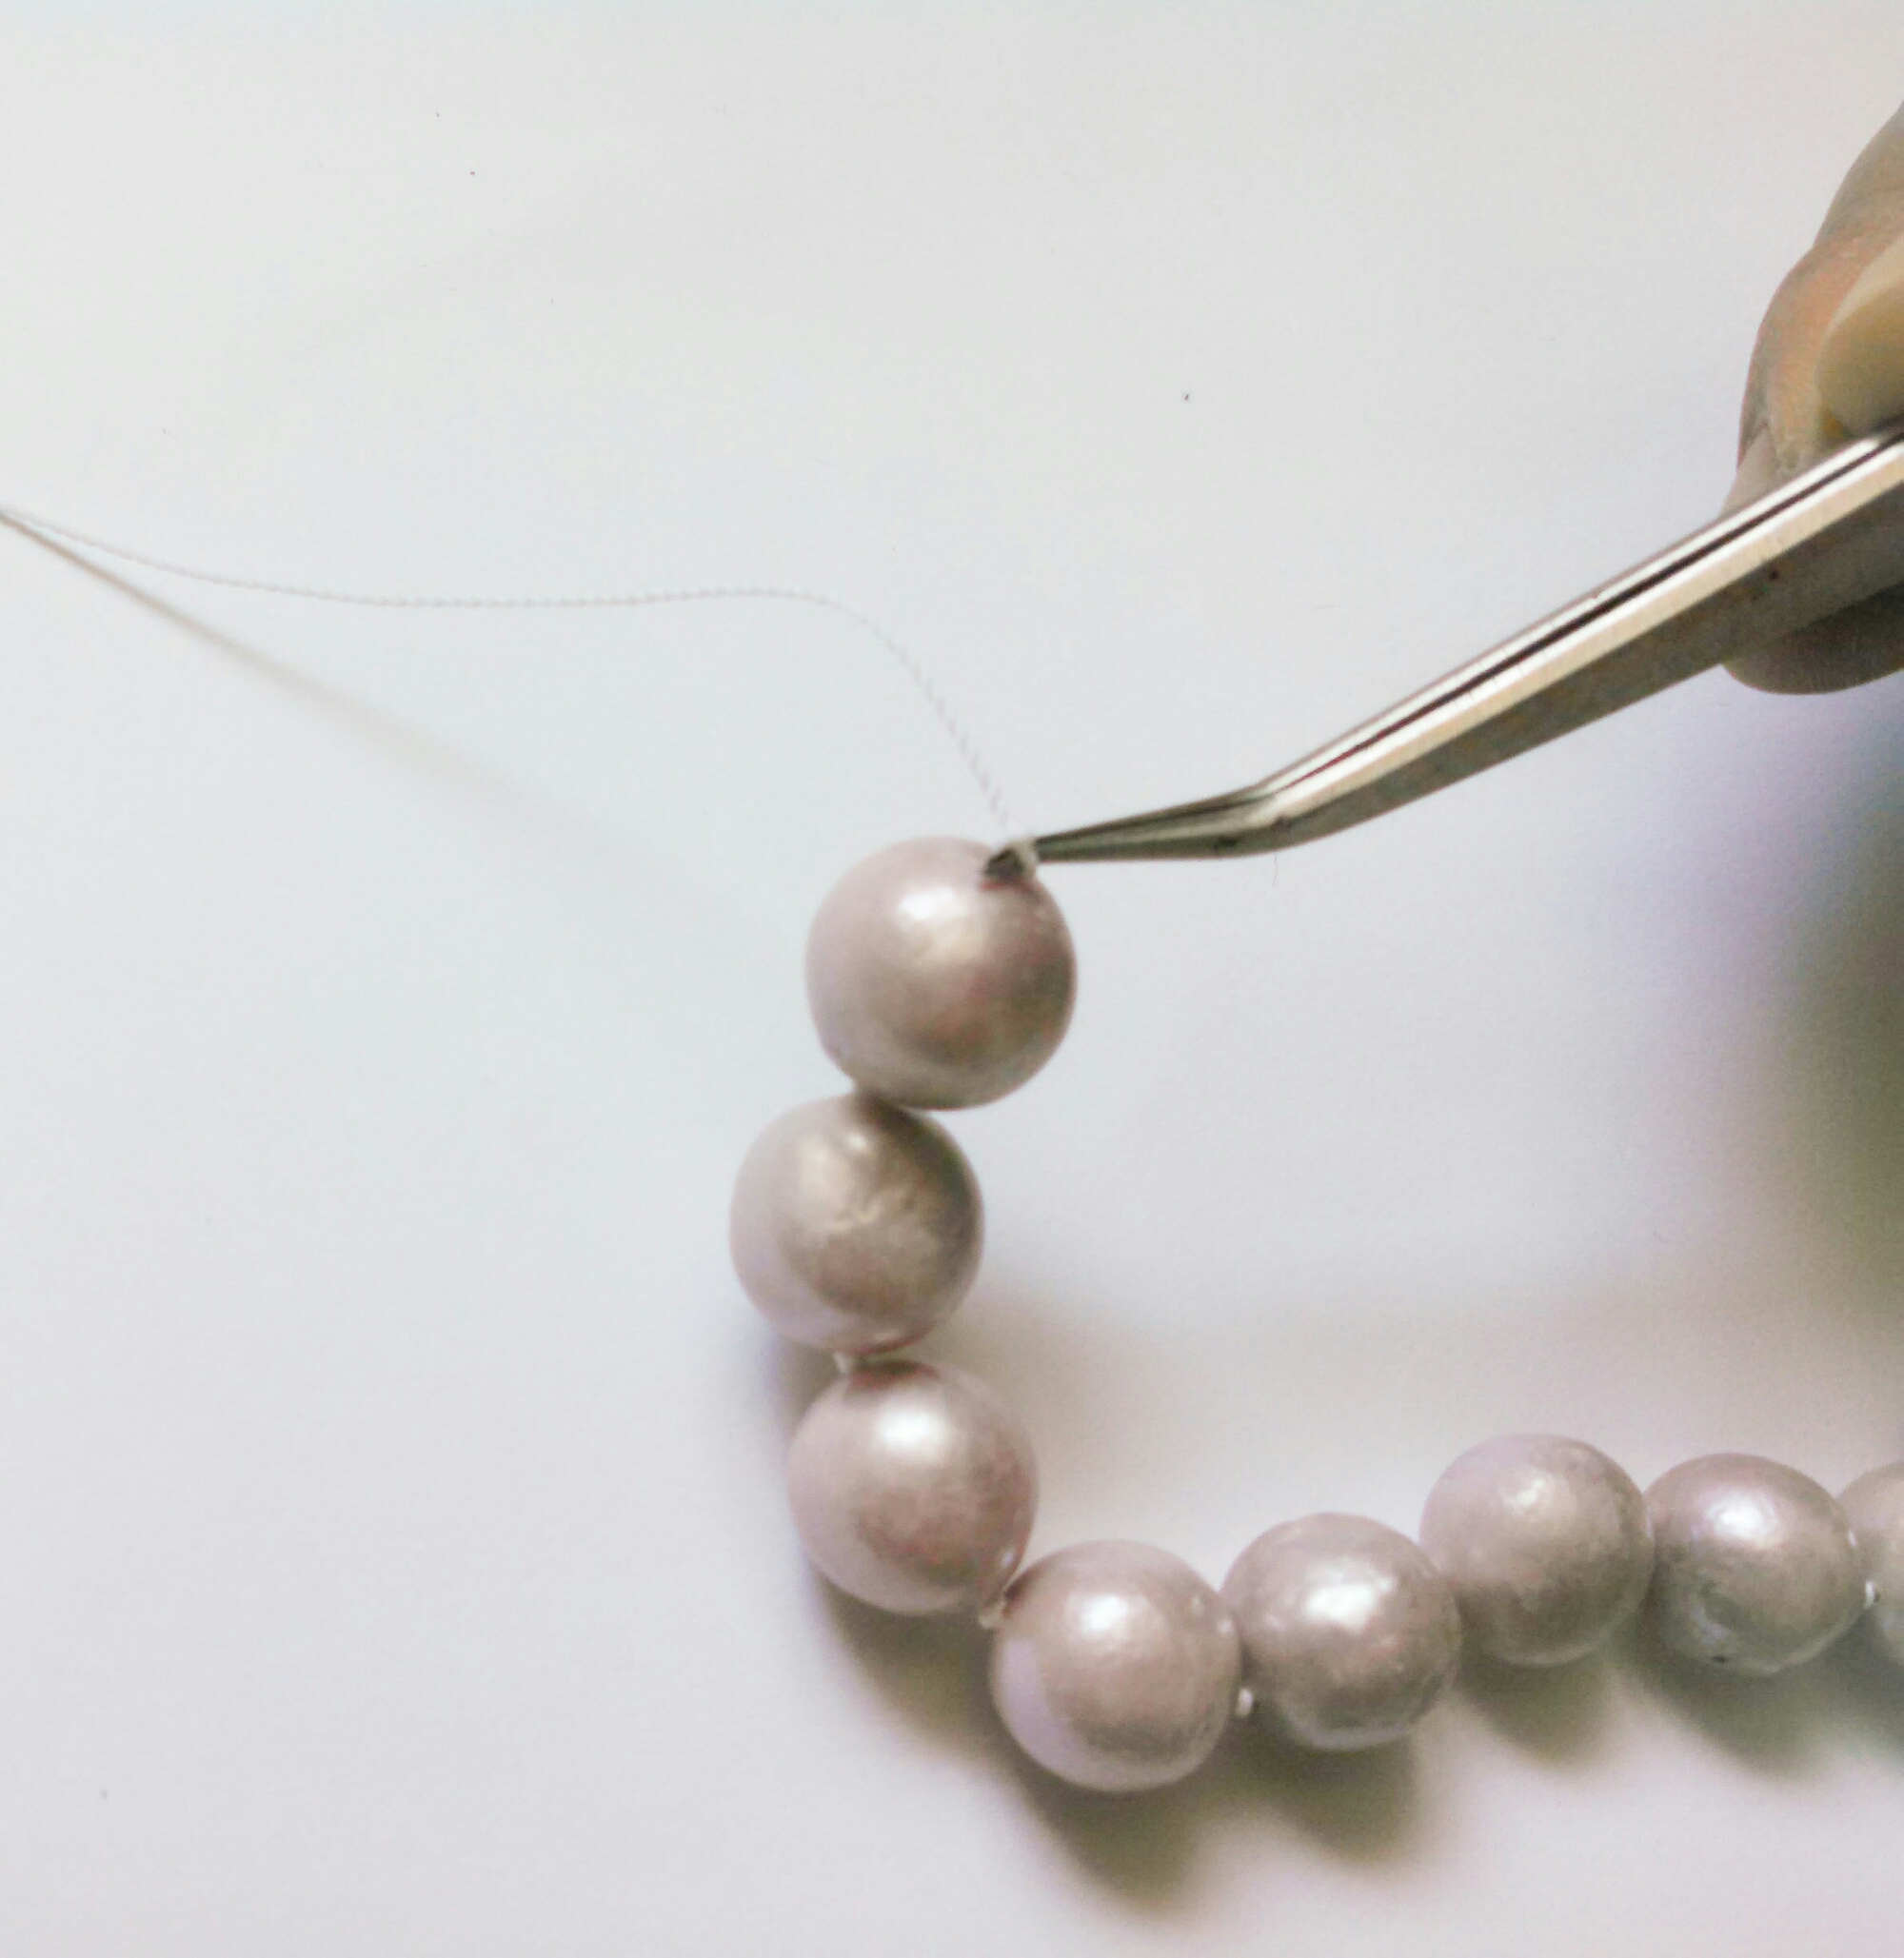
Use the tweezers to reach through the knot and pinch the cord right next to the bead.

image

image

Slowly tighten the knot and remove the tweezers.
image

image
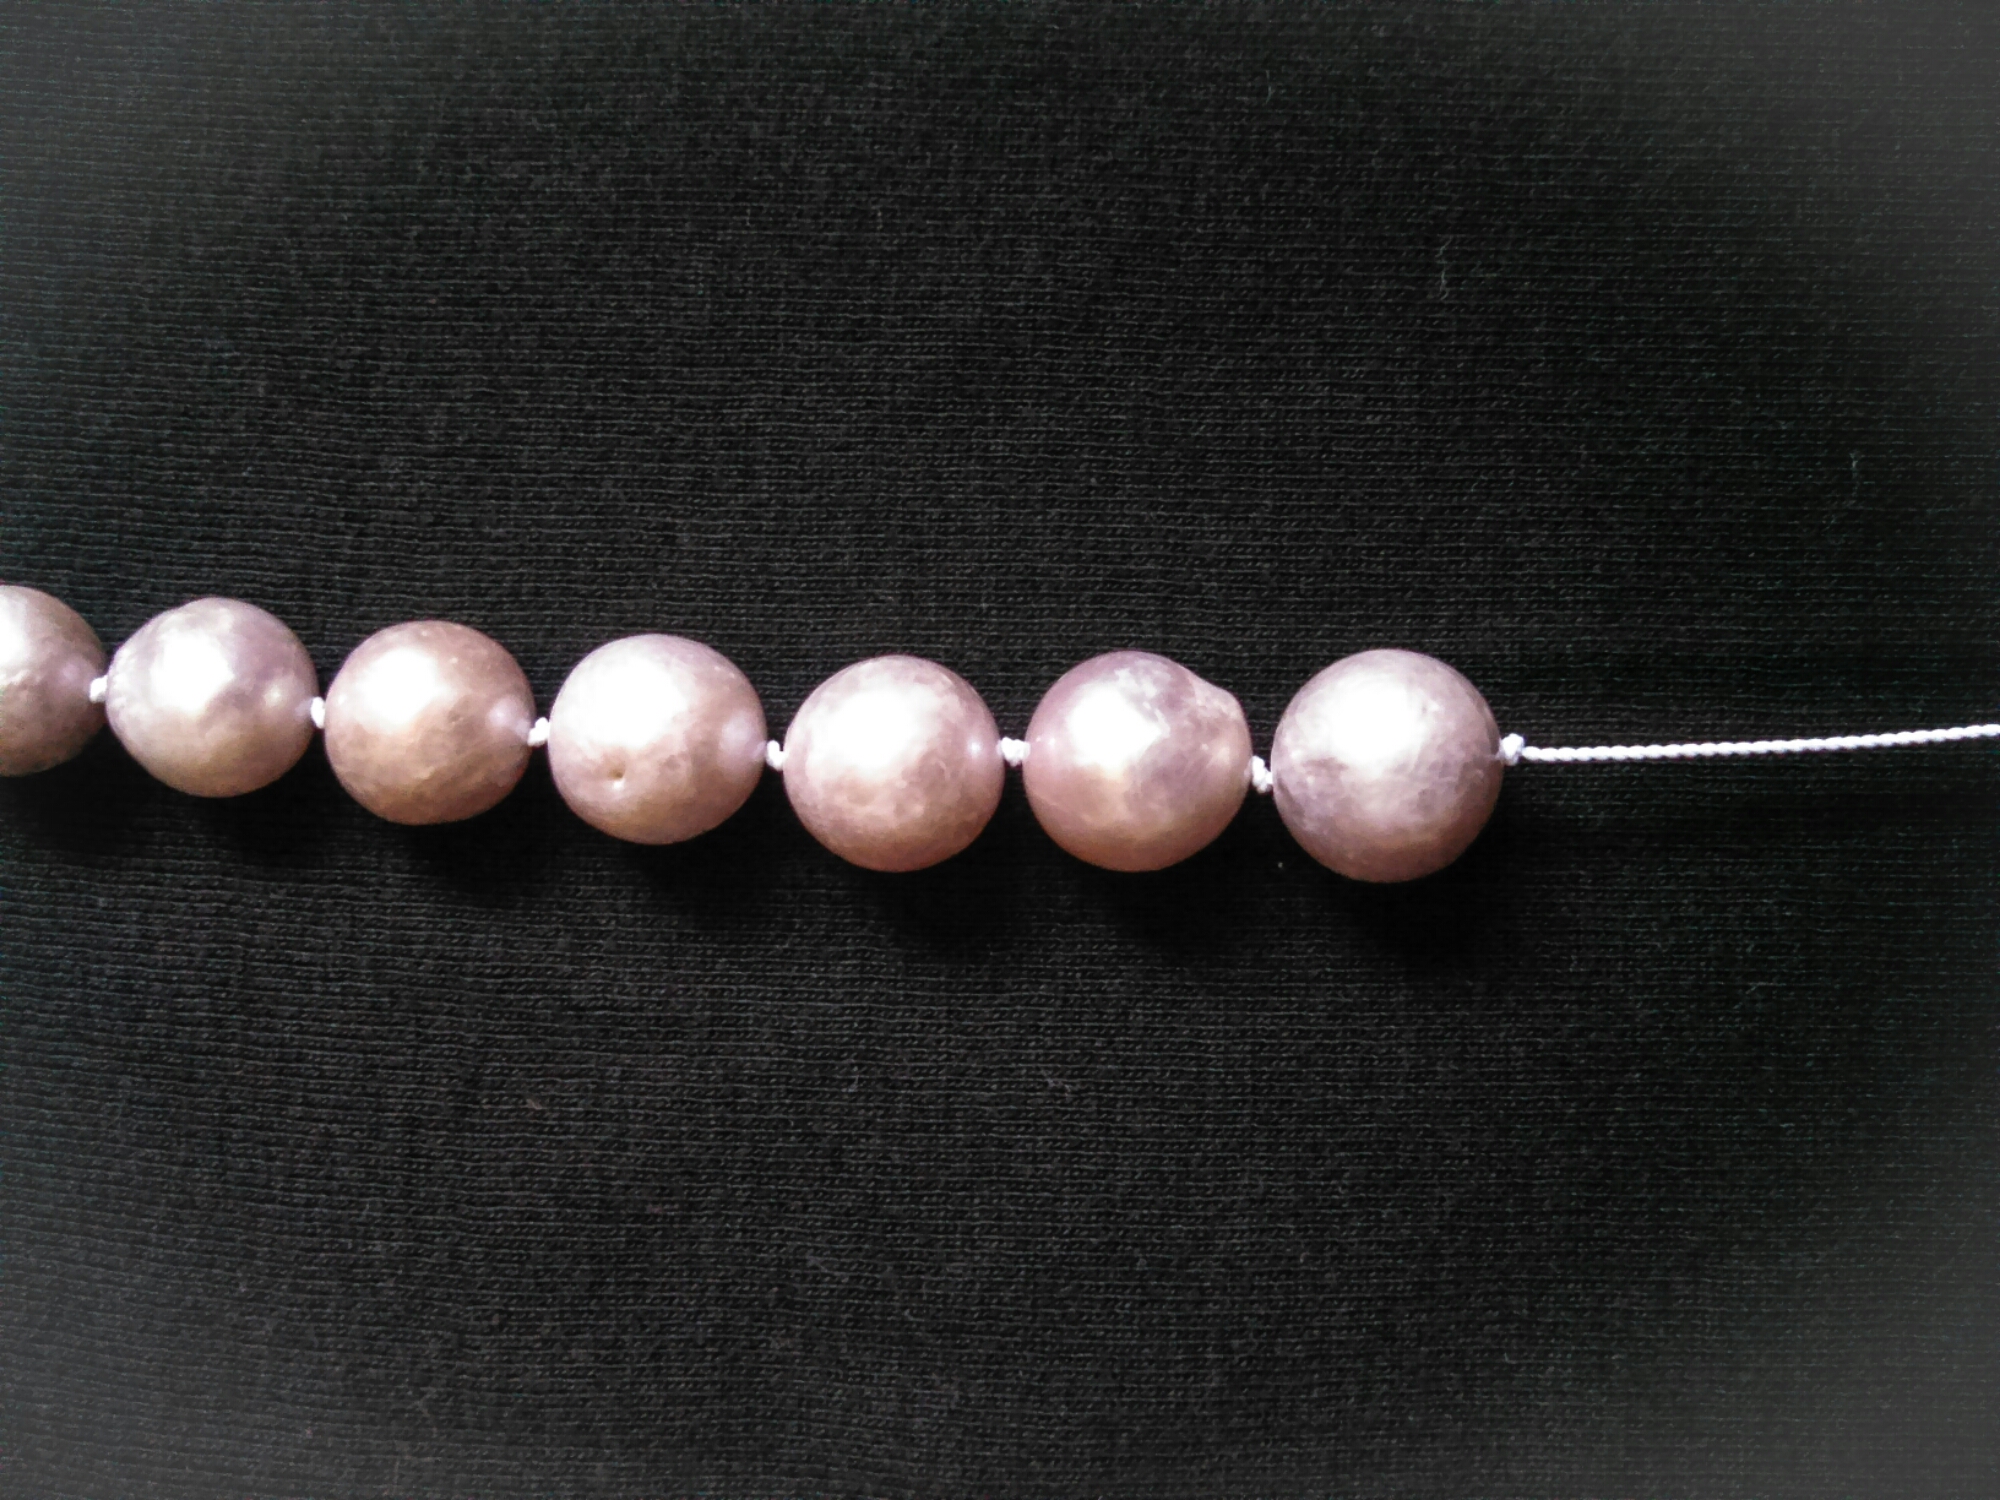
I realized that white cord on a white background is hard to see, so apologies for the presto-change background, but here is a better photo:
image

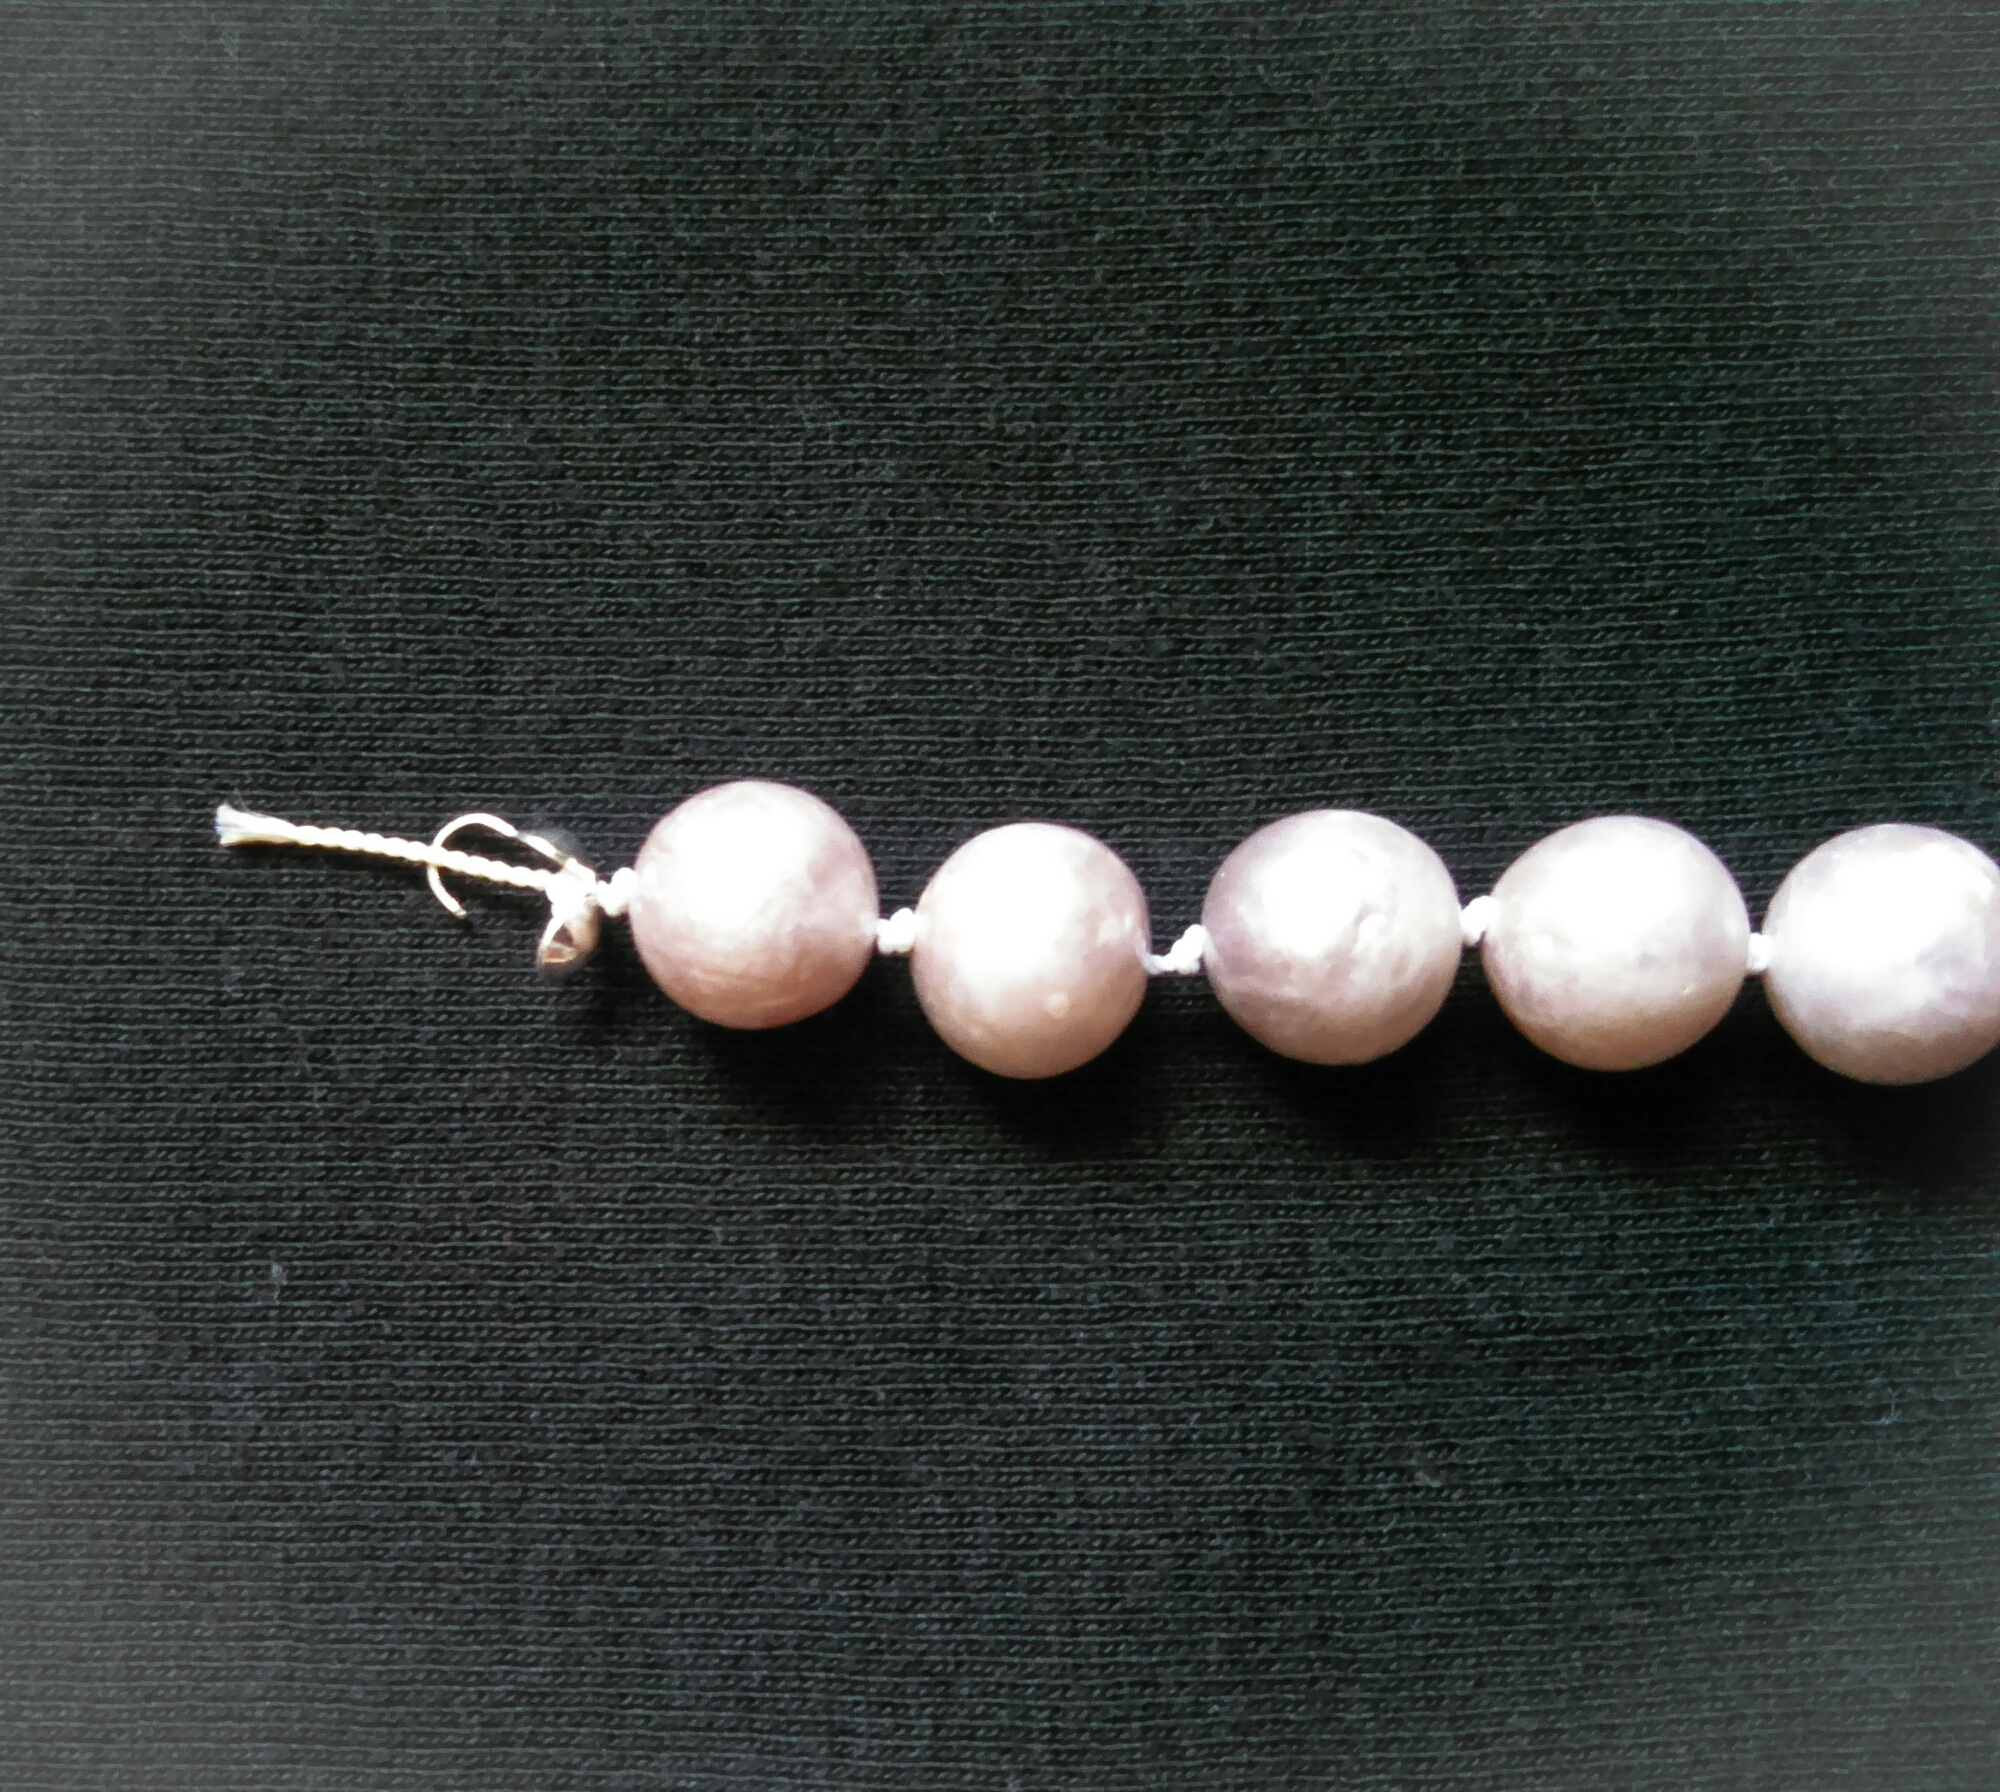
Continue until the necklace is as long as you want it. This particular necklace falls just below the collarbone. Slide one more bead tip on so that the clamshell faces away from the beads. Tie another overhand knot to hold the bead tip snugly against the beads. Secure the knots using clear nail polish or another liquid glue. Once the knots are dry, clip the excess cord.
image

Slide the clasp pieces onto the hooks of the bead tips and carefully close the bead tips using pliers.

That’s it–you’re done! Here is a photo of the final necklace (sorry for the inconsistent lighting–I took the photos in different parts of the house).

image

image

Just FYI, my mother-in-law loved her birthday gift!  Since this was our first full tutorial, please feel free to leave feedback and comments.  (Again, apologies for the crazy lighting.)  Be sure to visit www.jensfindings.com for all the findings used in this tutorial or whatever else you might need for your jewelry projects.

Facebooktwitterredditpinterestlinkedinmail

Boho Chic

Kelsey loves to make her own jewelry.  It is both easier on her student budget, but also allows her the freedom and flexibility to make pieces that match her style.  Her latest favorite trend this summer has been boho chic.

Her favorites colors seem to be shades of brown and blue, and she will often layer several different pieces together until she gets the look that she wants.

In addition, Kelsey often combines textures, such as faux leather, metal, glass and stone.  The look is super cute on her and the jewelry was made for just a fraction of what it would cost in a store.

Facebooktwitterredditpinterestlinkedinmail

Finding Ideas

Don’t be afraid to browse around to find inspiration!  This may sound silly, but I enjoy looking at the costume jewelry during my weekly trip to Target, as well as perusing catalogs that come via snail mail.  These are good places to find new trends in color combinations and jewelry styles. 

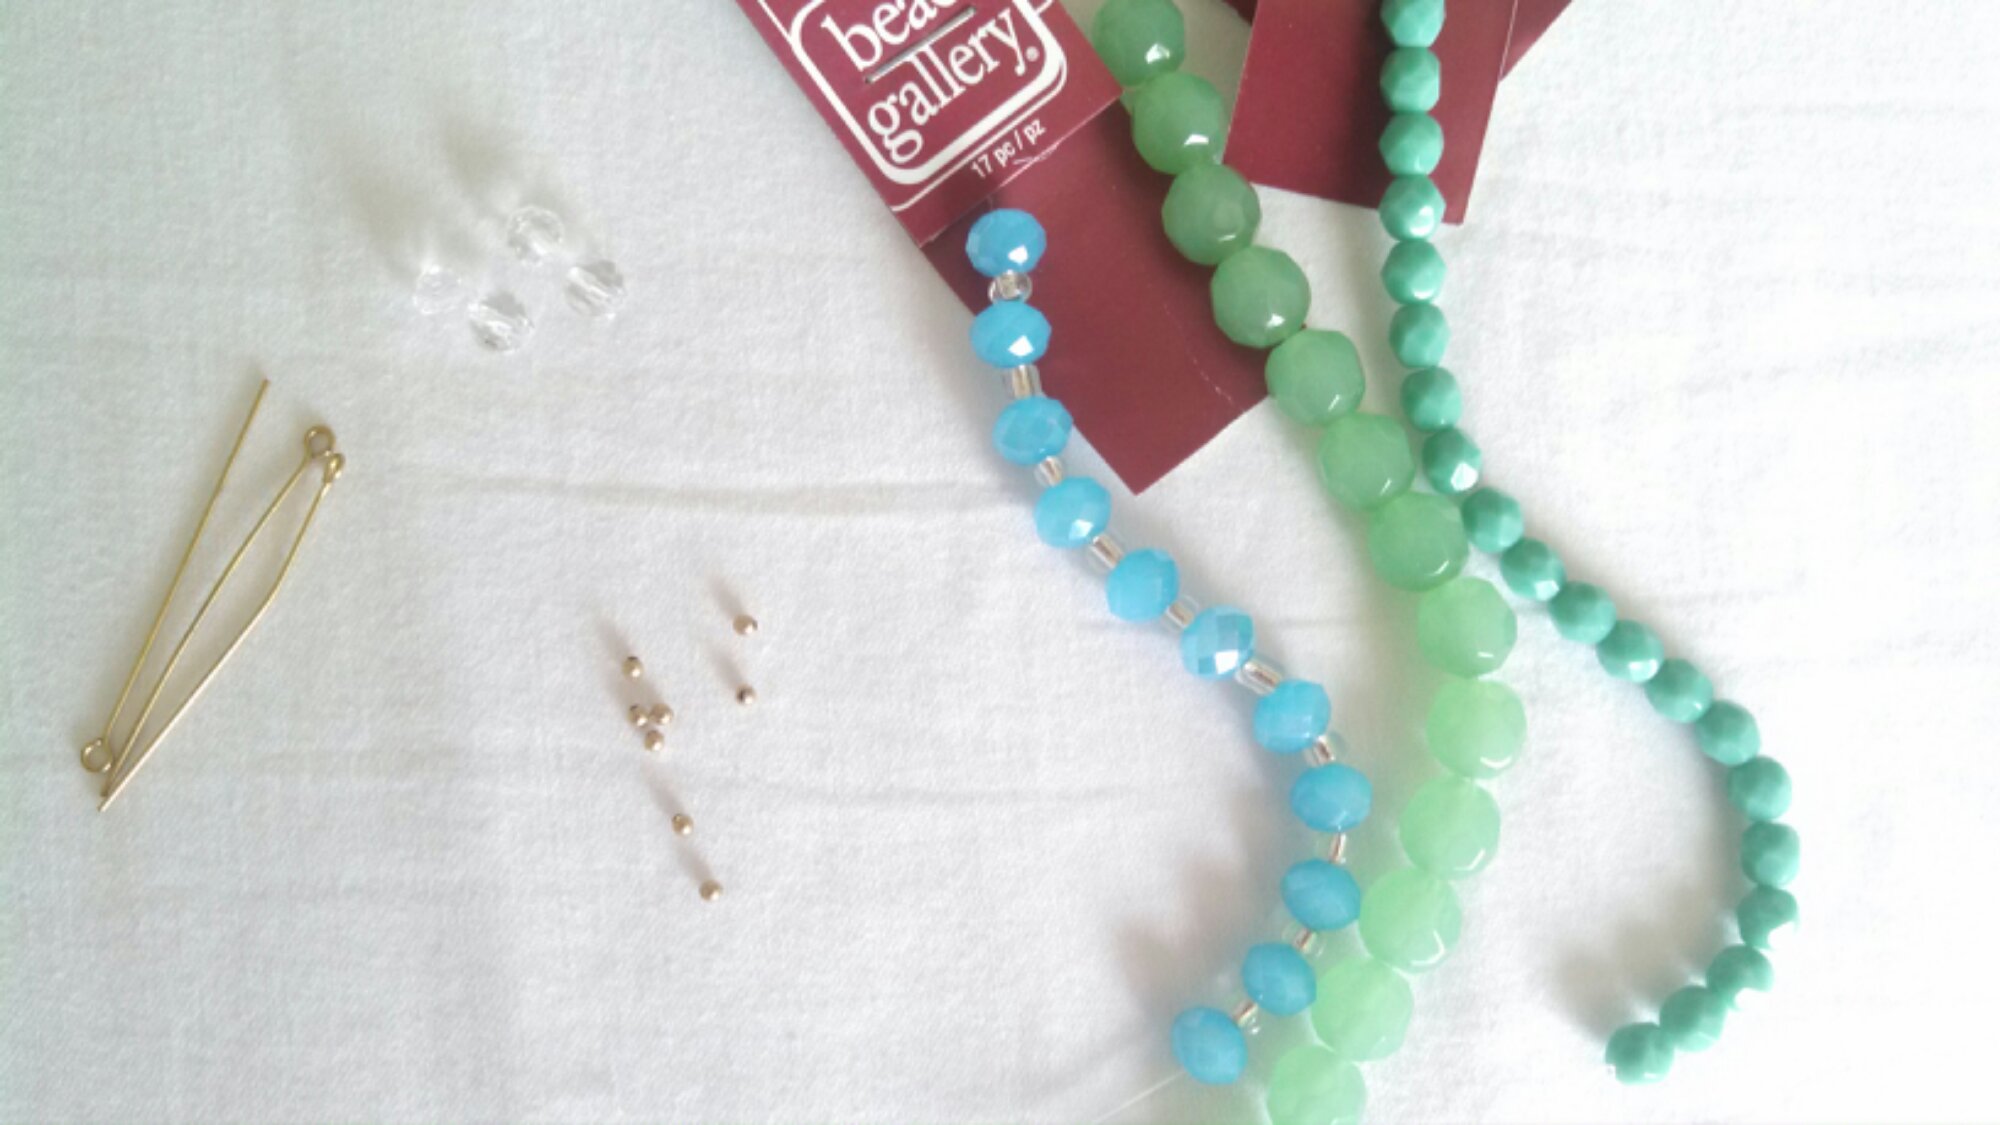
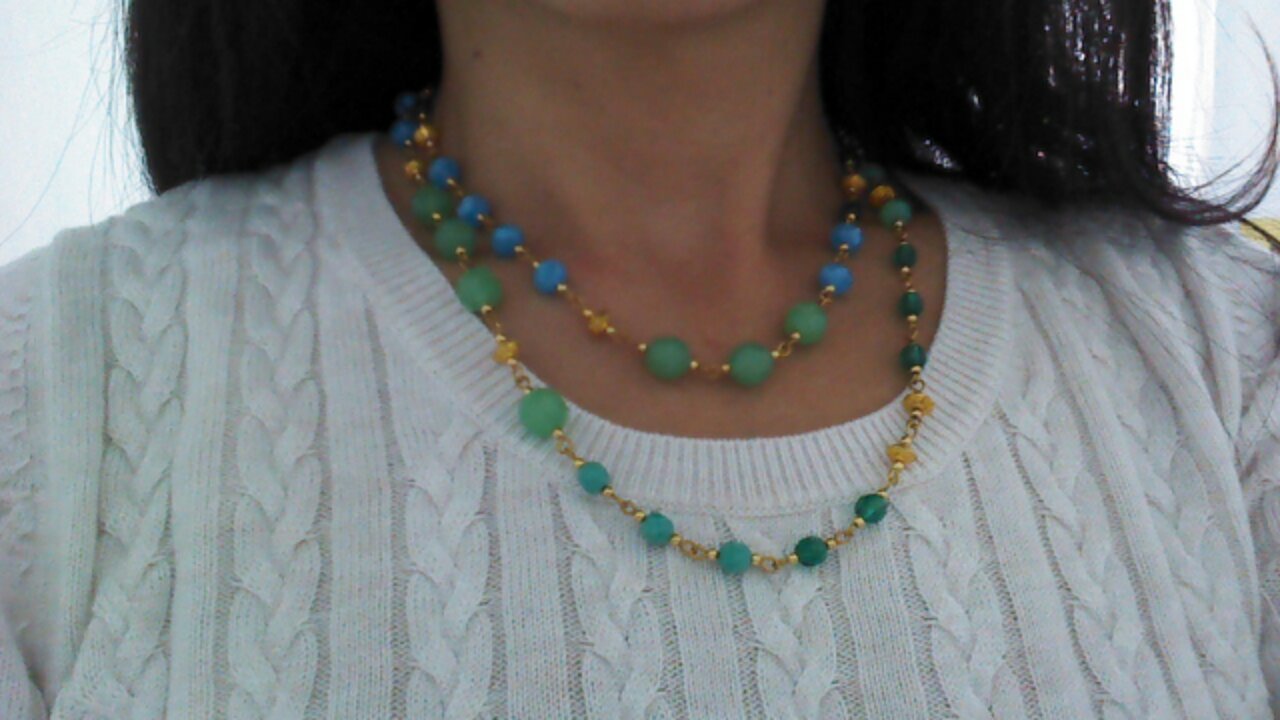
Of course I love to browse online as well.  Anthropology and Forever 21 have interesting ideas.  The inspiration for this particular necklace actually came from Stella and Dot (love the jewelry, just can’t afford the prices).  Whenever I am trying to make piece that is similar to something that I like, I try to find “substitutions” from my personal stash for the various beads. Since I didn’t have any semiprecious beads that were close the ones used in the Ailene necklace, I just used faceted glass beads in similar colors. 

image

The original necklace joined all the components together by using wire wraps. I just used eye pins and linked everything together. As you can see, the piece is long enough to be worn in both a single strand or double strand. Personally, I love the summery colors and sparkle that the faceted beads give this necklace.

So, what are your favorite go-to places to look for ideas?
image

image

Facebooktwitterredditpinterestlinkedinmail

Beaded Braid Bracelet

 This tutorial was written by my thirteen-year-old daughter Kelsey.  Enjoy!

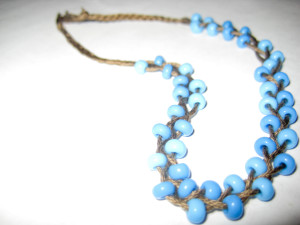
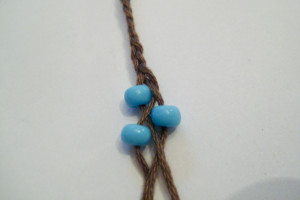
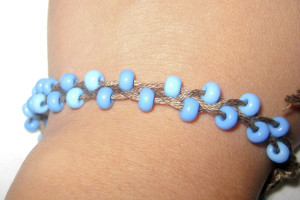
This bracelet, inspired by the tutorial on honestlywtf.com, is super cute and pretty easy to make.  I saw this fun project online and decided to create my own version of it.  As you may have guessed based on the name, this bracelet is simply a beaded braid.  Each time you cross your string to the middle, you just slip a bead onto your cord.  Cool, right?

Kelsey Tutorial 2

I struggled just a little with fitting the cord through the beads.  While the original tutorial used a waxed string, I used embroidery floss.  Depending on the cord you use, you may find it to your advantage to use a needle or beeswax.  I found it helpful to keep the ends moist.  Another hard part in making this bracelet is making sure you keep the tension just right.  It can’t be too loose or too tight.  Again, this varies depending on the material used.

Kelsey Tutorial 1

Honestlywtf went for a bright, fun look with pretty colored cord and metallic beads. I switched it up a bit and used a brown string with aqua beads because I was going for a boho look. While boho happens to currently be my favorite look, you can change the beads and cord to create whatever look you want. For example, you can go elegant with pearly beads and soft colored cord, punk with black thread and neon beads, etc.

Happy beading!

Kelsey Tutorial 3

Facebooktwitterredditpinterestlinkedinmail

Beaded Dangle Bracelet

I’ve been into bracelets lately.  (I’ll have to post about something else next time–sorry about this.)  I guess I enjoy making them because they are often a quick project, and they are such an easy way to dress up an outfit.

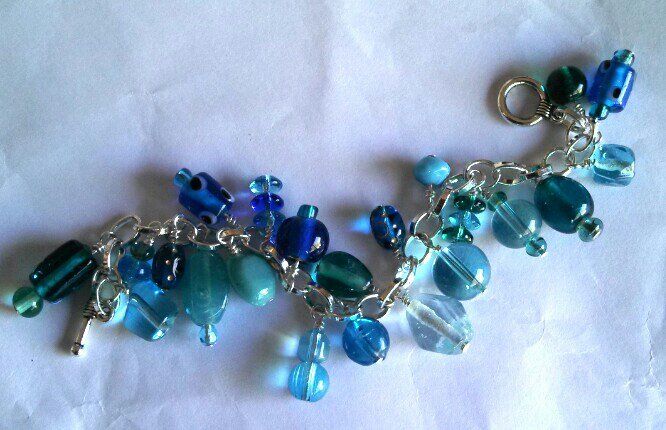
This is actually a fuller version of a bracelet that I made for my teenage daughter (hers had less dangles).  It began as a length of chain to which I attached a bunch of beaded dangles using wire wraps.  It was really easy to attach a toggle clasp to the chain.  I used various shades of an aqua blue as a color scheme, but once again, all the beads came from our leftover beads bin.  No need to buy anything fancy, just another project that uses whatever you happen to have on hand!

image

image

Facebooktwitterredditpinterestlinkedinmail

Kids as Great Beaders

I wanted to continue with the theme from the previous post in which I mentioned that kids can be an amazing source of inspiration in your own jewelry designs.  I recently bought some beautiful beads on a whim with no plans to use them in a project–I just loved the colors and the “sparkle.”  They sat for a few weeks and I couldn’t figure out how I wanted to use them. I asked my thirteen-year-old daughter if she could help me make a statement necklace.  We have a few bins of miscellaneous beads, so we set them out and this is what she put together.  I LOVE this necklace!  She was able to showcase the individual beads, follow the color scheme, and design a piece that I enjoy wearing.

image

image

Kids are often so much more uninhibited and experimental in their design choices.  I really like seeing what they are able to come up with.  Often they create color combinations or designs ideas that I wouldn’t necessarily think of.  The kids can go to the bins of odds and ends beads whenever they feel like beading and some of their best designs have come from this hodge-podge.

Facebooktwitterredditpinterestlinkedinmail

Kids as Inspiration

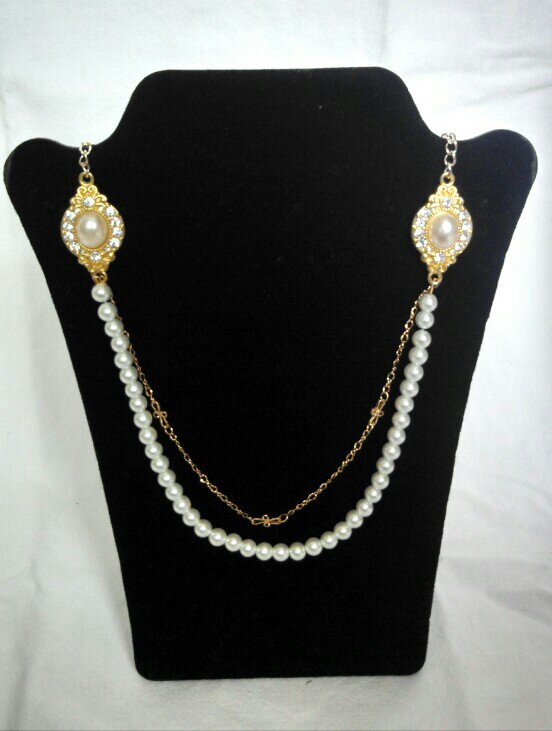
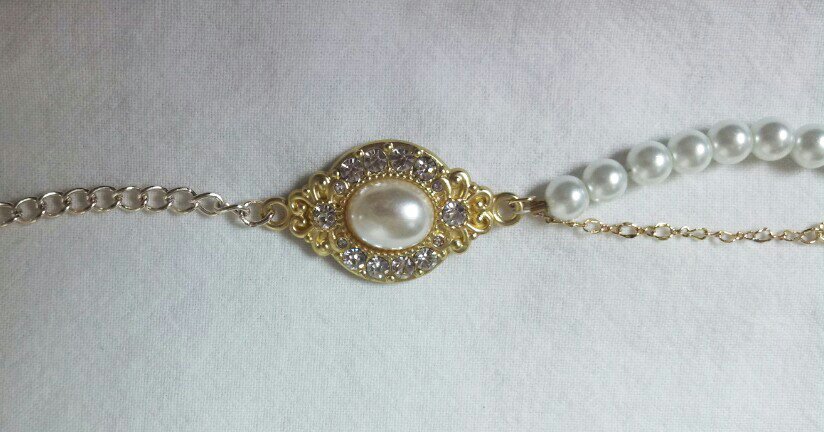
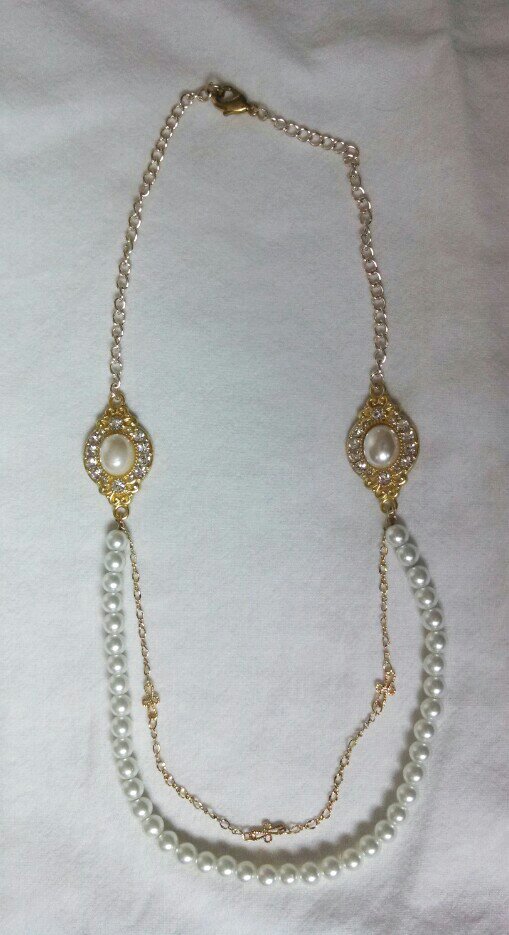
We’re definitely a family of beaders, and often I get inspired by watching my daughters work on their projects.  My eight-year-old recently designed this multi-strand necklace.

image

She came up with the design, and we worked together to find the components that she needed to put it together.  While she needed a bit of help to attach the wire, she strung the beads and put on the clasp by herself.

image

I personally thought it was an elegant necklace and liked her decision to pair the gold chain (I’m not sure if it shows up in the photo, but there are two different kinds) with the white glass pearls.

As I mentioned, my daughters’ jewelry is frequently one of my sources of inspiration.  Now she’s got me thinking of multi-strand necklaces using chain….

image

Facebooktwitterredditpinterestlinkedinmail

Quick Multi-Strand Beaded Bracelet

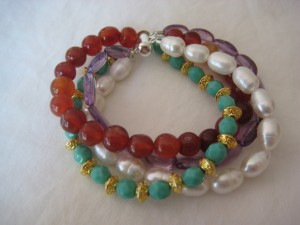
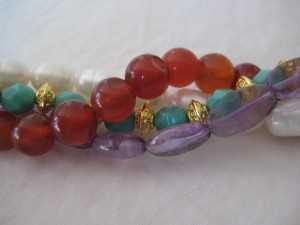
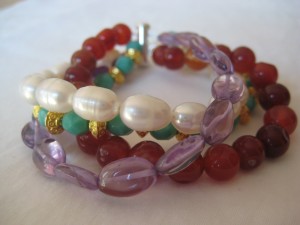
This bracelet is one of my most recent projects.  I’ve been inspired by the recent trends in mixing different textures and bright colors.  In addition, I especially love making bracelets because these are a quick project and don’t require very many beads.  In fact, I mostly used whatever beads I had in my stash (amethysts, red agate, and pearls) and bought the gold and turquoise beads from Michael’s during one of their weekly sales.

Beaded Bracelet 1

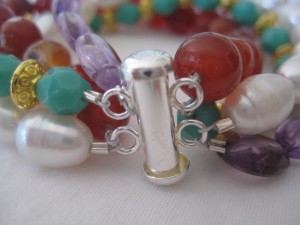
Once I figured out the beads that I actually wanted to use together in this piece, the whole bracelet came together really quick.  It took me about an hour from start to finish.  Because the beads ended up being a little heavy, I strung them onto Soft Flex and used some sterling silver crimp beads and a two ring tube clasp to finish it off.

Beaded Bracelet 2

I like the feel of this bracelet when I wear it and it has become one of my new favorite pieces.  Given that there are so many colors in it, I can wear it with lots of different outfits!  Beaded Bracelet 3 Beaded Bracelet 4

Facebooktwitterredditpinterestlinkedinmail